

You just got an iPad, and that is fantastic! Perhaps it was a gift, or maybe you decided it was time to explore new technology. No matter how it arrived, your iPad offers a world of possibilities, from connecting with loved ones to discovering new hobbies. If you feel a little overwhelmed by all the options, you are not alone. Many people feel this way when they first pick up a tablet. This guide will walk you through everything you need to know to start using your iPad with confidence, one simple step at a time. Think of it as your friendly co-pilot on this exciting journey.
Your new tablet is also an excellent tool to use YouTube to watch videos and discover instructional content on any interest.
Many seniors find that learning how to take and share photos is one of the most enjoyable ways to use their new tablet.
Once you are set up, you can even use Zoom for video calls to see your friends and family clearly on the large screen.
Table of Contents
- What You’ll Need Before You Start
- Getting Started: Your iPad’s First Steps
- Navigating Your iPad’s Screen: Taps, Swipes, and Icons
- Customizing Essential Settings for Your Comfort
- Connecting with Others: Messages and FaceTime
- Capturing Memories: Using Your Camera and Photos App
- Finding New Apps: Exploring the App Store
- Keeping Your iPad Safe and Updated
- What to Do If Something Goes Wrong: Troubleshooting Common Issues
- Frequently Asked Questions
- Quick Reference Checklist for Your iPad Journey

What You’ll Need Before You Start
Before you dive into the exciting world of your new iPad, gather a few things. Preparing beforehand makes the setup process much smoother and more enjoyable for you.
To keep your hands free and your neck comfortable, you might also look into how to use a tablet stand for a better viewing angle.
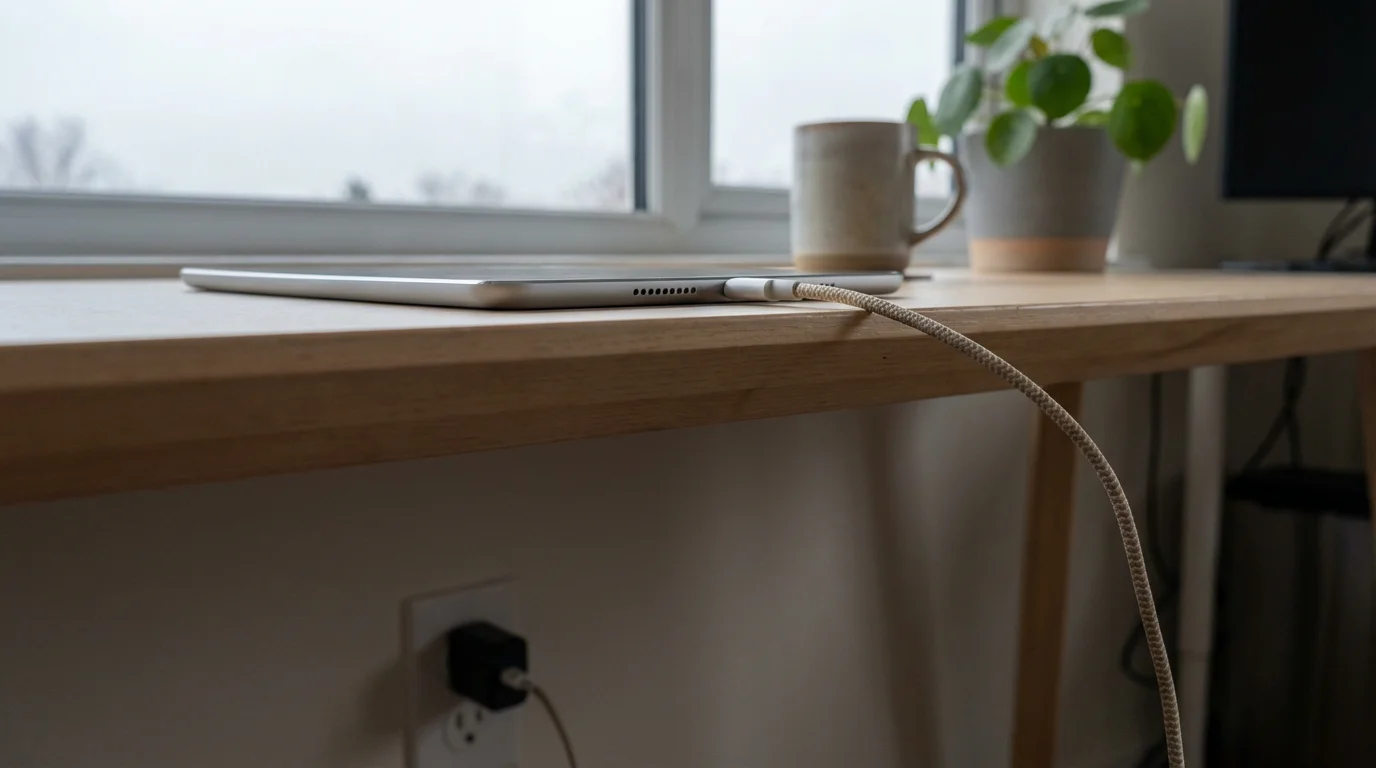
- Your iPad and its Charger: Your iPad likely came with a charging cable and a wall adapter. Ensure you have both. A fully charged iPad gives you plenty of time to explore without interruption.
- A Wi-Fi Connection: An iPad needs Wi-Fi to do most things, such as browse the internet, download apps, or send messages over the internet. You will need the name of your home Wi-Fi network (often called an SSID) and its password. You usually find this information on a sticker on the bottom or side of your internet router.
- Your Apple ID (or be ready to create one): An Apple ID is your personal account for all Apple services. You use it to download apps, backup your iPad, and much more. If you already have an iPhone or another Apple device, you likely have an Apple ID. If you do not have one, your iPad will guide you through creating one during the initial setup. It requires an email address and a strong password. You can learn more about Apple IDs and how to create one on the official Apple Support website.
- A Comfortable Spot: Find a quiet place where you can relax and focus. You are learning something new, and patience is key.

Getting Started: Your iPad’s First Steps
Let us begin by getting your iPad powered on and through its initial setup. We will go through this step-by-step.
Once you are set up, you can also install WhatsApp to message friends who do not use Apple devices.
1. Charge Your iPad
Even if it has some charge, plug your iPad in. Connect the charging cable to the small port at the bottom of your iPad. Then, plug the other end into the wall adapter and the adapter into a power outlet. You will see a battery icon appear on the screen, showing it is charging.

2. Turn On Your iPad
Look for the Top button. On most iPads, this button is on the top edge when you hold it vertically, or on the right edge if you hold it horizontally. Press and hold this button until you see the Apple logo appear on the screen. This might take a few seconds.

3. The Initial Setup Process
Once your iPad turns on, you will see a “Hello” screen in various languages. This means your iPad is ready for setup. Follow these prompts:
- Swipe Up to Open: Gently slide your finger from the very bottom of the screen upwards. This unlocks the “Hello” screen.
- Choose Your Language: Tap your preferred language, for example, “English.”
- Select Your Country or Region: Tap “United States” or your relevant country.
- Quick Start (Optional): If you have another iPhone or iPad nearby that is already set up, your new iPad might ask if you want to use “Quick Start.” This feature automatically transfers settings. If you are new to Apple or prefer a manual setup, tap “Set Up Manually.” For this guide, we will assume a manual setup.
- Connect to Wi-Fi: Your iPad will show a list of available Wi-Fi networks. Find your home network’s name (SSID) and tap it. Then, type your Wi-Fi password carefully. Passwords are often case-sensitive, meaning capital letters matter. Tap “Join” when finished. Your iPad connects to the internet.
- Data & Privacy: Read this information. It explains how Apple keeps your data private. Tap “Continue.”
- Face ID or Touch ID:
- Face ID (Newer iPads without a Home button): This uses your face to unlock your iPad and authorize purchases. Tap “Continue” and follow the on-screen instructions to set up your face scan. You will hold your iPad in front of your face and move your head in a circle. You can tap “Set Up Later in Settings” if you prefer.
- Touch ID (iPads with a Home button): This uses your fingerprint. Your Home button (the round button below the screen) doubles as your fingerprint sensor. Tap “Continue” and follow the instructions to place your finger on the Home button repeatedly to register your print. You can tap “Set Up Later in Settings” if you prefer.
- Create a Passcode: This is a crucial step. A passcode is a series of numbers (usually 6 digits) you use to unlock your iPad and keep your information safe. Choose a number combination you will remember easily but is hard for others to guess. Tap “Passcode Options” for a simpler 4-digit code if you prefer. Enter your chosen passcode, then enter it again to confirm.
- Apps & Data: This screen asks how you want to restore or transfer apps and data. If this is your first iPad, tap “Don’t Transfer Apps & Data.” If you are upgrading from an older iPad or iPhone, you might choose “Restore from iCloud Backup” or “Restore from Mac or PC.”
- Apple ID: Enter your Apple ID and password. This links your iPad to your personal Apple account. If you do not have one, tap “Forgot password or don’t have an Apple ID?” and follow the steps to create one. This usually involves entering your birthdate, name, and an email address.
- Terms and Conditions: Read the terms (or at least scroll through them) and tap “Agree” to continue.
- Express Settings: Tap “Continue.”
- Keep Your iPad Up to Date: Tap “Continue.”
- iMessage & FaceTime: Tap “Continue” to enable these communication features.
- Location Services: Decide if you want to enable location services (helpful for maps, weather). Most people enable this by tapping “Enable Location Services.”
- Siri: Apple’s voice assistant. You can set it up by tapping “Continue” and following the voice prompts, or tap “Set Up Later in Settings.”
- Screen Time: This feature helps you monitor your app usage. You can set it up now or tap “Set Up Later in Settings.”
- App Analytics: Decide if you want to share data with Apple. Tap “Don’t Share” if you prefer not to.
- True Tone Display (if available): Tap “Continue.”
- Appearance: Choose Light mode (brighter background) or Dark mode (darker background). Dark mode often makes text easier to read in low light. Tap your choice, then “Continue.”
- Welcome to iPad: Finally, you will see a screen that says “Welcome to iPad” and “Swipe Up to Get Started.” Gently slide your finger from the very bottom of the screen upwards.
Congratulations! You are now on your iPad’s Home Screen, ready to explore.

Navigating Your iPad’s Screen: Taps, Swipes, and Icons
Your iPad screen is where all the magic happens. Let us learn how to move around and understand what you see.
The large screen also makes it very easy to use Instagram to see family photos and stay involved in their daily lives.
When you start using your favorite apps, you can even learn how to use emoji to make your digital messages more expressive.

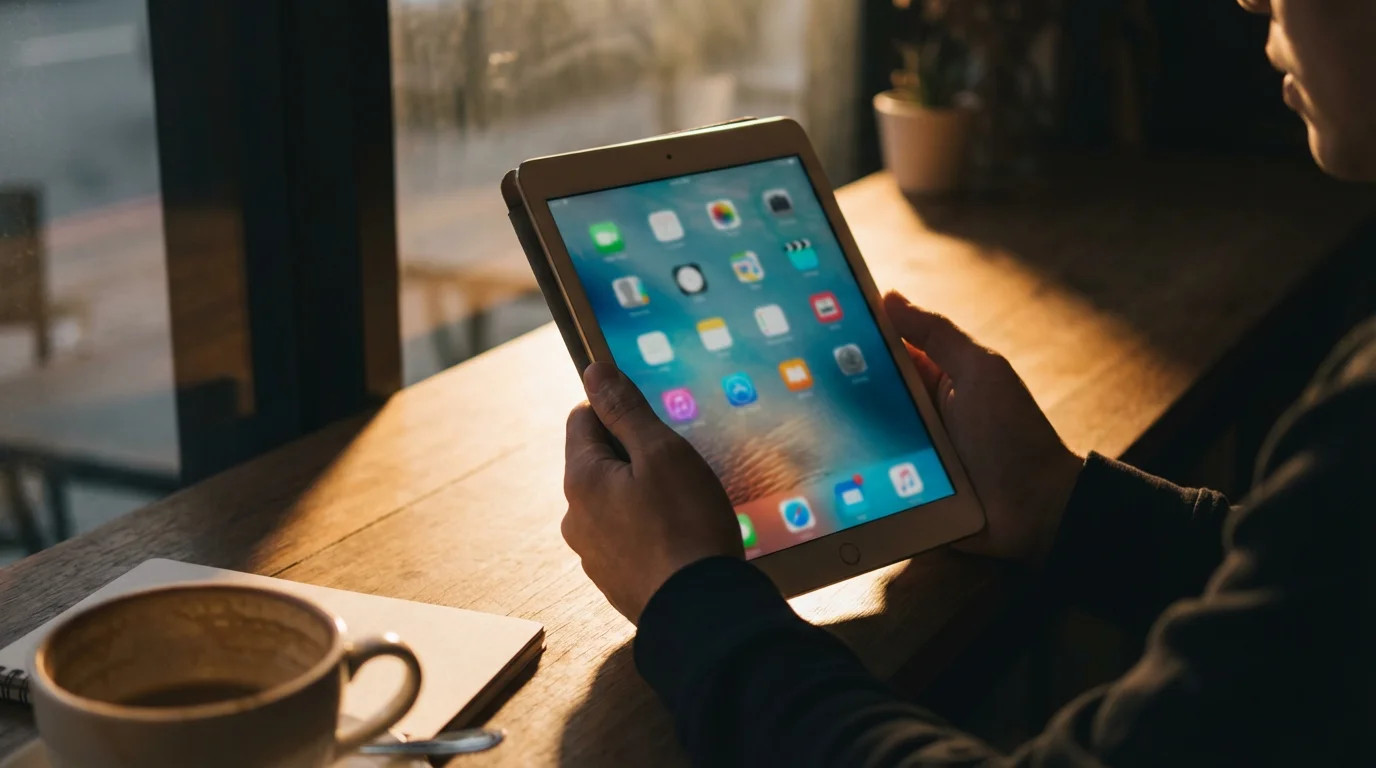
Understanding the Home Screen
The Home Screen is the first thing you see after unlocking your iPad. It is a grid of small pictures called icons. Each icon represents an app, which is a program or application on your iPad. For example, you will see icons for Messages, Camera, Photos, and Safari (the internet browser).
- The Dock: At the very bottom of the screen, you see a row of icons in a transparent bar. This is called the Dock. These are your most frequently used apps, or apps Apple thinks you might use often. You can customize the Dock later.
- Status Bar: At the very top of the screen, a small bar displays important information. You see the time, battery level, and whether you are connected to Wi-Fi.

Basic Finger Gestures
You use your fingers to interact with your iPad. Here are the most common gestures:
- Tap: Gently touch the screen once with your finger. This is like clicking a mouse button on a computer. You tap an icon to open an app, or tap a button on the screen to select an option.
- Swipe: Slide your finger across the screen.
- Swipe left or right on the Home Screen to move between different pages of apps.
- Swipe down from the top center of the screen to see your Notifications.
- Swipe down from the top right corner of the screen to open Control Center.
- Swipe up from the bottom of the screen to go back to the Home Screen from an app.
- Pinch: Use two fingers (your thumb and index finger, for example) to touch the screen and move them together or apart.
- Pinch fingers together to zoom out, such as making a photo smaller.
- Pinch fingers apart to zoom in, such as making text larger on a webpage.
- Press and Hold: Place your finger on an icon or item on the screen and hold it there for a moment. This often brings up extra options, like rearranging apps or deleting them.

Opening and Closing Apps
- To Open an App: Find its icon on the Home Screen and gently tap it once. The app opens and fills the screen.
- To Close an App (Go back to Home Screen):
- With a Home button: Press the Home button once (the round button below the screen).
- Without a Home button: Swipe up from the very bottom edge of the screen with your finger, then lift your finger.
- Switching Between Open Apps (App Switcher):
- With a Home button: Double-press the Home button quickly.
- Without a Home button: Swipe up from the very bottom edge of the screen and pause your finger in the middle of the screen for a moment, then lift your finger.
You will see cards of all your open apps. Swipe left or right to find the app you want, then tap its card to open it. To fully close an app from here (if it is misbehaving), swipe its card upwards off the screen.

Customizing Essential Settings for Your Comfort
The Settings app is your command center for personalizing your iPad. You find the Settings app icon on your Home Screen; it looks like a gray gear or cogwheel. Tap it to open.
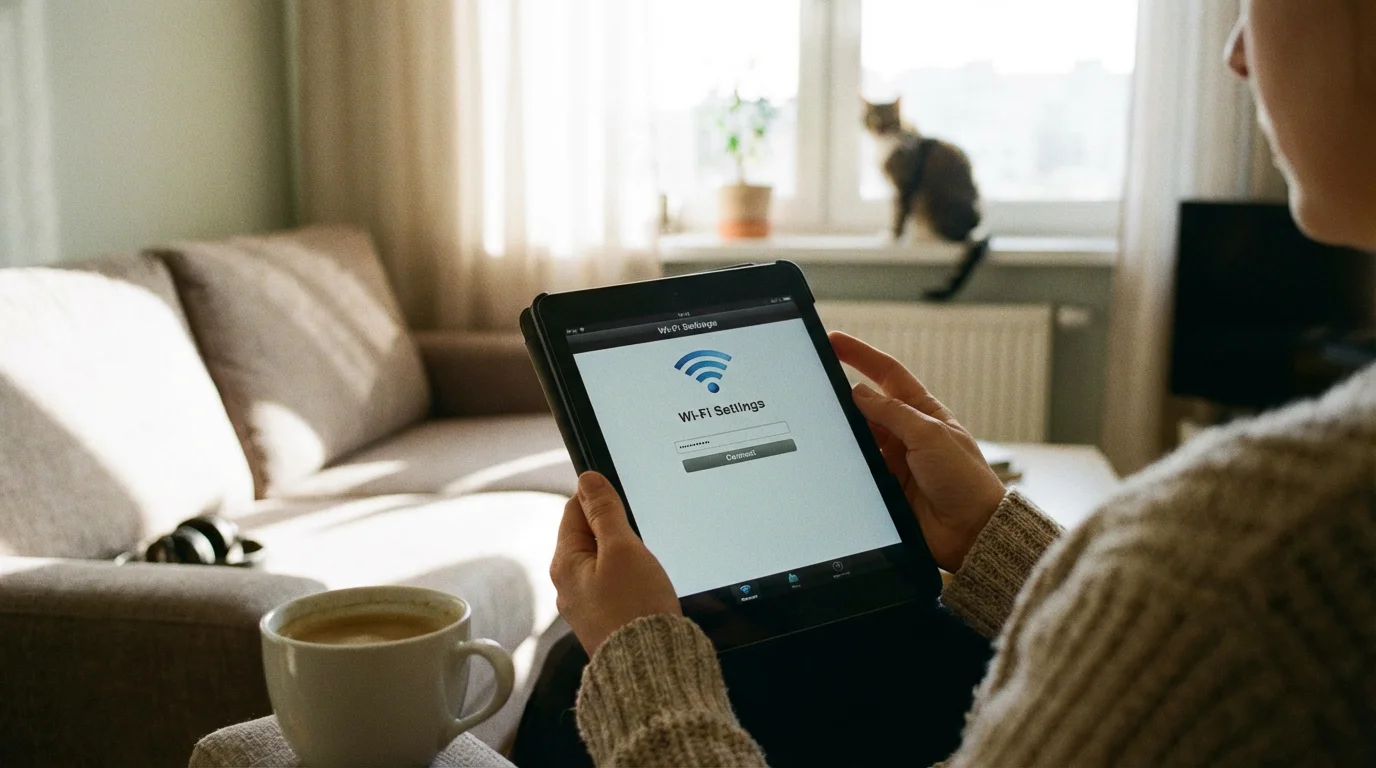
1. Connecting to Wi-Fi
If you need to connect to a new Wi-Fi network, or reconnect, follow these steps:
- Tap the Settings icon (the gray gear) on your Home Screen.
- On the left side of the Settings menu, tap Wi-Fi.
- Ensure the toggle switch next to Wi-Fi is green. If it is gray, tap it to turn Wi-Fi on.
- Your iPad will display a list of available networks under “Networks.” Tap the name of the network you want to join.
- If prompted, type the password for the Wi-Fi network. Remember passwords are case-sensitive. Tap “Join.”

2. Adjusting Display & Brightness
Making your screen comfortable to view is important.
- Tap the Settings icon.
- On the left side, tap Display & Brightness.
- Brightness: Drag the slider from left (dimmer) to right (brighter) to adjust your screen’s brightness.
- Text Size: Tap “Text Size.” Drag the slider at the bottom of the screen to the right to make all text on your iPad larger and easier to read.
- Bold Text: Tap the toggle switch next to “Bold Text” to make all text bold. This can improve readability.
- Night Shift: This feature automatically shifts your screen colors to the warmer end of the spectrum after sunset. This can be easier on your eyes. You can tap it to schedule it or turn it on manually.

3. Sound and Volume
Control how loud your iPad sounds.
- Tap the Settings icon.
- On the left side, tap Sounds (or “Sounds & Haptics” on some models).
- Ringer and Alerts: Adjust the slider to control the volume of your notifications and calls.
- Use the physical Volume Up and Volume Down buttons on the side of your iPad to adjust media volume (for videos, music, and apps).
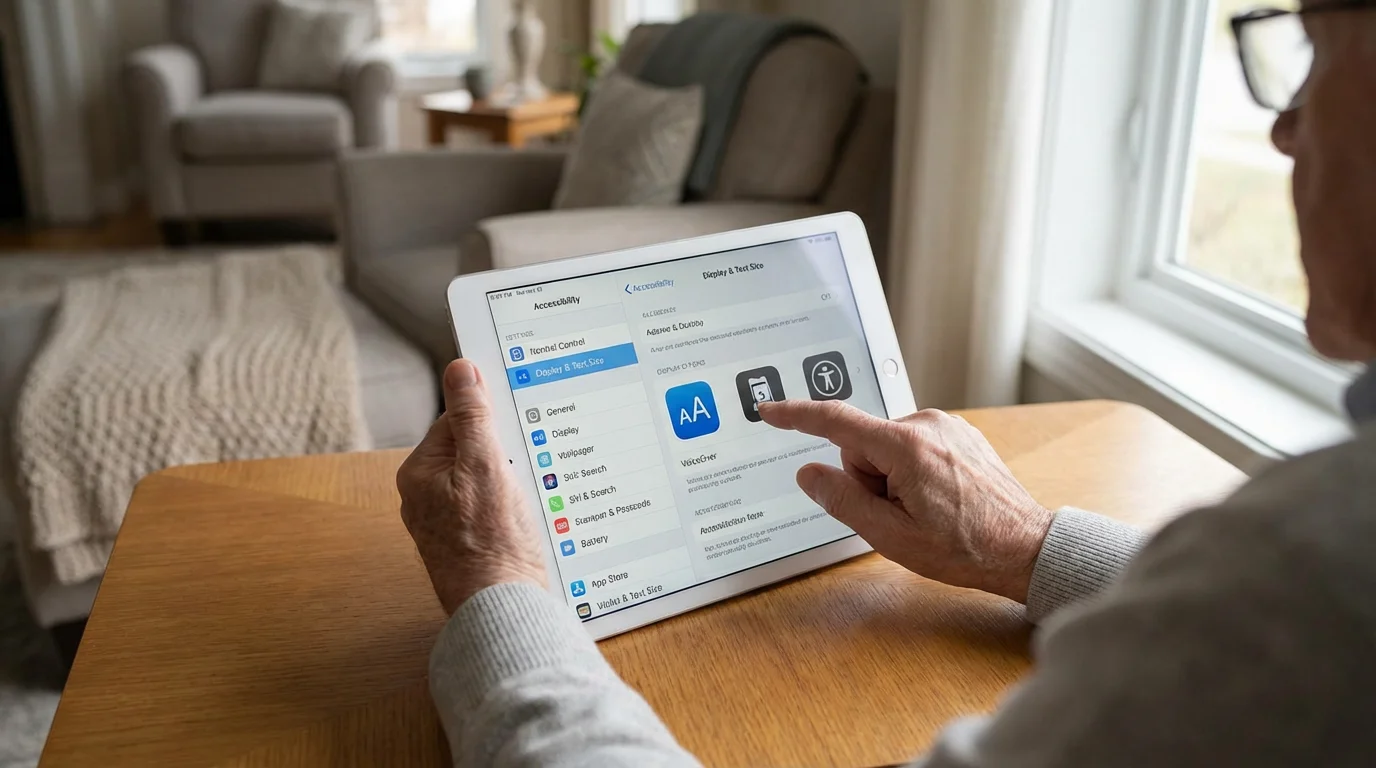
4. Accessibility Features (Making Your iPad Even Easier to Use)
Apple includes many features to make your iPad more accessible. This is a powerful section for customization.
- Tap the Settings icon.
- On the left side, tap Accessibility.
- Explore options like:
- Display & Text Size: Similar to Display & Brightness, but with more advanced options for text. You can turn on “Larger Text” and drag the slider even further to make text incredibly large. You can also increase contrast or reduce transparency.
- Zoom: Tap “Zoom” and turn on the toggle switch. Now, you can tap the screen three times with three fingers to zoom in and out. Drag three fingers across the screen to move around when zoomed in.
- VoiceOver: This feature reads aloud what is on your screen. If you accidentally turn this on, it changes how you use your iPad (you will need to use three fingers to swipe and double-tap to select). If this happens, go back to Accessibility and turn VoiceOver off.
- AssistiveTouch: This places a small, customizable on-screen button that gives you quick access to various functions, such as the Home button, volume, or Siri, without physically pressing buttons. This can be very helpful if you find physical buttons difficult to use. Tap “AssistiveTouch” and toggle the switch to green to turn it on.
You have the power to make your iPad work best for you. Do not hesitate to explore the Accessibility settings. You can always change them back if something does not feel quite right.

Connecting with Others: Messages and FaceTime
Your iPad is a fantastic tool for staying in touch with friends and family, even if it does not make traditional phone calls.

Understanding iPad Communication
An iPad is primarily a Wi-Fi device. This means it generally uses the internet for communication rather than a cellular phone network (unless you have a cellular-enabled iPad with an active data plan, which is less common for first-time users). You can still text and video call using specific apps.

1. Sending Messages with the Messages App
The Messages app lets you send text messages. On an iPad, this primarily means using iMessage (blue bubbles) for other Apple users and potentially SMS relay (green bubbles) if you have an iPhone with the same Apple ID.
- Look for the Messages icon on your Home Screen; it looks like a green speech bubble. Tap it to open the app.
- Start a New Message: In the top right corner of the Messages app, you see a square icon with a pencil inside. Tap this icon.
- Add a Contact: In the “To:” field at the top, start typing the name of a contact saved in your iPad, or type their phone number or email address. Your iPad suggests contacts as you type. Tap the correct contact when it appears.
- Type Your Message: Tap the message field at the bottom of the screen, which says “iMessage.” The on-screen keyboard appears. Type your message.
- Using Dictation (Voice-to-Text): If you prefer to speak your message, look for the small microphone icon on the keyboard, usually near the spacebar. Tap it once. Speak clearly, and your iPad converts your speech into text. Tap the keyboard icon again to return to typing.
- Send Your Message: After typing, tap the blue arrow icon on the right side of the message field to send.

2. Making Video and Audio Calls with FaceTime
FaceTime is Apple’s app for video and audio calls over Wi-Fi, completely free to use between Apple devices. It is a wonderful way to see and hear loved ones.
- Look for the FaceTime icon on your Home Screen; it looks like a green icon with a white camera inside. Tap it to open the app.
- Start a New FaceTime Call: In the top right corner, tap the plus sign (+) icon.
- Add a Contact: In the “To:” field, start typing the name of a contact, or their phone number or email associated with their Apple ID. Tap the contact when it appears.
- Choose Call Type:
- Tap the Video icon (a small camera) to start a video call where you can see each other.
- Tap the Audio icon (a small phone receiver) to start an audio-only call.
- During a Call: You will see your own face in a small window. During a video call, you can tap the screen to bring up options like muting your microphone or flipping between the front and rear cameras.
- End a Call: Tap the red phone icon at the bottom of the screen.

Capturing Memories: Using Your Camera and Photos App
Your iPad has a built-in camera that lets you take photos and record videos. It is a fantastic way to document life’s moments.

1. Taking Photos and Videos
- Look for the Camera icon on your Home Screen; it looks like a gray icon with a camera lens. Tap it to open the app.
- Switching Cameras: iPads usually have a front-facing camera (for selfies or video calls) and a rear-facing camera (for taking pictures of what is in front of you). Look for an icon with two arrows forming a circle, usually near the top right or bottom right of the screen. Tap it to switch between cameras.
- Choose Your Mode: At the bottom of the screen, you see options like “Photo,” “Video,” “Pano” (for panoramic photos), and “Square.” Swipe left or right on these options to select the one you want.
- Select “Photo” for still pictures.
- Select “Video” for recording moving pictures.
- Take a Photo: In “Photo” mode, point your iPad at what you want to photograph. Tap the large white circle button near the bottom of the screen. Your iPad captures the image.
- Record a Video: In “Video” mode, tap the red circle button to start recording. Tap it again to stop recording.

2. Viewing Your Photos and Videos
All the photos and videos you take are stored in the Photos app.
- Look for the Photos icon on your Home Screen; it looks like a colorful pinwheel. Tap it to open the app.
- You will see your pictures organized by “Library,” “For You,” “Albums,” and “Search” at the bottom of the screen. Tap “Library” to see all your photos and videos arranged by date.
- View a Photo: Tap any picture to open it and view it full screen.
- Scroll Through Photos: When viewing a photo, swipe left or right to move to the next or previous picture.
- Zoom In/Out: Use the pinch gesture (two fingers moving apart or together) to zoom in or out on a photo.
- Edit a Photo: When viewing a photo, tap “Edit” in the top right corner. You see tools to crop, rotate, adjust colors, and more. Tap “Done” after making changes.
- Delete a Photo: When viewing a photo, tap the trash can icon (usually in the bottom right corner) to delete it. Confirm your choice when prompted.
Finding New Apps: Exploring the App Store
Apps are what make your iPad incredibly versatile. You can find apps for virtually anything you can imagine, from games and news to banking and recipe books.
1. Understanding the App Store
The App Store is where you safely download new applications. Every app available here has been reviewed by Apple to ensure it is safe and works correctly on your iPad.
- Look for the App Store icon on your Home Screen; it looks like a blue square with a white “A” inside. Tap it to open.
- You see different sections at the bottom of the App Store screen: “Today,” “Games,” “Apps,” “Arcade,” and “Search.”
2. Searching for and Downloading Apps
Let us find a useful app, like a weather app, for example.
- Tap Search in the bottom right corner of the App Store screen.
- At the top of the screen, you see a search bar. Tap it and the keyboard appears.
- Type what you are looking for, such as “weather app” or “card games.”
- Tap “Search” on the keyboard.
- You see a list of apps related to your search. Scroll up or down to browse.
- When you find an app you want, tap its name to see more details, screenshots, and reviews.
- To download the app:
- If the app is free, you see a “GET” button. Tap “GET,” then confirm with Face ID, Touch ID, or your Apple ID password.
- If the app costs money, you see the price instead of “GET.” Tap the price, then confirm your purchase.
- The app begins downloading and installing on your iPad. You see its icon appear on your Home Screen, often with a progress circle around it. Once the circle disappears, the app is ready to open.
There are millions of apps in the App Store, many of them free. Start with things you enjoy, such as a news app, a puzzle game, or a video streaming service like YouTube. Exploration is part of the fun!
For more great tips on using your iPad and finding useful apps, consider visiting resources like Senior Planet from AARP, which often features articles tailored for older adults exploring technology.
Keeping Your iPad Safe and Updated
Maintaining your iPad ensures it runs smoothly and securely. Two key practices are keeping its software up to date and backing up your important information.
1. Updating Your iPad’s Software
Apple regularly releases software updates (called iPadOS) that add new features, improve performance, and fix security issues. It is important to install these updates.
- Ensure your iPad is connected to Wi-Fi and has at least 50% battery charge (or is plugged into its charger).
- Tap the Settings icon (the gray gear) on your Home Screen.
- On the left side, tap General.
- Then, tap Software Update.
- Your iPad checks for available updates. If an update is available, you see an option to “Download and Install.” Tap this button.
- Follow the on-screen prompts. Your iPad downloads the update, then restarts to install it. This process can take some time, so start it when you do not need to use your iPad immediately.

2. Backing Up Your iPad to iCloud
iCloud is Apple’s cloud service that can automatically save a copy of your iPad’s data (photos, messages, app data, settings) to the internet. This is vital if you ever lose your iPad or need to replace it. You can restore all your information easily.
- Ensure your iPad is connected to Wi-Fi.
- Tap the Settings icon.
- At the very top of the left-hand menu, tap your name (your Apple ID photo or initials).
- Then, tap iCloud.
- Scroll down and tap iCloud Backup.
- Ensure the toggle switch next to “iCloud Backup” is green (on).
- Your iPad automatically backs up when it is connected to power, Wi-Fi, and locked. You can also tap “Back Up Now” to perform an immediate backup.
Apple gives you 5 gigabytes (GB) of free iCloud storage. If you have many photos or apps, you might eventually need more storage, which you can purchase through the iCloud settings.

What to Do If Something Goes Wrong: Troubleshooting Common Issues
Sometimes, technology does not cooperate. Do not worry. Many common iPad issues have simple solutions. Here are a few things to try before you get too frustrated.

1. My iPad Is Frozen or an App Is Not Responding
If your screen is stuck or an app stops working:
- Force Quit the App:
- With a Home button: Double-press the Home button quickly to open the App Switcher. Find the misbehaving app’s card and swipe it upwards off the screen to close it.
- Without a Home button: Swipe up from the very bottom edge of the screen and pause your finger in the middle of the screen for a moment. Find the app’s card and swipe it upwards off the screen.
- Then, try opening the app again.
- Restart Your iPad: If force quitting does not work, a restart often resolves many issues.
- With a Home button: Press and hold the Top button (on the top or right edge) until a “Slide to Power Off” slider appears. Drag the slider to the right. After your iPad turns off, press and hold the Top button again until the Apple logo appears to turn it back on.
- Without a Home button: Press and hold the Top button and either Volume button (up or down) simultaneously until the “Slide to Power Off” slider appears. Drag the slider to the right. After your iPad turns off, press and hold the Top button again until the Apple logo appears to turn it back on.

2. My Wi-Fi Is Not Working
If you cannot connect to the internet:
- Check Wi-Fi in Settings: Go to Settings (the gear icon), then tap Wi-Fi. Make sure Wi-Fi is turned on (green switch) and that you are connected to your correct network.
- Restart Your Router: Unplug your home internet router from its power outlet, wait 30 seconds, then plug it back in. Wait a few minutes for it to fully restart, then try connecting your iPad again.
- “Forget This Network”: In Wi-Fi settings, tap the small “i” icon next to your network name. Then tap “Forget This Network.” Try connecting again, re-entering the password carefully.

3. My Battery Is Draining Too Quickly
Modern iPads have good battery life, but usage can affect it.
- Check Battery Usage: Go to Settings, then tap Battery. You can see which apps are using the most power.
- Lower Brightness: Reducing your screen brightness significantly saves battery. Adjust it in Settings > Display & Brightness.
- Turn Off Unnecessary Features: If you are not using Bluetooth or Location Services, you can temporarily turn them off in Settings.
- Close Background Apps: Use the App Switcher (swipe up and pause, or double-press Home button) and swipe away apps you are not actively using to prevent them from running in the background.

4. When to Ask for Help
It is perfectly normal to need a little extra assistance. Do not hesitate to reach out if you get stuck:
- Trusted Family or Friends: Often, a tech-savvy grandchild, child, or friend can provide quick, hands-on help.
- Apple Store or Authorized Reseller: If you have an Apple Store nearby, their staff at the “Genius Bar” can diagnose issues and offer support. Make an appointment online first.
- Online Resources: Websites like GCFGlobal offer free, clear tutorials on a wide range of technology topics, including iPads. Apple’s official support website is also an excellent resource.
Frequently Asked Questions
Q: Do I need a computer to use an iPad?
A: No, you do not. Your iPad works perfectly well on its own. You can set it up, download apps, browse the internet, and manage your photos and files directly on the iPad without ever connecting it to a computer. It is a complete device by itself.
Q: How do I know if my iPad is connected to Wi-Fi?
A: Look at the top right corner of your iPad screen. You see a small fan-shaped icon with curved lines. If those lines are solid black (or white, depending on your background) and complete, your iPad is connected to Wi-Fi. If you see a line through it or no icon, you are not connected.
Q: Can I accidentally delete something important on my iPad?
A: It is unlikely you will accidentally delete something truly critical, like the operating system. When you try to delete apps or photos, your iPad usually asks for confirmation with a pop-up message. Always read these messages carefully. Even if you delete a photo, it often goes into a “Recently Deleted” album for 30 days, giving you a chance to recover it. Backing up your iPad to iCloud also provides peace of mind.
Q: What is the difference between an iPad and a regular computer?
A: An iPad is a tablet computer. It is generally lighter, more portable, and has a touch screen interface. It uses apps from the App Store. A traditional desktop or laptop computer typically has a physical keyboard and mouse, and uses software programs that you install. While iPads can do many tasks computers do, they excel at touch-based interactions, media consumption, and specific app-based productivity.
Q: What does “tap” mean, and how is it different from “press and hold”?
A: “Tap” means to gently touch the screen once with your finger, similar to clicking a mouse. You use it to open apps, select buttons, or type. “Press and hold” means to place your finger on the screen and keep it there for a moment or two. This gesture often brings up additional options or allows you to move items around, like app icons.

Quick Reference Checklist for Your iPad Journey
Keep this checklist handy as you continue to explore your new iPad. It summarizes the most important actions and concepts.
- Charge It Regularly: Plug in your iPad when the battery is low.
- Connect to Wi-Fi: Ensure you are connected to the internet for most activities (Settings > Wi-Fi).
- Tap to Open, Swipe to Navigate: Remember these basic gestures.
- Use the Home Screen for Apps: Find and open your apps from here.
- Explore Settings: Personalize your iPad for comfort (look for the gray gear icon).
- Communicate with Messages and FaceTime: Stay in touch with friends and family.
- Capture Moments with Camera & Photos: Take pictures and relive memories.
- Download New Apps from the App Store: Expand your iPad’s capabilities (look for the blue ‘A’ icon).
- Keep Software Updated: Regularly check for updates in Settings > General > Software Update.
- Backup to iCloud: Protect your data (Settings > Your Name > iCloud > iCloud Backup).
- Restart If Stuck: A simple restart fixes many issues.
- Ask for Help When Needed: Family, Apple Support, or online resources are there for you.
You have taken the first, most important steps in mastering your new iPad. Remember that learning new technology takes time and practice. Be patient with yourself, explore at your own pace, and celebrate each new thing you learn. Your iPad is a powerful tool designed to make your life more convenient and enjoyable. You are now well-equipped to use it with confidence.
Disclaimer: This article is for informational purposes only. Screens and menus may look slightly different depending on your device model and software version. When in doubt, visit your device’s official support website or ask a trusted family member for help.
To keep your hands free and improve your viewing angle, you may want to use a tablet stand during setup.
For a more private listening experience, you can also learn how to use Bluetooth headphones with your new device.


![[FEATURED]](https://cleartechguide.com/wp-content/uploads/2026/01/how-to-use-google-maps-on-your-phone-or-computer-featured-16x9-1-800x450.webp)

Leave a Reply