

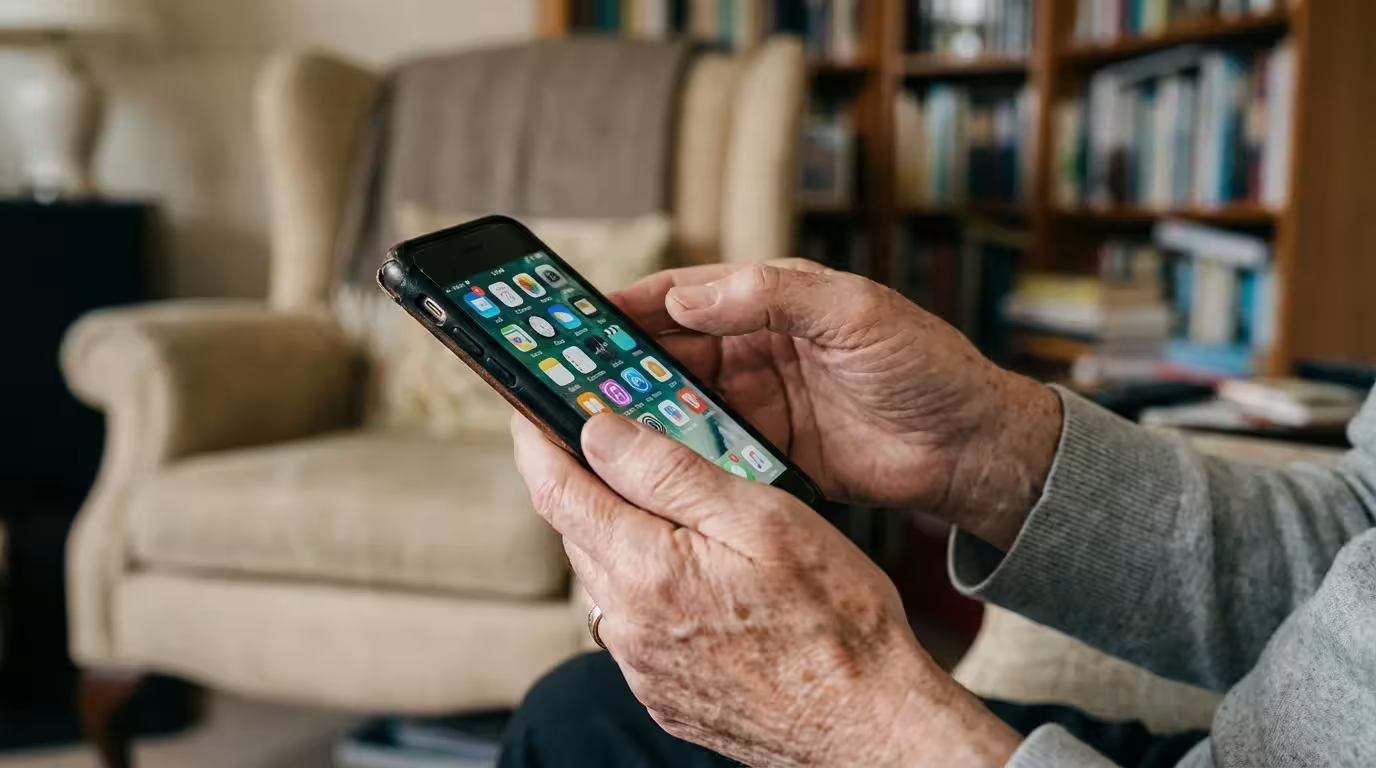
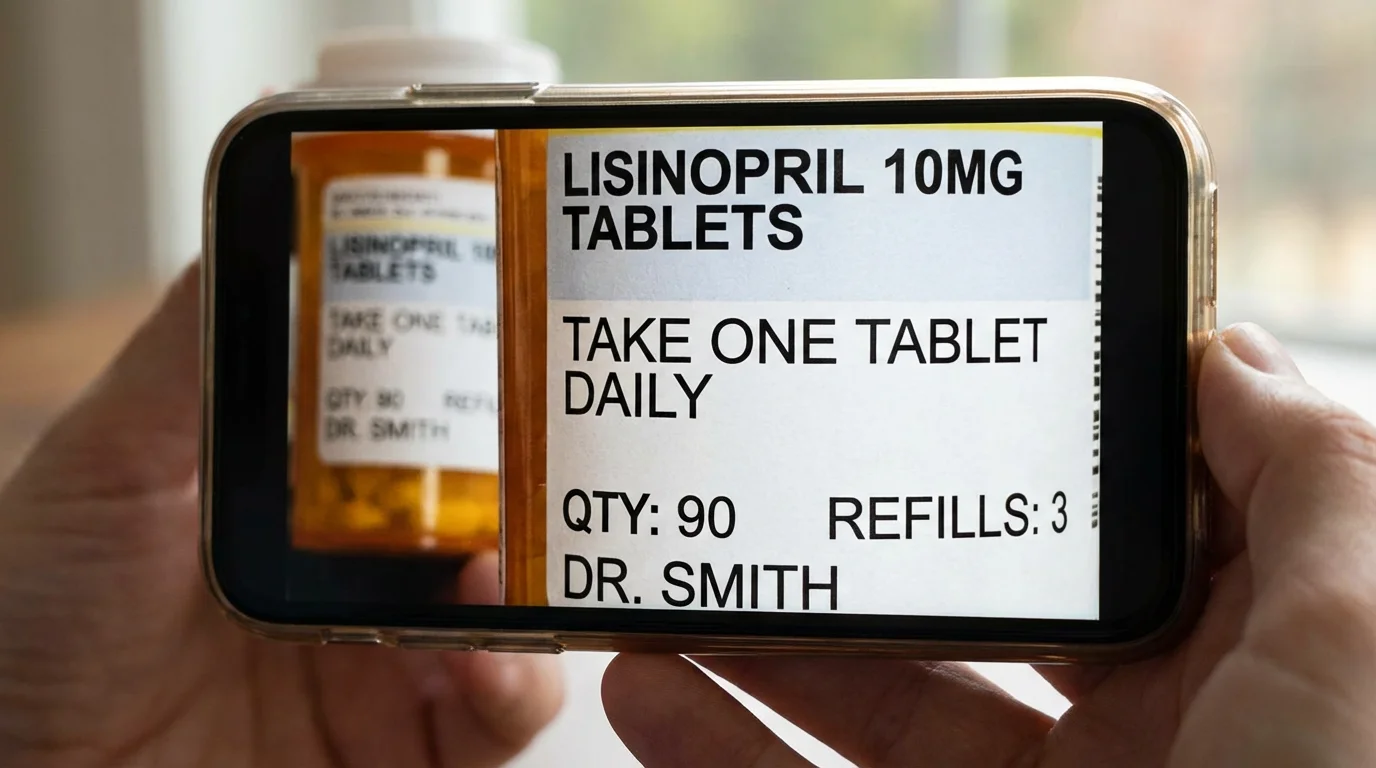
Squinting at the fine print on a medicine bottle or struggling to read a menu in a dimly lit restaurant can feel frustrating. You might find yourself reaching for a magnifying glass—only to realize you left it at home. Fortunately, if you have a smartphone in your pocket, you already carry a powerful, high-tech reading aid. Both iPhone and Android devices include a built-in magnifier app designed specifically to help you see small details more clearly.
A smartphone magnifier does much more than just “zoom in.” It allows you to adjust the brightness, change colors for better contrast, and even “freeze” an image so you can look at it without your hand shaking. This guide will walk you through everything you need to know to turn your phone into a reliable vision tool. Whether you just received your first smartphone as a gift or you are looking to master the features you already have, these steps will help you feel more confident and independent.
You do not need to be a “tech genius” to use these features. We will take it one step at a time, explaining exactly where to tap and what icons to look for. By the time you finish reading, you will be able to read the smallest text with ease—no reading glasses required.
Table of Contents
- What You Will Need to Get Started
- How to Set Up the Magnifier on iPhone
- Using the iPhone Magnifier Features
- How to Set Up the Magnifier on Android
- Using the Android Magnifier Features
- Pro-Tips for Clearer Reading
- What to Do If Something Goes Wrong
- Quick Reference Checklist
- Frequently Asked Questions
What You Will Need to Get Started
Before we dive into the settings, make sure your device is ready. You do not need any special equipment; your phone’s built-in camera does all the heavy lifting. However, checking a few basics will ensure the process goes smoothly.
- A Charged Battery: The magnifier uses your camera and your screen at high brightness—two things that consume battery power quickly. Ensure your phone has at least 20 percent battery before you begin practicing.
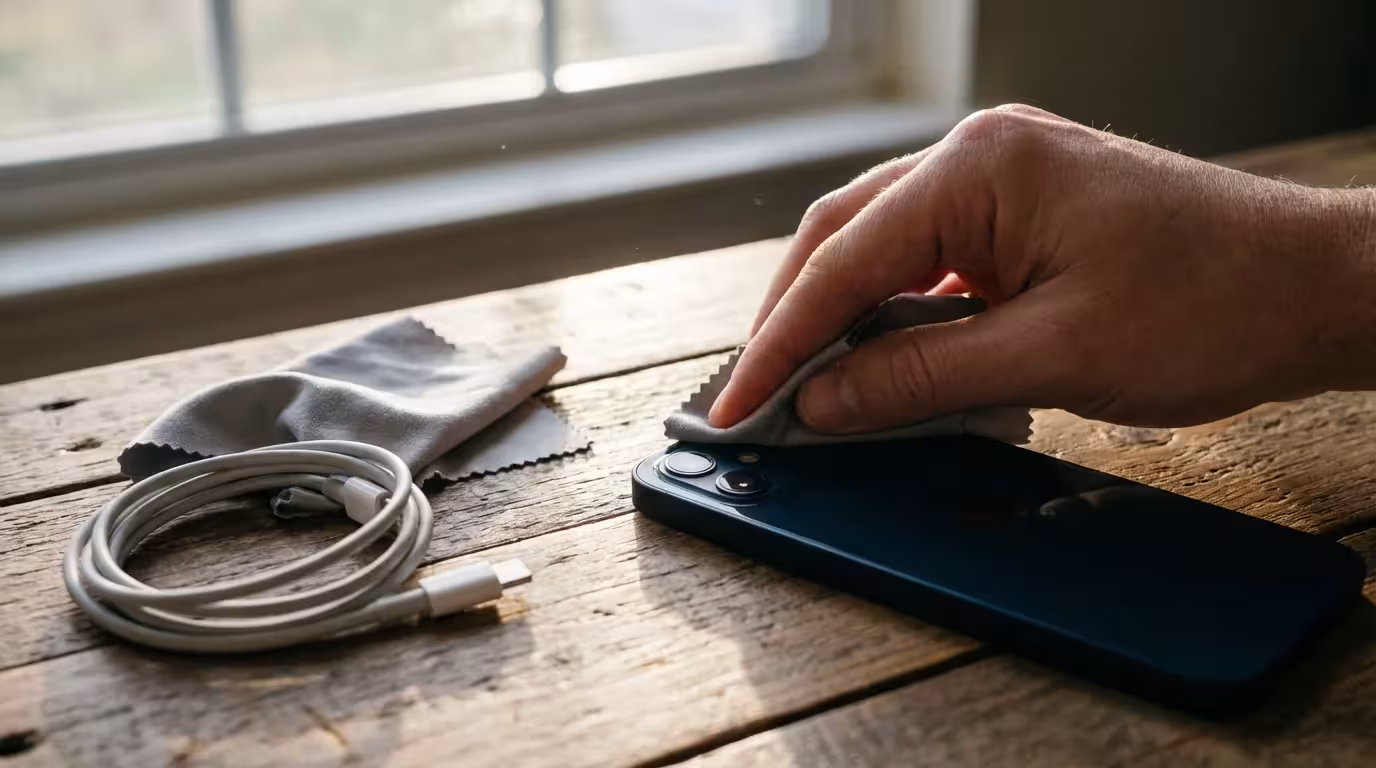
- A Clean Camera Lens: Since the magnifier uses your phone’s camera, a smudge or fingerprint on the lens will make the image look blurry. Gently wipe the back of your phone with a soft, dry cloth (like the one you use for eyeglasses).
- Your Device Passcode: You might need to unlock your phone to change your settings.
- Software Updates: These features work best if your phone is running a recent version of its software. If you see a notification about a “System Update,” it is usually a good idea to install it while your phone is plugged in.
You are doing a great job taking control of your technology. It is perfectly normal to feel a bit overwhelmed at first—just take a deep breath and follow the steps at your own pace.
How to Set Up the Magnifier on iPhone
On an iPhone, the Magnifier is actually its own “app” (a program on your phone). On newer iPhones, it is often pre-installed and visible on your home screen. If you cannot find it, you can easily add it to a place where you can reach it quickly.
Finding the Magnifier App
Look at your home screen (the screen with all the little pictures). Look for an icon that looks like a magnifying glass with a plus sign (+) in the middle. If you do not see it, swipe your finger from right to left across the screen to look at other pages of icons. If it is still missing, follow these steps to find it:
- Swipe your finger downward from the middle of the home screen to open a search bar.
- Type the word Magnifier into the bar.
- The Magnifier icon should appear. Tap it once with your finger to open it.
Adding the Magnifier to Your Control Center
The Control Center is a “quick menu” you can pull down from the top of your screen at any time—even if your phone is locked. Adding the magnifier here makes it accessible in seconds.
- Find the Settings icon (it looks like a set of grey gears or wheels) and tap it.
- Scroll down your list of settings until you see Control Center. Tap it.
- Look under the section called “More Controls.” You will see a list of items with green plus signs (+) next to them.
- Find Magnifier and tap the green plus sign.
- Now, the Magnifier will appear in the “Included Controls” section at the top.
To test this, swipe your finger downward from the top-right corner of your screen (where the battery icon is). You should now see a small magnifying glass icon. Tapping that icon will instantly open your reading aid.
Using the iPhone Magnifier Features
Once you open the Magnifier app, your screen will look like a camera, but with specific tools at the bottom to help you read. Here is how to use them effectively.
Adjusting the Zoom
At the bottom of the screen, you will see a yellow circle on a horizontal line. This is your Zoom Slider. Slide your finger to the right along that line to make things bigger. Slide it to the left to see more of the area. You can also “pinch” the screen by putting two fingers on the glass and spreading them apart to zoom in.
Turning on the Flashlight
If you are in a dark room, tap the Flashlight icon (it looks like a small torch or lightbulb). This will turn on the light on the back of your phone, illuminating the text you are trying to read. Tap it again to turn it off.
Using Filters for High Contrast
Sometimes black text on a white background is hard to see. iPhone allows you to change the colors to make text pop. Tap the Filters icon (it looks like three overlapping circles). You can then swipe through different options like:
- Inverted: Makes the background black and the text white.
- Yellow on Black: Very helpful for many people with vision challenges.
- Grayscale: Removes color to focus strictly on the shapes of the letters.
Freezing the Image
If your hands are a little shaky, it can be hard to keep the phone steady while reading a long paragraph. Look for the large round button at the bottom center of the screen. This is the Freeze Frame button.
- Point the camera at the text you want to read.
- Tap the round button once. The image will “freeze” on your screen.
- Now, you can move the phone closer to your eyes or hold it more comfortably while you read.
- Tap the button again (it will have an “X” on it) to go back to the live view.
For more detailed assistance, you can always visit Apple Support for video tutorials on these accessibility features.

How to Set Up the Magnifier on Android
Android phones (like those made by Samsung, Google, or Motorola) work slightly differently. Most have a feature called “Magnification” built into the Accessibility settings. Some newer phones, especially Google Pixel devices, have a dedicated “Magnifier” app you can download from the Google Play Store.
Enabling the Magnification Shortcut
This method works on almost all Android devices to zoom in on any part of the screen or use the camera as a lens.
- Find the Settings app (it usually looks like a gear or cogwheel) and tap it.
- Scroll down and tap Accessibility.
- Look for Magnification and tap it.
- Turn on the switch for Magnification Shortcut.
- A message might pop up asking for permission; tap “OK” or “Allow.”
Depending on your phone, you might now see a small button on the side of your screen (it often looks like a small person with outstretched arms) or you might be told to swipe up with two fingers to activate the zoom.
Using the Google Magnifier App
If you have a Google Pixel phone or a modern Android device, you should check for the official Magnifier app. It is much more powerful than the standard zoom.
- Open the Play Store app (the icon looks like a multicolored triangle).
- Type “Magnifier” into the search bar at the top.
- Look for the one created by Google LLC and tap Install.
- Once it downloads, tap Open.

Using the Android Magnifier Features
If you are using the official Magnifier app or the Samsung equivalent, the controls are designed to be very simple and easy to tap.
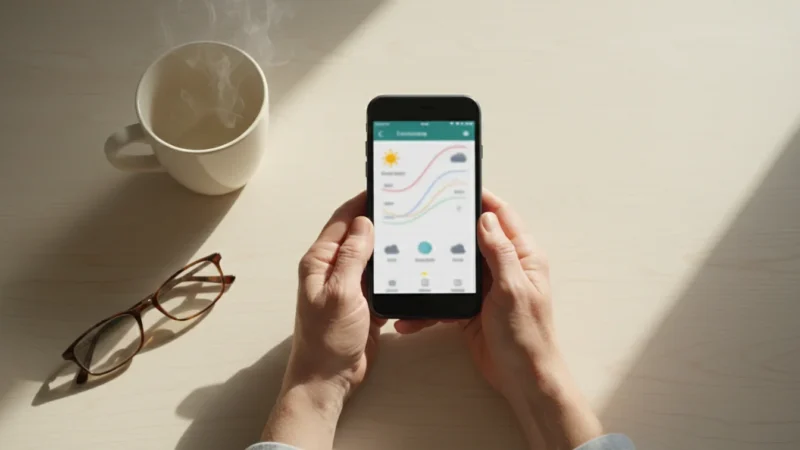
Zooming and Brightness
On the Android Magnifier, you will see two main sliders. One has a Plus (+) and Minus (-) sign for zooming. The other often has a Sun icon. Sliding the sun icon to the right will make the image brighter, which is excellent for reading menus in dark restaurants.
The Contrast Button
Look for an icon that looks like a circle half-filled with black and half with white. This is the Contrast button. Tapping this allows you to filter the image. Like the iPhone, you can choose “White on Black” or “Yellow on Blue.” These color combinations often make blurry text appear much sharper to the human eye.
Taking a “Snapshot”
On Android, the large circular button at the bottom acts as a camera shutter. Tap it once to take a picture of the text. This “snapshot” stays on your screen so you can zoom in even further using your fingers. If you want to save the picture to show someone later—like a confusing instruction on a piece of mail—tap the Save icon (it looks like a small floppy disk or a downward arrow).
If you need more help with specific Android settings, Google Support offers a wealth of guides tailored to your specific phone model.
Pro-Tips for Clearer Reading
Using the app is only half the battle. How you hold the phone and the environment you are in can make a huge difference in how much you can actually see.
- The “Sweet Spot” Distance: Hold your phone about 6 to 10 inches away from the object you are trying to read. If you get too close, the camera may have trouble focusing, and the image will look blurry.
- Use Both Hands: If possible, rest your elbows on a table while holding the phone. This stabilizes your hands and prevents the image from jumping around on the screen.
- Lighting is Everything: Even with the digital brightness turned up, natural light is your best friend. If you are at home, try to stand near a window or under a bright lamp.
- Clean Your Screen: It sounds simple, but a dusty screen makes it much harder to see the fine details the magnifier is picking up. Use a microfiber cloth to keep the glass clear.
- Practice on Something Easy: Do not wait for a high-stress moment (like at the pharmacy) to learn these steps. Practice tonight on a cereal box or a magazine while you are relaxing at home.
Remember, technology is a tool meant to serve you. If a feature feels too complicated, it is okay to skip it and just use the basic zoom. You are the boss of your phone!

What to Do If Something Goes Wrong
Technology can sometimes be finicky. If the magnifier isn’t working the way you expect, try these quick fixes before getting frustrated.
The Image is Blurry
If the text looks like a smudge, the camera is likely trying to focus on something else. Tap the center of your screen once with your finger. This tells the phone, “Hey, focus right here!” If that doesn’t work, pull the phone back an inch or two. Also, check for a fingerprint on the back lens.
The Screen is Too Dark
The magnifier has its own brightness settings that are separate from your phone’s main settings. Look for the “Sun” icon within the app and slide it to the right. If it is still dark, ensure your hand isn’t accidentally covering the flashlight on the back of the phone.
I Can’t Find the App Anymore
If you accidentally deleted the icon or it vanished, don’t worry. You haven’t “broken” anything. On iPhone, go back to the App Store and search for “Magnifier” to redownload it for free. On Android, go back to your Accessibility settings to turn the shortcut back on.
The Battery is Dying Quickly
Because the magnifier uses the camera and light, it is a “heavy” app. When you are finished reading, make sure you close the app. On most phones, you do this by swiping up from the bottom of the screen and “flicking” the app away. This saves your battery for the rest of the day.
Quick Reference Checklist
Use this table as a handy reminder of which buttons to look for when you are in a hurry.
| Action | What to Look For (Icon) | What It Does |
|---|---|---|
| Zoom In | A slider with a Plus (+) sign | Makes the text look larger on your screen. |
| Light Up | Flashlight or Torch icon | Turns on the bulb on the back of the phone. |
| Freeze Frame | Large Round Circle | Stops the image so you can read without shaking. |
| Change Color | Three circles or a half-filled circle | Increases contrast (e.g., White text on Black). |
| Focus | The center of the screen | Tapping the screen forces the camera to sharpen. |
Frequently Asked Questions
Is the Magnifier app free?
Yes. Both Apple and Google provide these tools for free as part of their “Accessibility” features. You should never have to pay a monthly fee or a download price to use the basic magnifier on your phone. If an app asks you for a credit card, it is likely a third-party app—stick to the built-in one instead.
Does the Magnifier take up space on my phone?
The app itself is very small and will not interfere with your ability to save photos or receive messages. If you take “snapshots” or “freeze frames,” they are usually temporary and won’t clutter your gallery unless you specifically tap a “Save” or “Download” button.
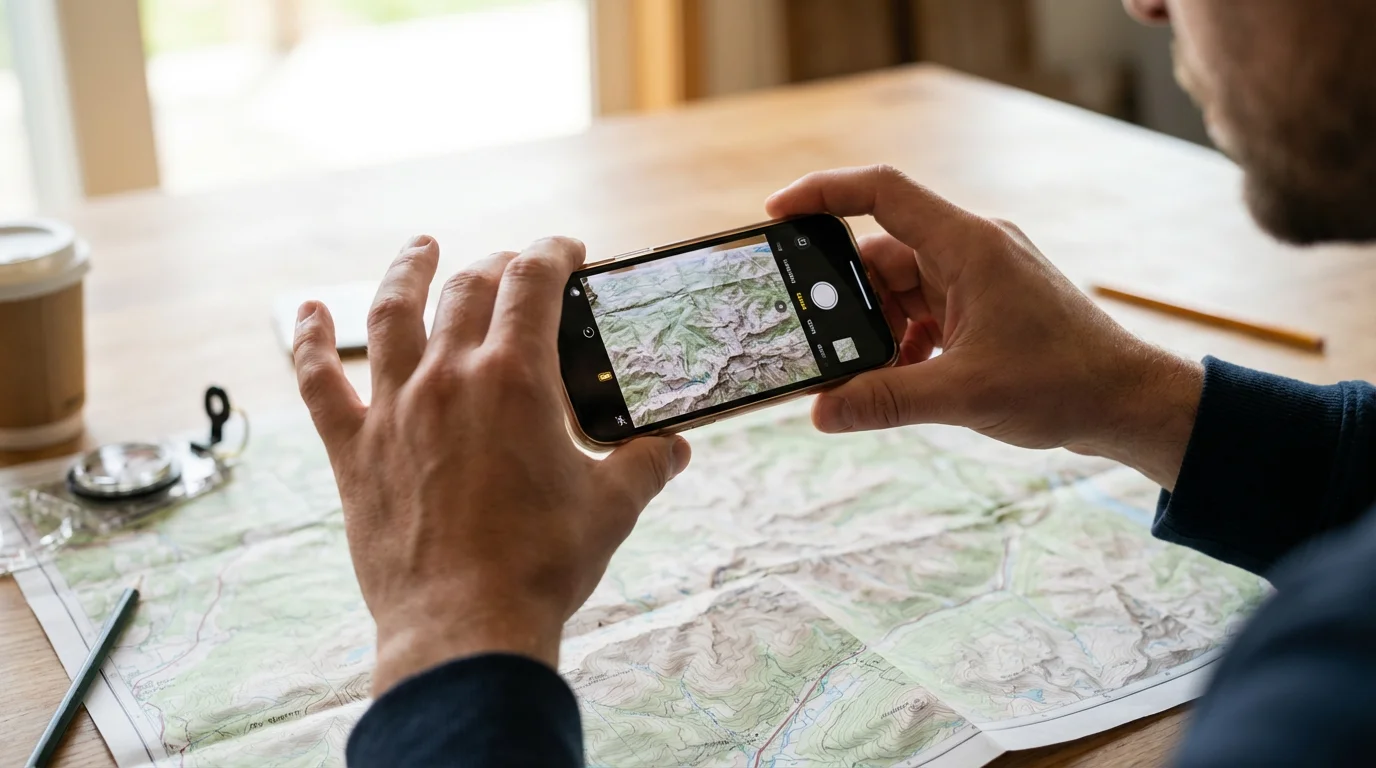
Can I use this to see things far away, like a street sign?
Yes, you can! While it is designed for reading close-up text, you can point the camera at a distant sign and use the zoom slider to see it more clearly. Just remember that the further away the object is, the more your hand’s natural movement will make the image shake—use the “Freeze Frame” button to capture the sign so you can read it easily.
Will using the Magnifier use up my monthly data plan?
No. The Magnifier uses your phone’s camera hardware, not the internet. You can use it in the middle of a forest or a basement with no signal, and it will work perfectly. It is a completely “offline” tool.
Learning to use these features is a wonderful way to maintain your independence. If you ever find yourself stuck, don’t hesitate to visit a local library or a Senior Planet center. Many organizations, such as Senior Planet from AARP, offer free classes specifically for older adults who want to master their smartphones. You can also ask a grandchild or a neighbor to help you find the initial “Settings” menu—once it is set up, you will be able to use it all on your own.
Disclaimer: This article is for informational purposes only. Screens and menus may look slightly different depending on your device model and software version. When in doubt, visit your device’s official support website or ask a trusted family member for help.


Leave a Reply