

Embarking on your journey with a Mac computer opens up a world of possibilities, from connecting with loved ones to managing your cherished photos and documents. We understand that new technology, especially a new operating system like macOS, can sometimes feel overwhelming. You might find the way things look or work a bit different from what you remember or what you are used to. This guide simplifies your Mac desktop, breaking down each element into easy-to-understand parts. We aim to build your confidence and make your Mac experience enjoyable and productive.
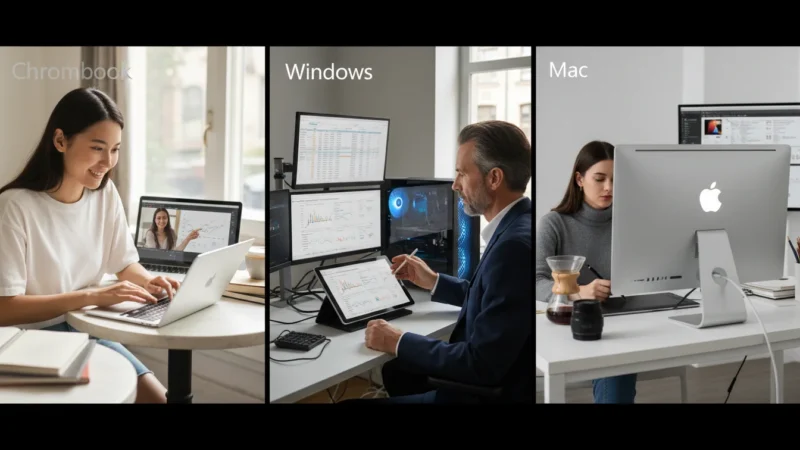
If you are coming from a different background, you might also be interested in how this compares to the Windows 11 desktop experience.
Think of your Mac’s desktop as your virtual workspace, much like a physical desk where you organize your papers, photos, and tools. We will explore each part of this digital desk, guiding you through the menu bar, the dock, and how to manage your files. By the end of this guide, you will navigate your Mac with greater ease and understanding.
Table of Contents
- Understanding Your Mac Desktop: The Basics
- The Menu Bar: Your Mac’s Control Center
- The Dock: Quick Access to Your Favorite Apps
- Finder: Managing Your Files and Folders
- Opening, Closing, and Switching Applications
- Connecting Peripherals: Printers, USB Drives, and More
- Keeping Your Mac Healthy: Updates and Maintenance
- Common Problems and Simple Solutions
- Frequently Asked Questions
Understanding Your Mac Desktop: The Basics
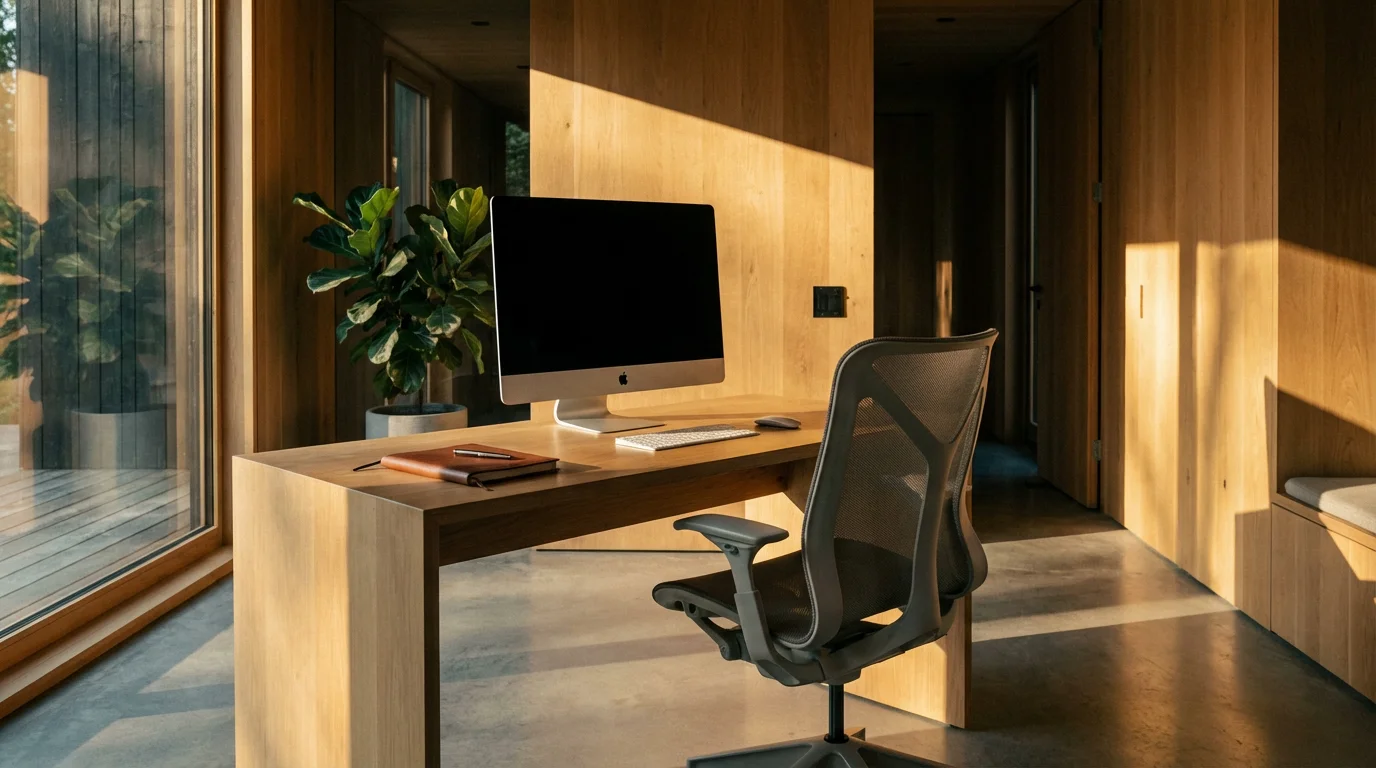
When you first turn on your Mac, you see the main screen, which we call the desktop. This is your primary workspace. Your Mac desktop serves as the central hub for all your activities, showing you open applications, files you might be working on, and essential tools.
What you see on your desktop typically includes:
- Background Image: This is the picture or color filling your screen. You can customize it to your liking, perhaps with a scenic view or a photo of your family.
- Icons: These small pictures represent applications, documents, or folders saved directly onto your desktop. You can click on an icon to open the item it represents. A folder is like a manila folder that holds your files, helping you keep your digital items organized. A file is a document, photo, or other item saved on your computer.
- The Menu Bar: This thin bar stretches across the very top of your screen. It contains important menus and status icons, offering various options depending on which application you are currently using.
- The Dock: This row of icons usually sits at the bottom of your screen. The dock provides quick access to your favorite applications, open windows, and the Trash.
Your Mac’s desktop is designed to be intuitive. Take a moment to look at what is on your screen. You do not need to understand everything immediately. We will go through each part step by step, making it clear and simple for you.
The Menu Bar: Your Mac’s Control Center
The menu bar is a constant feature at the top of your Mac’s screen. It changes slightly depending on the application you are using, but some parts always remain the same. This bar offers critical controls and information.
Left Side of the Menu Bar
On the far left, you always see the Apple menu icon, which looks like a small apple (). This is your gateway to system-wide settings and information. Here are some common options you find under the Apple menu:
- About This Mac: This shows you details about your Mac, such as its model, processor, and how much memory it has.
- System Settings (or System Preferences on older macOS versions): This is where you adjust nearly all of your Mac’s settings, from your Wi-Fi connection to your desktop background. You will visit System Settings often to personalize your Mac.
- App Store: Click here to find and download new applications or update existing ones.
- Recent Items: This lists applications, documents, and servers you have opened recently, making it easy to jump back into your work.
- Force Quit: If an application stops responding, you can use this option to close it forcefully. We explain this more in the common problems section.
- Sleep, Restart, Shut Down: These options manage your Mac’s power state. Sleep puts your Mac into a low-power mode, allowing it to start up quickly. Restart turns your Mac off and then back on, which can solve many small glitches. Shut Down turns your Mac off completely.
- Lock Screen: This immediately locks your screen, requiring your password to log back in, which is useful for privacy if you step away.
- Log Out: This closes all your applications and takes you back to the login screen, useful if multiple people share the Mac.
Next to the Apple menu, you see the name of the application you are currently using, followed by its specific menus like “File,” “Edit,” “View,” “Window,” and “Help.” These menus change depending on the application. For example, if you are looking at photos, you might see a “Image” menu. If you are writing a document, you might see “Format.”
- File: Offers options for opening, saving, printing, or creating new files. For example, to print a document, you typically click on File in the top left corner, then click Print.
- Edit: Includes commands like “Undo,” “Redo,” “Cut,” “Copy,” and “Paste.” These are useful for making changes to text or images.
- View: Lets you change how content appears, such as zooming in or out, or changing how items are sorted in a window.
- Help: Provides access to the application’s help documentation. This can be very useful if you are unsure how to do something specific within that application.

Right Side of the Menu Bar
The right side of the menu bar contains various status icons, providing quick access to common functions and information. What you see here might vary slightly depending on your specific Mac model and how you have customized it.
- Control Center: This icon, often two overlapping toggles, gives you quick access to frequently used controls like Wi-Fi, Bluetooth, AirDrop, display brightness, and sound volume. Click it once to open a panel of these controls, then click on the option you wish to adjust.
- Wi-Fi Status: A fan-like icon indicating your wireless internet connection strength. Click it to see available networks or to connect to a new one.
- Battery Status: On laptops, this icon shows how much battery life remains. Click it for more details, such as estimated time remaining or battery health.
- Sound Volume: A speaker icon. Click it to adjust your Mac’s overall volume.
- Clock and Date: Displays the current time and date. You can often customize its appearance in System Settings.
- Spotlight: This magnifying glass icon opens Spotlight Search. Spotlight is a powerful tool allowing you to quickly find files, applications, and even information on the internet by typing keywords. Click the icon, then type what you are looking for into the search bar that appears.
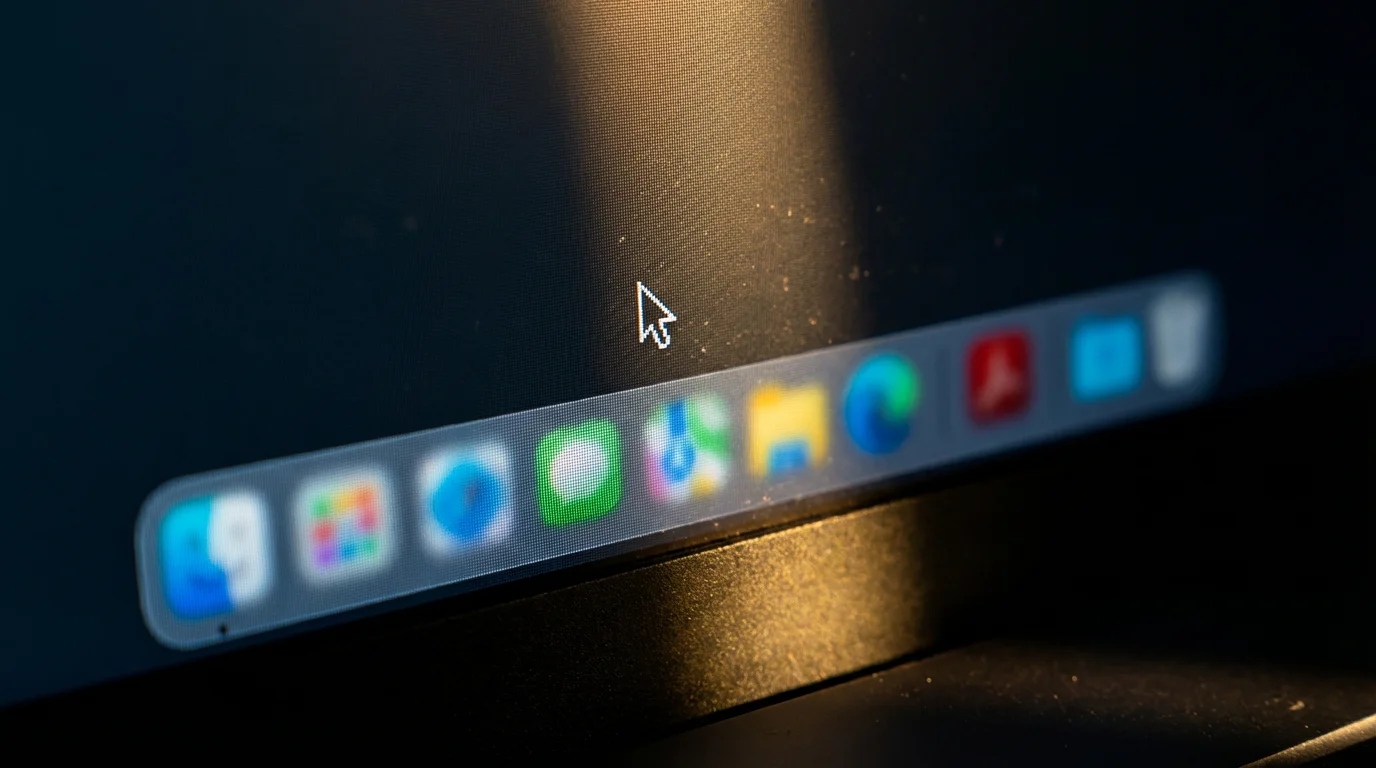
The Dock: Quick Access to Your Favorite Apps
The dock is a row of icons, usually located at the bottom of your Mac’s screen. Think of it as a launchpad and a quick view of your currently running applications. It helps you switch between tasks and open your most-used programs with ease.

What You’ll See in the Dock
- Application Icons: These are the little pictures representing your apps.
- Apps with a small dot underneath them are currently open and running.
- Apps without a dot are shortcuts to launch the application.
- Finder Icon: This blue square with a smiling face is always on the left side of your Dock. It is your gateway to managing all your files and folders, similar to “File Explorer” on Windows computers. We will discuss Finder in detail shortly.
- Trash Icon: On the far right of the Dock, you find the Trash icon, which looks like a small wastebasket. When you delete files or folders, they go here temporarily, allowing you to recover them if you change your mind. To permanently remove items, you must “empty” the Trash.
Using the Dock
- Opening an Application: To open any application shown in the Dock, simply move your mouse pointer over its icon and then click (press the left mouse button once). The application will open, and a small dot will appear beneath its icon in the Dock, indicating it is running.
- Adding an Application to the Dock: If you frequently use an application not currently in your Dock, you can easily add it. Open the application first (you can find it in your Applications folder, which we will explain under Finder). Once it is open, its icon appears in the Dock with a dot. Right-click (press the right mouse button once) on its icon in the Dock. A menu appears. Move your mouse pointer to “Options,” then click “Keep in Dock.” The icon will now stay in the Dock even after you close the application.
- Removing an Application from the Dock: To remove an application icon from the Dock, simply click and drag (hold down the left mouse button while moving the mouse) the icon away from the Dock onto the desktop. Release the mouse button. The icon will disappear with a puff of smoke. Do not worry, this does not delete the application itself, only the shortcut from the Dock.
- Rearranging Icons: You can change the order of icons in your Dock by dragging them to a new position. Click and hold an icon, drag it left or right, and then release the mouse button when it is in the desired spot.
The Dock is your personal shortcut bar. Customize it with your most-used applications to save time and make your Mac feel more like your own. Remember, you can always change it later.
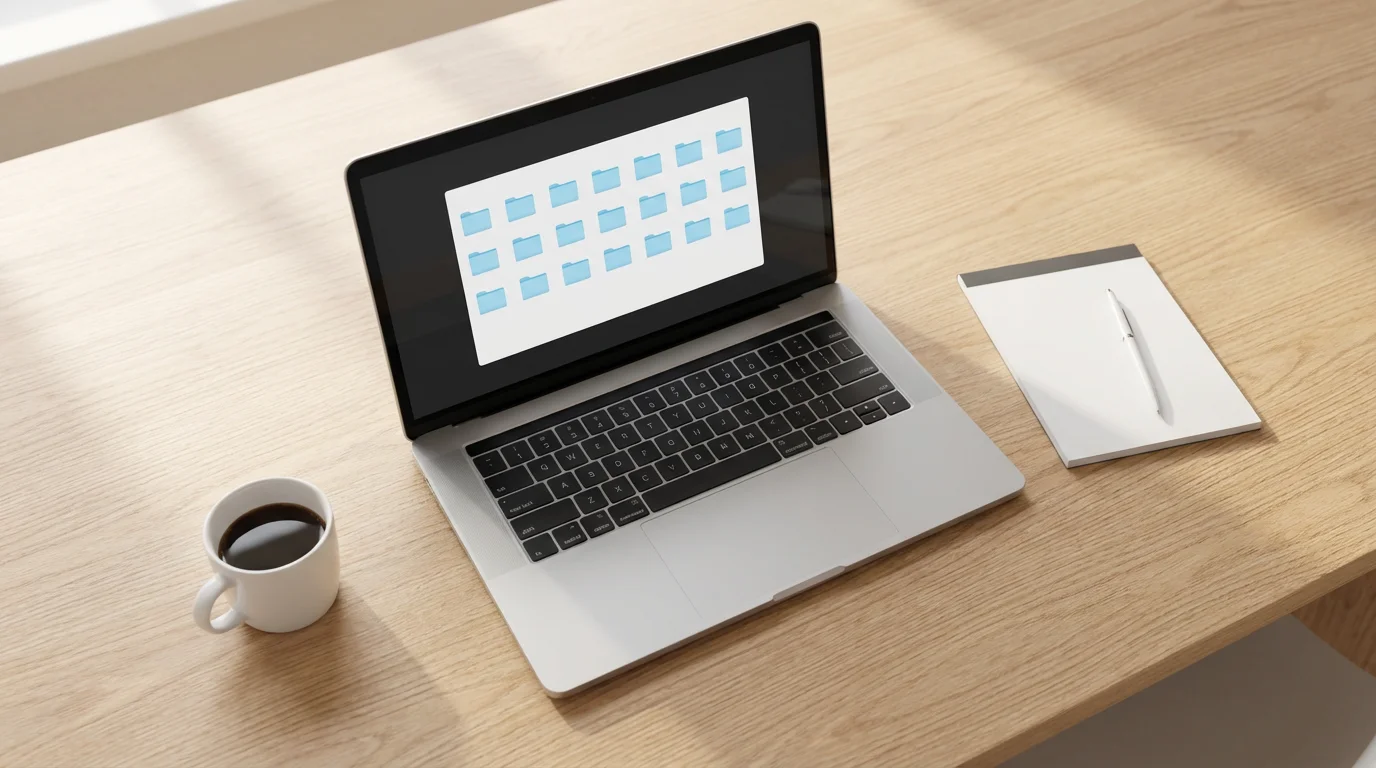
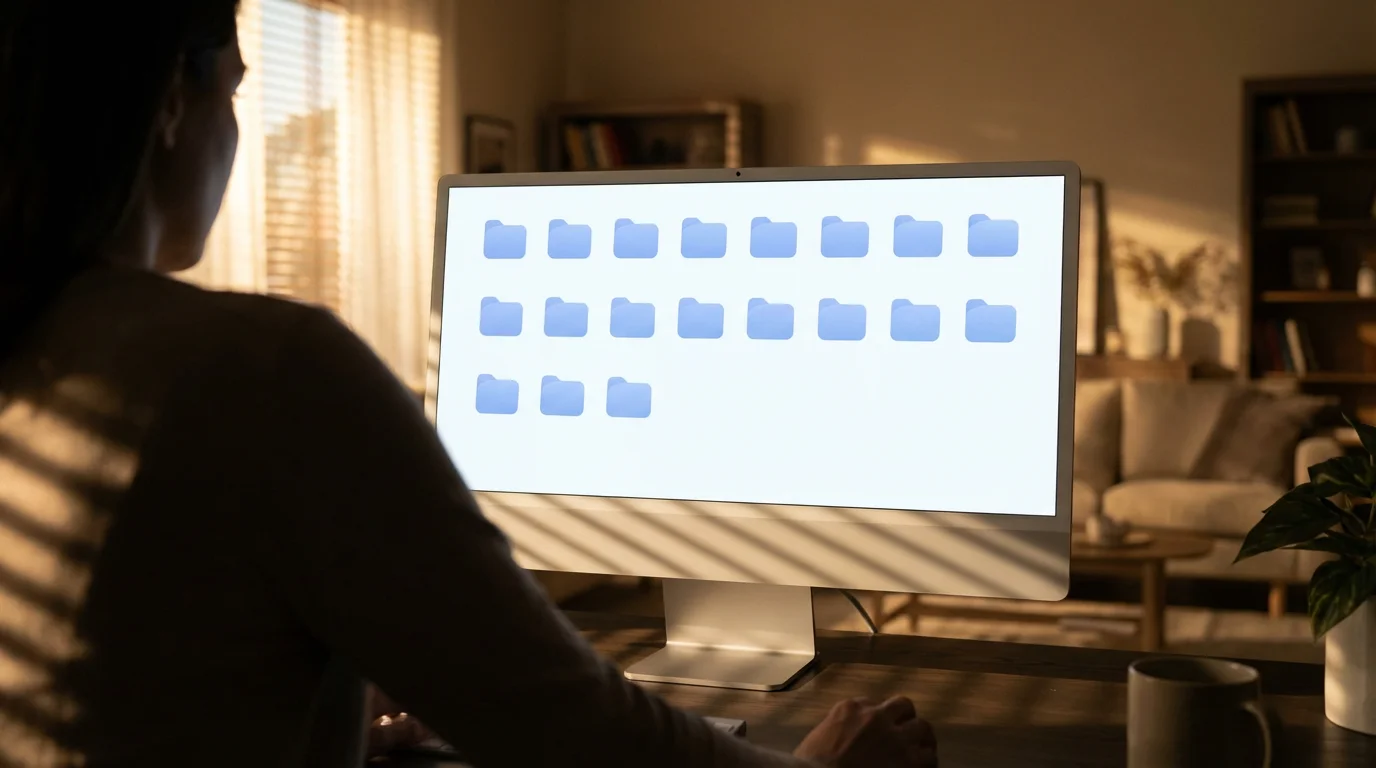
Finder: Managing Your Files and Folders
The Finder is the core application for managing all your files and folders on your Mac. It is similar to “File Explorer” on Windows computers. It helps you navigate your documents, photos, music, and applications, ensuring everything stays organized and easy to locate.
Opening and Navigating Finder
You can always open Finder by clicking on its icon in the Dock. It is the blue square with a smiling face. When you open Finder, a window appears showing you the contents of your Mac.
What You’ll See in a Finder Window:
- Sidebar (Left Panel): This panel usually shows several categories:
- Favorites: Quick links to important locations like your “Recents” (recently opened items), “Applications” (where all your installed programs live), “Documents,” “Desktop,” and “Downloads” folders.
- iCloud Drive: If you use Apple’s cloud service, your files stored in iCloud appear here, accessible from all your Apple devices.
- Locations: Shows connected devices like external hard drives or USB drives.
- Main Content Area (Right Panel): This larger area displays the contents of the folder or location you have selected in the sidebar. For example, if you click “Documents” in the sidebar, this area shows all the files and folders within your Documents folder.
- Toolbar (Top of the Window): Contains buttons for actions like going back or forward, changing how files are displayed (icons, list, columns, gallery), and search.

Organizing Your Files and Folders
- Creating a New Folder: To create a new folder, open Finder and navigate to where you want the new folder to be (e.g., your Documents folder). Then, go to the menu bar at the top of the screen, click on File, and then click on New Folder. A new folder will appear, named “untitled folder.” You can type a new name for it immediately. Press the Return key (Enter) when finished.
- Moving Files and Folders: To move an item, simply drag it from its current location to a new folder in the main content area or to a folder in the sidebar. For example, to move a photo from your “Downloads” folder to your “Pictures” folder, click on the photo, hold down the mouse button, drag the photo over the “Pictures” folder in the sidebar, and then release the mouse button.
- Copying Files and Folders: To copy an item instead of moving it, hold down the Option key on your keyboard while you drag the item to the new location. This creates a duplicate, leaving the original in its place.
- Renaming Files and Folders: To rename an item, click on its name once to select it, then press the Return key (Enter) on your keyboard. The name will highlight, allowing you to type a new one. Alternatively, right-click on the item, and then click Rename from the menu that appears.
- Deleting Files and Folders: To delete an item, drag it to the Trash icon in the Dock. You can also right-click on the item and click Move to Trash. Remember, items in the Trash are not permanently deleted until you empty the Trash. To empty the Trash, right-click on the Trash icon in the Dock and then click Empty Trash.

Opening, Closing, and Switching Applications
Managing your applications effectively makes your Mac experience smoother. You will often have multiple applications open at once, and knowing how to handle them is key.
Opening Applications
- From the Dock: As we discussed, the quickest way to open an application is to click its icon in the Dock.
- From Finder: Open Finder (the blue smiling face icon in the Dock), then click “Applications” in the sidebar. Here, you see a list of all installed applications. Double-click (press the left mouse button twice quickly) on an application’s icon to open it.
- Using Spotlight Search: This is a very fast method. Click the magnifying glass icon in the top right of the menu bar (or press Command + Spacebar on your keyboard). A search bar appears. Start typing the name of the application you want to open (e.g., “Mail” or “Safari”). As you type, suggestions appear. When you see the application you want, double-click it or press the Return key (Enter).
- From Launchpad: Launchpad is another way to see all your applications, presented in a grid like on an iPad or iPhone. You can find its icon in the Dock (a rocket ship). Click it, then click on the application you want to open.

Closing Applications
You have a few ways to close applications on your Mac:
- Using the Red Close Button: In the top left corner of most application windows, you see three colored buttons: red, yellow, and green. The red button (X) closes the window. Be aware that for some applications, clicking the red button only closes the window, but the application might still be running in the background.
- Quitting from the Application Menu: This is the most reliable way to fully close an application. Look at the menu bar at the top of your screen. The name of the currently active application appears next to the Apple menu (e.g., “Safari” or “Pages”). Click on the application’s name (e.g., “Safari”), then click Quit Safari (or Quit [Application Name]) from the drop-down menu.
- Using the Dock: If an application is running, its icon in the Dock has a small dot underneath. Right-click on the application’s icon in the Dock. A menu appears. Click Quit.

Switching Between Open Applications
When you have several applications open, you can easily switch between them:
- Clicking Icons in the Dock: If you see the application’s icon in the Dock with a dot, simply click it. This brings that application’s window to the front.
- Using Command + Tab: Hold down the Command key (⌘) on your keyboard, then press the Tab key once. A row of application icons appears in the middle of your screen. Keep holding down the Command key and repeatedly press the Tab key to cycle through the open applications. Release both keys when the desired application is highlighted. This is a very efficient way to switch.

Connecting Peripherals: Printers, USB Drives, and More
Your Mac works with a variety of external devices, often called peripherals. These include printers, external hard drives, USB flash drives, and even webcams. Connecting these devices enhances your computer’s capabilities.
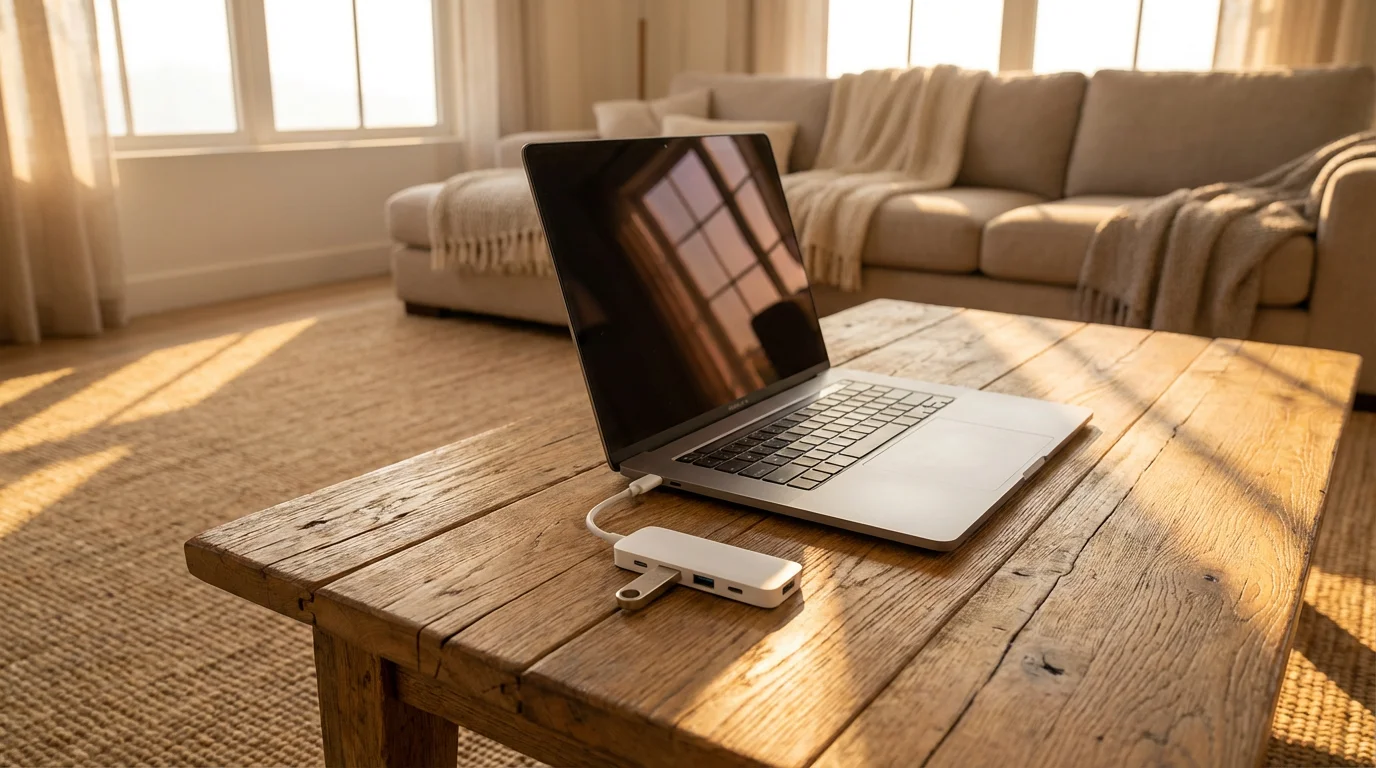
Connecting a USB Flash Drive or External Hard Drive
These devices typically connect to your Mac using a USB cable. Your Mac might have different types of USB ports (rectangular USB-A or smaller, oval USB-C). Ensure you have the correct cable or adapter.
- Plug In: Carefully insert the USB connector into an available USB port on your Mac. It usually only fits one way. Do not force it.
- Access Files: After a moment, a new icon for the drive often appears on your desktop. You can double-click this icon to open the drive and access its contents in a Finder window. If it does not appear on your desktop, open Finder (the blue smiling face icon in the Dock), and you should see the drive listed under “Locations” in the sidebar. Click on its name to open it.
- Eject Safely: This step is very important to prevent data loss or damage to your drive. Never just pull a USB drive out of your Mac. To safely remove it, drag the drive’s icon from your desktop to the Trash icon in the Dock. The Trash icon changes to an Eject icon. Release the mouse button. Alternatively, right-click on the drive’s icon on your desktop or in the Finder sidebar, and then click Eject “[Drive Name]”. Wait a few seconds for the icon to disappear, then you can safely remove the physical drive.

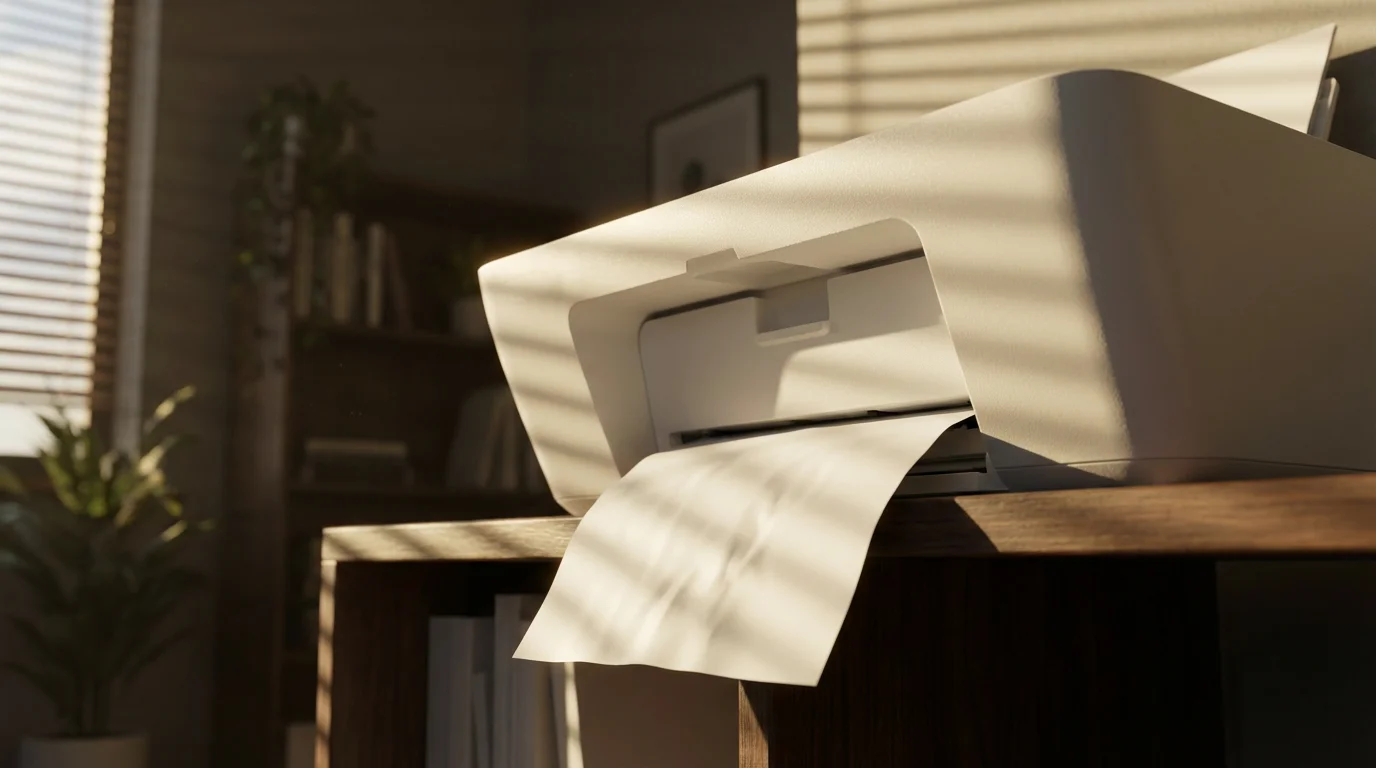
Connecting and Setting Up a Printer
Modern printers often connect wirelessly (Wi-Fi) or with a USB cable. Most Macs automatically detect new printers. If not, follow these steps:
- Connect the Printer: Make sure your printer is turned on and connected to your Mac (either via USB cable or to the same Wi-Fi network as your Mac).
- Open System Settings: Click the Apple menu () in the top left corner of the screen, then click System Settings. (On older macOS versions, this is “System Preferences”).
- Navigate to Printers & Scanners: In the System Settings window, scroll down and click on Printers & Scanners.
- Add Printer: If your printer is not listed, click the Add Printer, Scanner, or Fax button. This button usually looks like a plus sign (+).
- Select Your Printer: Your Mac searches for available printers. When you see your printer’s name appear in the list, click on it to select it, then click the Add button. Your Mac typically downloads the necessary software (drivers) automatically.
- Print a Test Page: Once added, try printing a document to ensure everything works correctly. To print, open a document, click File in the menu bar, then click Print. Review the settings, then click Print again.
For more detailed assistance with specific printer models or troubleshooting, consult your printer’s manual or visit the printer manufacturer’s support website. Apple Support also provides comprehensive guides for connecting peripherals.

Keeping Your Mac Healthy: Updates and Maintenance
Regularly updating and maintaining your Mac ensures it runs smoothly, securely, and efficiently. Think of it like taking care of your car, routine check-ups prevent bigger problems down the road.

Software Updates (macOS Updates)
Apple regularly releases updates for macOS. These updates include new features, performance improvements, and crucial security fixes. Installing them is vital.
- Open System Settings: Click the Apple menu () in the top left corner, then click System Settings.
- Go to Software Update: In System Settings, click General in the sidebar, then click Software Update on the right.
- Check for Updates: Your Mac automatically checks for available updates. If an update is found, you see an option to “Upgrade Now” or “Update Now.”
- Install Updates: Click the button to start the installation. This process can take some time, and your Mac might restart multiple times. Ensure your Mac laptop is plugged into power before starting a major update.
Updating your Mac might seem like a chore, but it is one of the best ways to protect your computer from new threats and keep it running at its best. Apple continuously improves macOS, and updates bring those improvements directly to you.

Application Updates
Beyond the macOS itself, individual applications also receive updates. For apps downloaded from the App Store:
- Open the App Store: Click the App Store icon in your Dock (a blue icon with a white “A”).
- Check for Updates: In the App Store window, look for an “Updates” section in the sidebar. Click it.
- Install Updates: If updates are available, click Update All or update individual applications.
For applications downloaded from the internet, you typically open the application itself and look for an “Update” or “Check for Updates” option within its menus (often under the application’s name in the menu bar, or under “Help”).

General Maintenance Tips
- Restart Regularly: A simple restart (Apple menu > Restart) can solve many minor issues by clearing out temporary files and refreshing your system. Aim to restart your Mac at least once a week.
- Do Not Fill Up Your Storage: Try to keep at least 15-20% of your Mac’s storage space free. A full hard drive significantly slows down your computer. You can check your storage by going to Apple menu > System Settings > General > Storage. Consider moving old photos or documents to an external hard drive or cloud storage if your Mac is running low.
- Keep Your Desktop Tidy: While it is convenient to save files to the desktop, too many icons can slow down your Mac and make it harder to find what you need. Organize your files into folders in your Documents or Pictures folders.
- Clear the Trash: Remember to empty your Trash regularly, as items there still take up storage space.
Common Problems and Simple Solutions
Even with the best technology, you might encounter an occasional hiccup. Many common Mac problems have straightforward solutions. Here are a few you might experience and how to address them.
Application Not Responding (Frozen App)
If an application suddenly stops responding, you cannot click anything, or it shows a spinning rainbow cursor, it has likely frozen.
- Try to Force Quit:
- Click the Apple menu () in the top left corner.
- Click Force Quit… from the menu.
- A window titled “Force Quit Applications” appears.
- Click on the name of the frozen application to highlight it.
- Click the Force Quit button at the bottom right of the window.
- Confirm your choice if prompted.
- Wait a Moment: Sometimes, an application is just busy and will become responsive again if you give it a minute or two.
- Restart Your Mac: If Force Quit does not work, or if your entire Mac is unresponsive, restarting your Mac usually resolves the issue. Click the Apple menu (), then Restart. If your Mac is completely frozen, you might need to press and hold the power button until it turns off, then wait 30 seconds before pressing it again to turn it back on.

Mac Running Slowly
A slow Mac can be frustrating. Here are common reasons and solutions:
- Too Many Apps Open: Close applications you are not actively using. Refer to the “Closing Applications” section.
- Low Storage Space: As mentioned, a nearly full hard drive slows things down. Free up space by moving large files to an external drive or deleting unnecessary items. Check your storage via Apple menu > System Settings > General > Storage.
- Outdated Software: Ensure your macOS and applications are up to date. Updates often include performance improvements. See “Keeping Your Mac Healthy.”
- Restart: Often, a simple restart clears temporary files and helps your Mac run faster.
Printer Not Printing
If your printer refuses to cooperate, consider these steps:
- Check Connections: Ensure the printer is plugged in, turned on, and properly connected to your Mac (via USB or Wi-Fi).
- Check Printer Power and Ink/Toner: Make sure the printer has power, and that it has enough ink or toner and paper.
- Check the Print Queue: Sometimes, a job gets stuck. To check, click the Apple menu () > System Settings > Printers & Scanners. Click on your printer, then click “Printer Queue” or “Open Print Queue.” You can usually pause, resume, or delete print jobs from here.
- Remove and Re-add Printer: If all else fails, you can remove your printer from System Settings (click the minus sign (-) under Printers & Scanners), then re-add it as described in the “Connecting Peripherals” section.

When to Ask for Help
While many problems have simple fixes, sometimes you encounter issues that require more advanced troubleshooting. Do not hesitate to ask for help if you feel stuck or overwhelmed. Here are good resources:
- Trusted Family or Friends: A tech-savvy family member or friend can often help with minor issues or guide you through a fix.
- Apple Support: Apple provides excellent online resources, chat support, and phone support. They can guide you through complex issues or help you schedule a visit to an Apple Store if needed.
- Senior Planet from AARP: This resource offers technology courses and tips specifically for older adults, providing a supportive learning environment.
- Local Computer Repair Shop: For hardware issues or complex software problems, a reputable local computer repair shop can diagnose and fix your Mac.
Frequently Asked Questions
Here are answers to some common questions you might have about your Mac desktop.
Q: What is the difference between shutting down and putting my Mac to sleep?
A: When you put your Mac to sleep, it enters a low-power mode, allowing it to start up almost instantly when you need it again. All your open applications and documents remain exactly where you left them. Shutting down, on the other hand, completely turns off your Mac. It closes all applications, clears your computer’s memory, and requires a full startup process when you turn it back on. Shutting down is good for conserving power over longer periods or to resolve minor glitches, while sleep is ideal for short breaks.
Q: My desktop icons are too small. How can I make them bigger?
A: You can easily adjust the size of your desktop icons. Click anywhere on your desktop background so that “Finder” appears as the active application in the menu bar. Then, in the menu bar, click on View, then click Show View Options. A small window appears. Look for the “Icon size” slider. Drag the slider to the right to make the icons larger. You can also adjust the “Text size” for the icon labels in this same window.
Q: How do I change my desktop background picture?
A: Changing your desktop background is simple and a great way to personalize your Mac. Click the Apple menu () in the top left corner, then click System Settings. In the System Settings window, click on Desktop & Dock in the sidebar, then click on Desktop & Screen Saver on the right. You will see a selection of Apple-provided wallpapers, or you can choose “Add Photo Album” or “Add Folder” to use your own pictures. Click on the image you want, and your desktop background updates immediately.
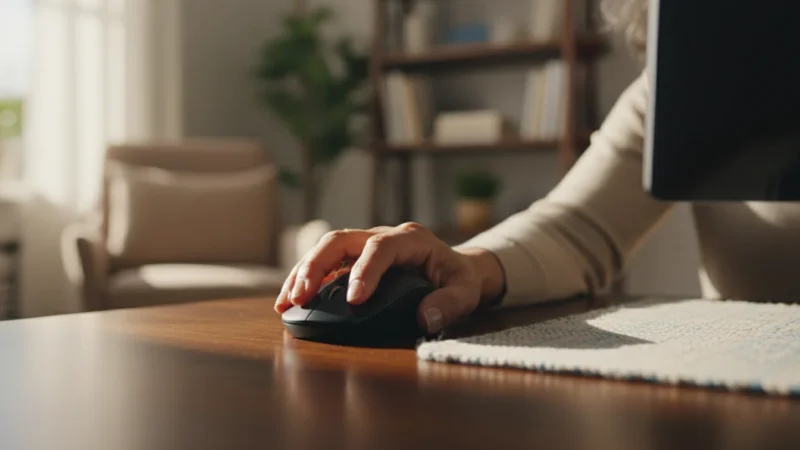
Q: Can I use a regular mouse with my Mac, or do I need a special Apple mouse?
A: Yes, you can absolutely use a regular USB or wireless mouse with your Mac. Most standard mice are compatible. Simply plug in the USB receiver for a wireless mouse or the USB cable for a wired mouse into an available USB port on your Mac. Your Mac typically detects the mouse automatically. You do not need a special Apple mouse, though many people find Apple’s Magic Mouse or Magic Trackpad to be very intuitive.
Navigating your Mac desktop becomes second nature with a little practice and patience. We hope this guide demystified your Mac’s interface, providing you with the clarity and confidence you need to use your computer effectively. Each click, each menu, and each icon serves a purpose designed to make your digital life easier. Remember, your Mac is a powerful tool, and you are fully capable of mastering it. Keep exploring, keep learning, and enjoy all your Mac has to offer.
Disclaimer: This article is for informational purposes only. Your computer’s screens may look slightly different depending on your operating system version and settings. When in doubt, consult official support resources or ask someone you trust for help.


Leave a Reply