
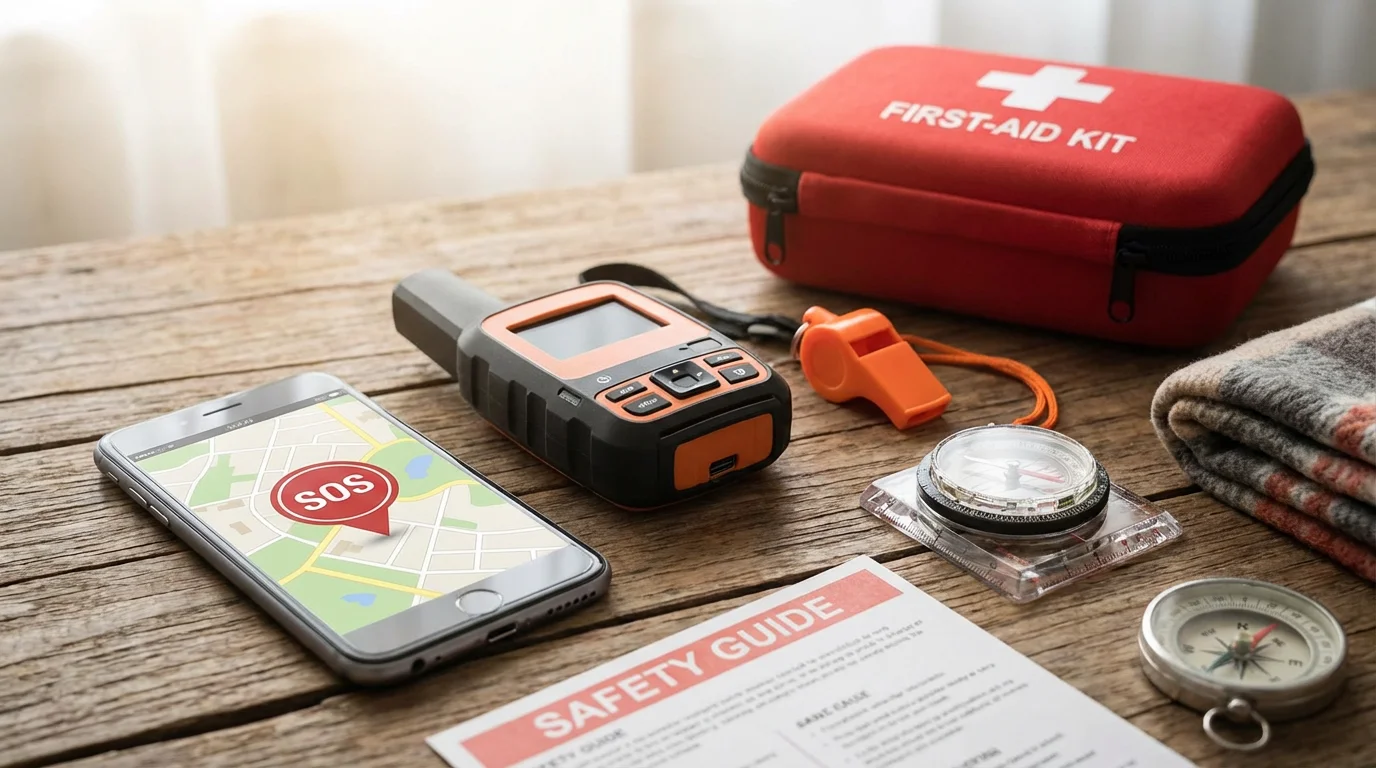
Your smartphone is more than just a tool for calls and photos; it is a vital device for your safety. Learning how to use its important emergency SOS features gives you peace of mind. This guide will walk you through setting up Emergency SOS on your iPhone or Android phone, ensuring help is just a few taps or button presses away. We will also cover how to create a Medical ID, which provides crucial health information to first responders. Setting up these important safety features is a key step in overall smartphone safety for seniors, and it helps you feel more confident and secure with your device.
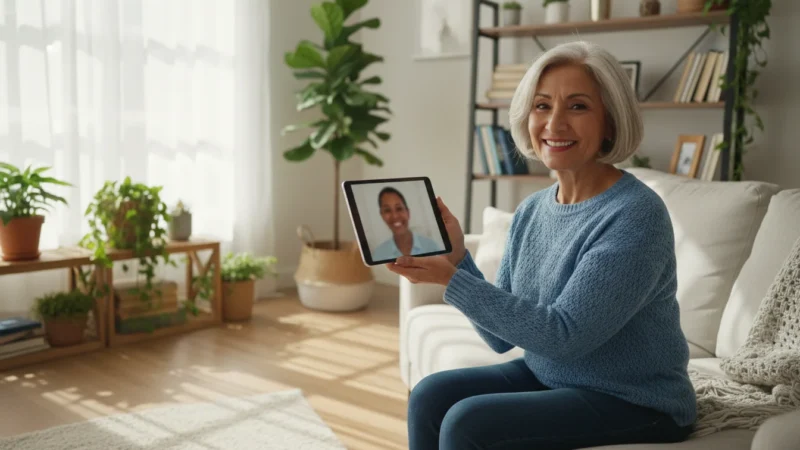
In addition to your phone, many seniors benefit from setting up a personal emergency response system for added safety at home.
You can set up your phone to automatically call emergency services, like 911, and send messages to your chosen emergency contacts. These messages can even include your current location. We will guide you through each step clearly and patiently, assuming you have your phone in hand and are ready to follow along. Your safety is our priority, and understanding these functions is a significant step towards mastering your smartphone.
Table of Contents
- What You’ll Need
- Understanding Emergency SOS
- Setting Up Emergency SOS on iPhone
- Setting Up Emergency SOS on Android
- Practicing Safe Use of Emergency SOS
- What to Do If Something Goes Wrong
- Frequently Asked Questions
- Quick Reference Checklist
- Getting Further Help

What You’ll Need
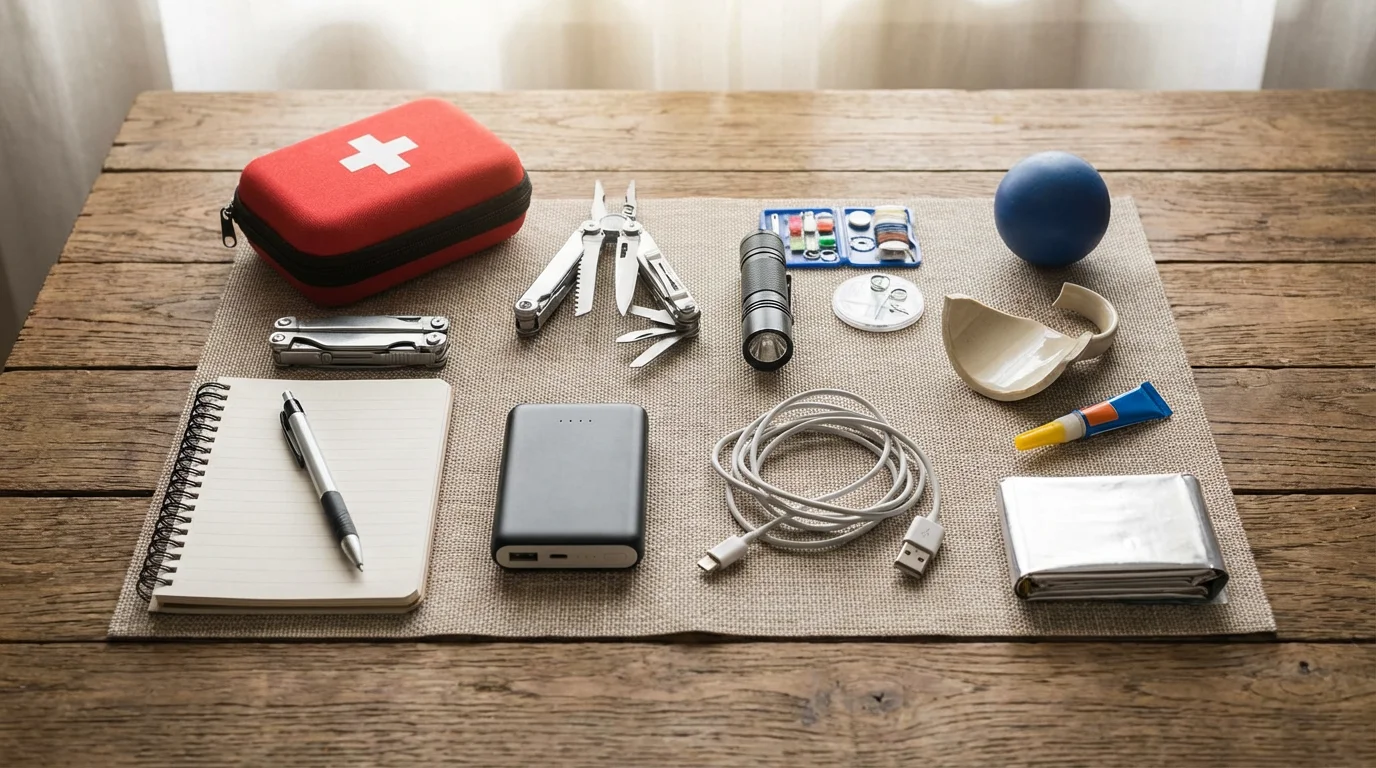
Before you begin, gather a few things to ensure a smooth setup process:
When accessing your Apple or Google accounts for these settings, make sure you create a strong password to keep your personal information safe.
Before you begin the setup, it is a good idea to update your Android phone or iPhone to the latest software to ensure all security features are available.
To make sure your location info is as helpful as possible for responders, you may also want to review how to use Google Maps on your phone.
- Your Smartphone: Make sure it is fully charged or connected to its charger.
- A Wi-Fi or Cellular Connection: Your phone needs to connect to the internet to set up contacts and certain features.
- Your Apple ID or Google Account Information: If you ever need to sign into an app or settings, have this information ready.
- Emergency Contact Information: Have the phone numbers and names of trusted family members or friends handy. You will add them as your emergency contacts.
- Your Medical Information: This includes any allergies, medical conditions, medications you take, and your blood type if you know it. This information is for your Medical ID.
Understanding Emergency SOS
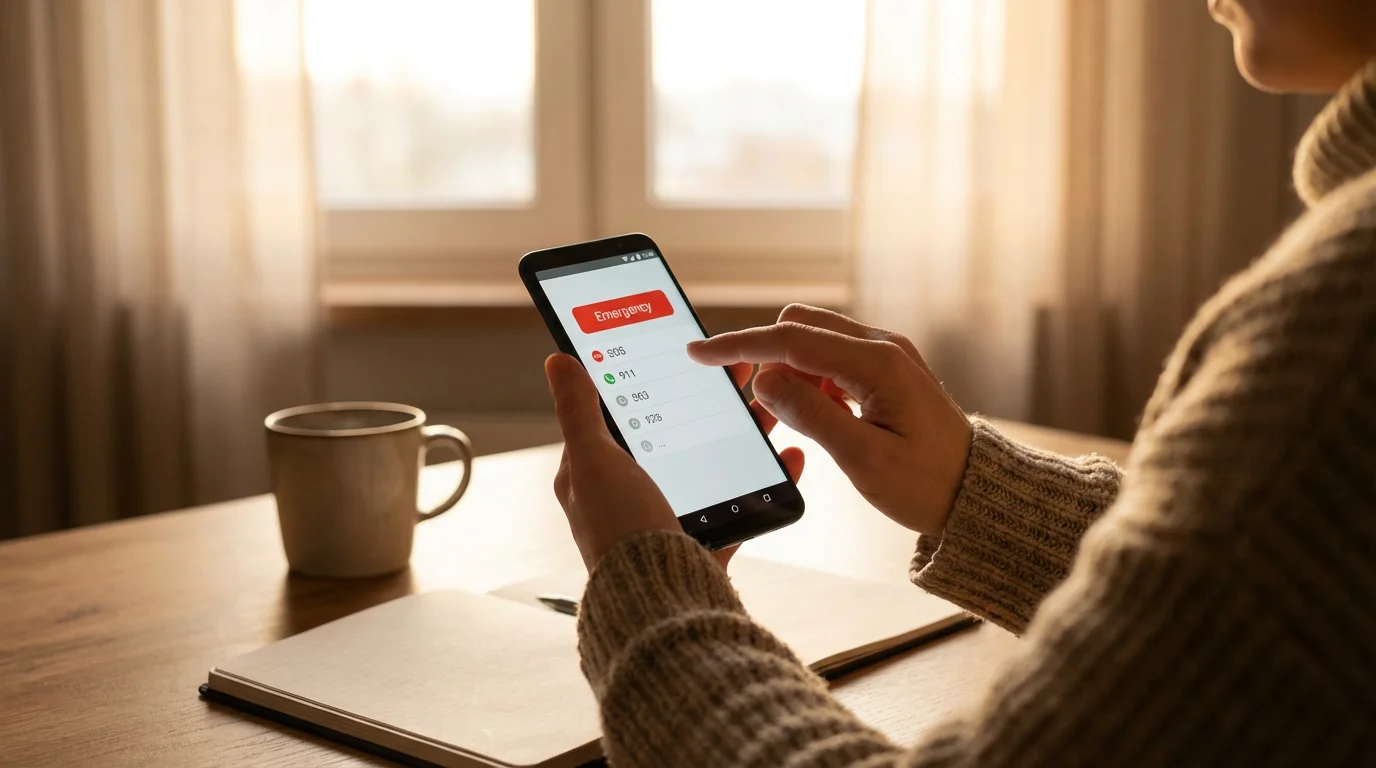
Emergency SOS is a powerful feature designed to quickly get you help in an urgent situation. When activated, it does two main things:
To ensure your location is shared correctly during an emergency, you may need to manage app permissions for your phone’s safety and location services.
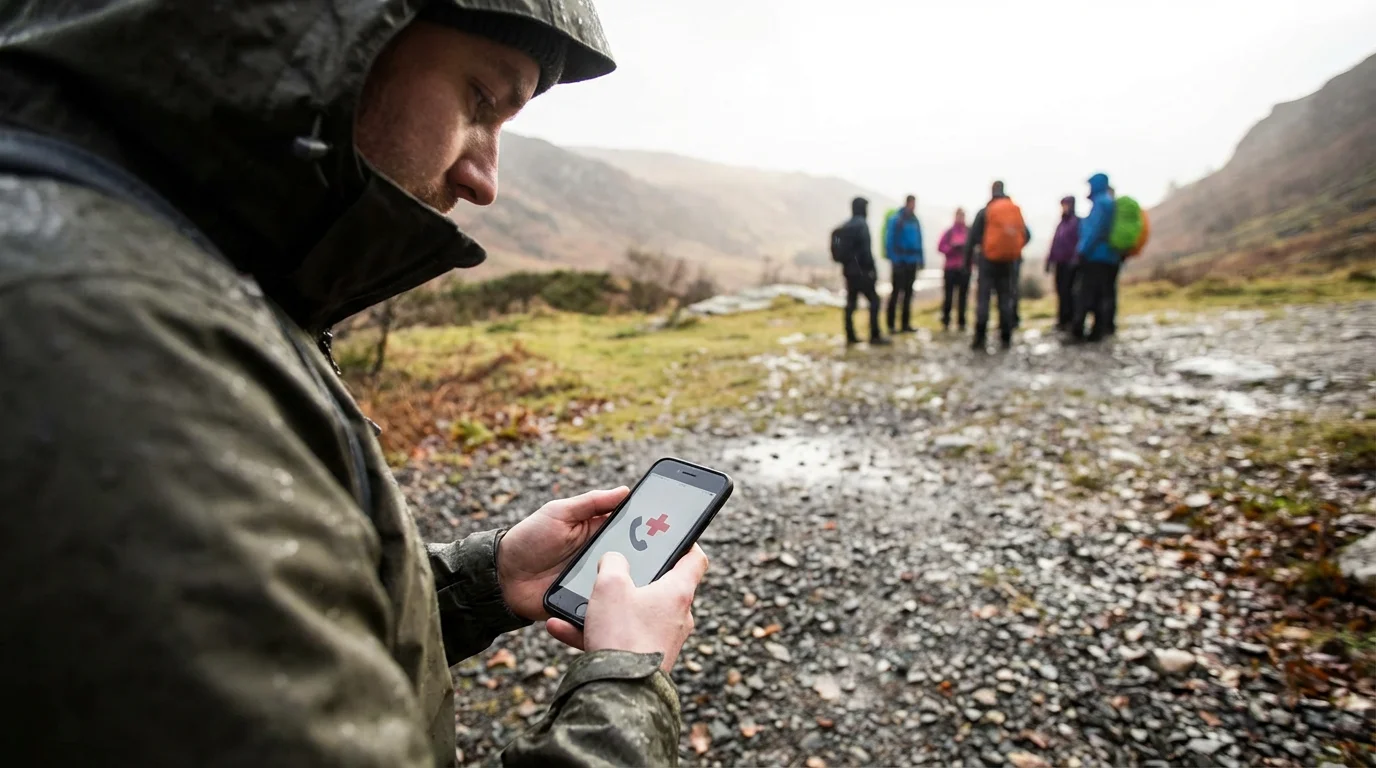
- Calls Emergency Services: Your phone automatically dials the local emergency number, which is 911 in the USA.
- Alerts Emergency Contacts: After the call, your phone sends a text message to your chosen emergency contacts. This message tells them you initiated an Emergency SOS call and shares your current location. If your location changes, your phone can even send updates to keep your contacts informed.
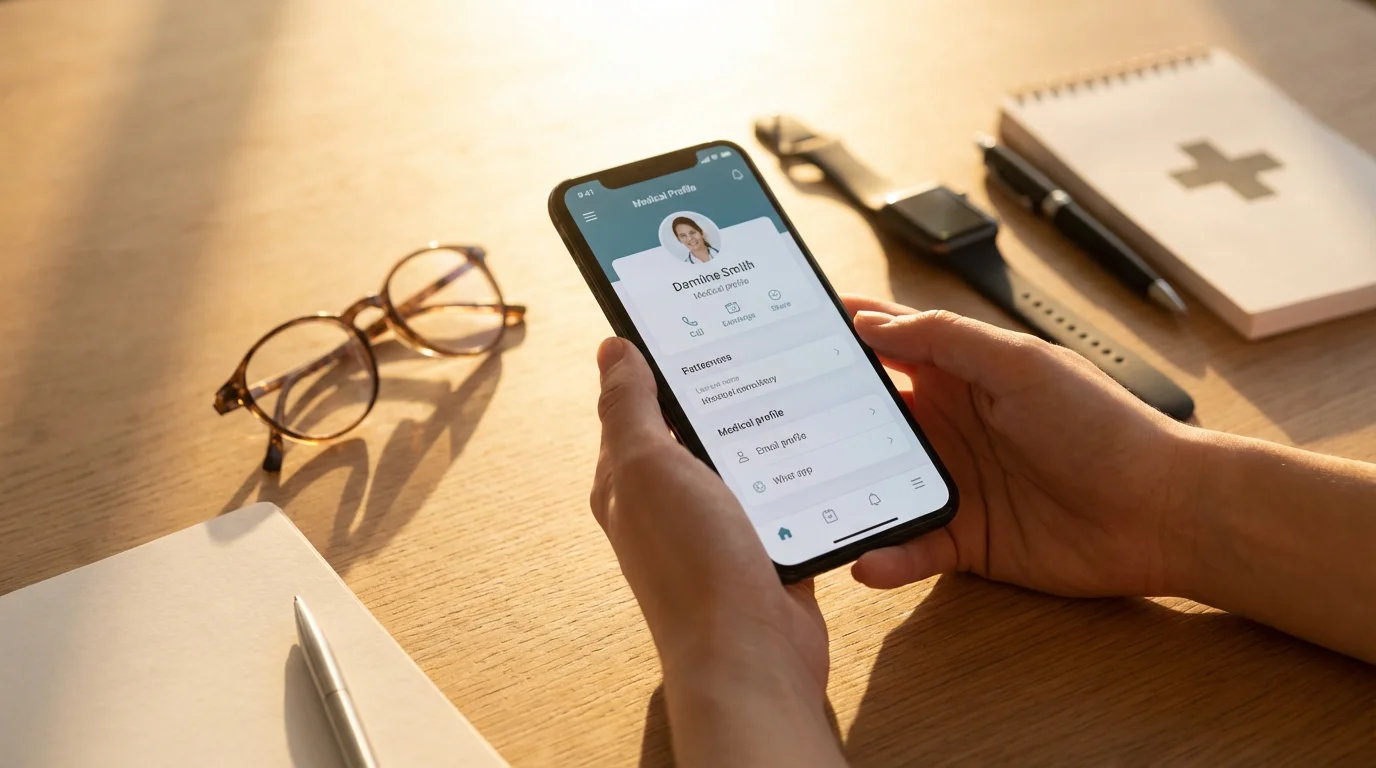
Beyond calling for help, both iPhones and Android phones offer a Medical ID or Medical Info feature. This lets you store vital health information on your phone, making it accessible to first responders even if your phone is locked. They can see allergies, medical conditions, and who to contact in an emergency without needing your passcode. This makes the feature a cornerstone of smartphone safety for seniors.
Remember, setting up Emergency SOS is about equipping yourself with a tool for peace of mind. You hope you never need to use it, but knowing it is there and ready provides significant comfort and safety.

Setting Up Emergency SOS on iPhone
For iPhone users, the Emergency SOS feature is built right into your device. Follow these steps to set it up and ensure your safety features are active.
You can also set up Google Assistant on Android to help you navigate settings or call for assistance using simple voice commands.
For those who find physical buttons difficult to press, learning how to use voice control on your iPhone can provide an alternative way to interact with your device.
iPhone Emergency Call Methods
iPhones offer a couple of ways to activate Emergency SOS. It is good to know both, but you will choose one method to automatically dial 911:
- Method 1: Press and Hold (Recommended for Most)
On iPhones (iPhone 8 and newer), press and hold the side button (on the right side of the phone) and one of the volume buttons (on the left side) at the same time. Hold them down until the Emergency SOS slider appears on your screen. Keep holding them, and your phone will start a countdown and then automatically call emergency services. If you let go too soon, you can still slide your finger across the “Emergency SOS” slider on the screen to make the call. - Method 2: Rapidly Press Side Button (iPhone 8 and newer)
You can set your iPhone to call emergency services by pressing the side button rapidly five times. This is often faster than the press and hold method.
To set up the 5-press side button method:
- Tap the Settings icon. This looks like a small gear wheel on your home screen.
- Scroll down and tap Emergency SOS.
- Look for a setting called “Call with 5 Presses” or “Call with 5 Button Presses.” Tap the switch next to it to turn it green. This means it is on.
- You should see a screen confirming that pressing the side button five times will now call emergency services.
Adding Emergency Contacts on iPhone
After your iPhone calls emergency services, it can automatically alert your chosen contacts. These are your emergency contacts on phone.
- Tap the Settings icon (the gear wheel).
- Scroll down and tap Emergency SOS.
- Scroll down to the “Emergency Contacts” section. You might see a button that says “Set up Emergency Contacts in Health.” Tap this.
- Your phone will open the Health app. Tap Medical ID at the bottom right of the screen.
- If you have not set up Medical ID before, tap Create Medical ID. If you have, tap Edit in the top right corner.
- Scroll down to “Emergency Contacts.” Tap Add Emergency Contact.
- A list of your contacts will appear. Tap the name of the person you want to add.
- Choose their relationship to you (e.g., Mother, Son, Friend). This helps responders understand who they are.
- You can add multiple contacts by repeating steps 6 and 7.
- After adding all contacts, tap Done in the top right corner of the screen.
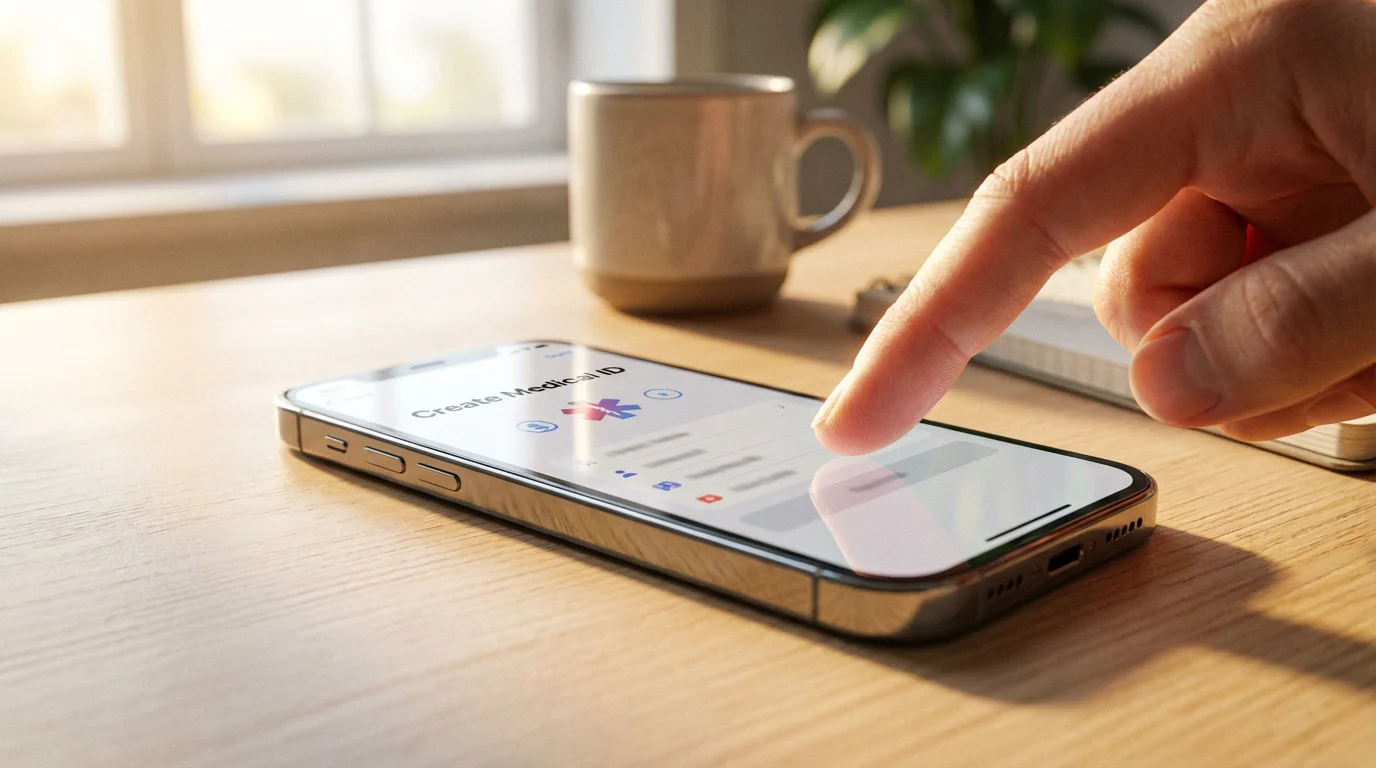
Creating Your Medical ID on iPhone
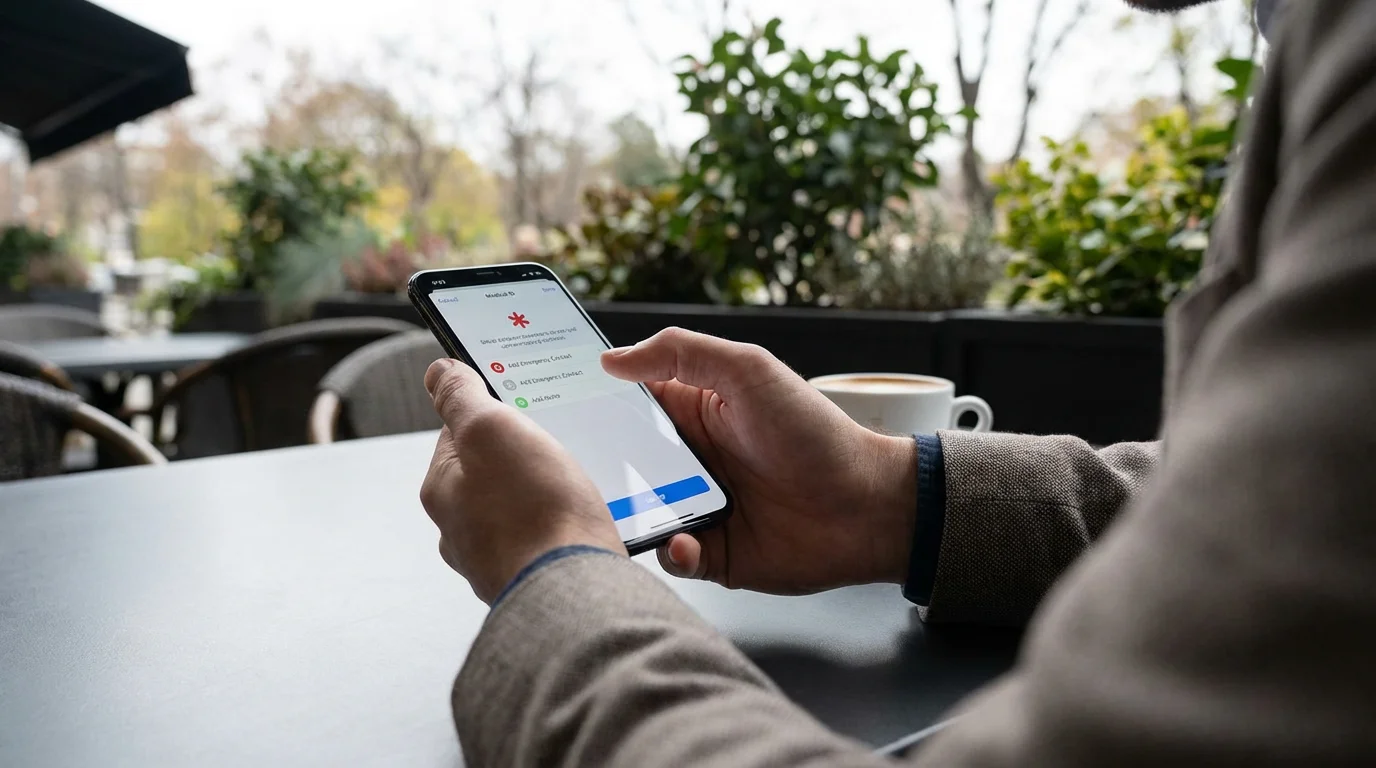
Your Medical ID provides crucial health information to first responders, even when your phone is locked. This is a vital part of your personal medical ID.
- Open the Health app. Its icon is a white square with a pink heart.
- Tap Medical ID at the bottom right of the screen.
- If you have not created one before, tap Create Medical ID. If you have, tap Edit in the top right corner.
- Toggle the switch next to “Show When Locked” to turn it green. This is very important, as it allows first responders to see your Medical ID without unlocking your phone.
- Fill in your health information. This includes:
- Medical Conditions: List any ongoing health issues like diabetes, heart conditions, or high blood pressure.
- Medical Notes: Add any other important details a responder should know.
- Allergies & Reactions: List any allergies to medications, foods, or environmental factors.
- Medications: List any prescription or over-the-counter medicines you take regularly.
- Blood Type: If you know it, add your blood type.
- Organ Donor: Indicate if you are an organ donor.
- Weight and Height: Fill these in if you wish.
- After entering all relevant information, tap Done in the top right corner.
To view your Medical ID from the lock screen, swipe up from the bottom (or press the Home button if your iPhone has one) to get to the passcode screen. Tap Emergency in the bottom left corner, then tap Medical ID. This shows you what first responders will see.

Setting Up Emergency SOS on Android
Android phones also feature robust emergency SOS capabilities, though the exact steps can vary slightly depending on your phone’s manufacturer (like Samsung, Google Pixel, Motorola) and Android version. We will cover the most common paths, making sure your smartphone safety for seniors is enhanced.
Android Emergency Call Methods
Most Android phones activate Emergency SOS by rapidly pressing the power button (usually on the right side of your phone) a certain number of times, typically three or five.
- Tap the Settings icon. This looks like a gear wheel and is usually found on your home screen or in your App drawer (swipe up from the bottom of your screen to see all your apps).
- Scroll down and look for an option like Safety & emergency, Security & privacy, or simply Emergency SOS. The name can vary. Tap on it.
- Inside this menu, you should find “Emergency SOS” or a similar option. Tap this.
- You will likely see a toggle or a switch that says “Use Emergency SOS” or “Emergency Call.” Tap it to turn it on (it often turns blue or green).
- Your phone might ask you to confirm how many times you want to press the power button (e.g., 5 times). Follow any on-screen instructions to set this up.
- Many Android phones offer additional features here, like “Play alarm sound” or “Share info with emergency contacts.” You can turn these on if you wish.
You should see a screen confirming that your Emergency SOS is now active. If you press your power button rapidly the set number of times, your phone will call emergency services.
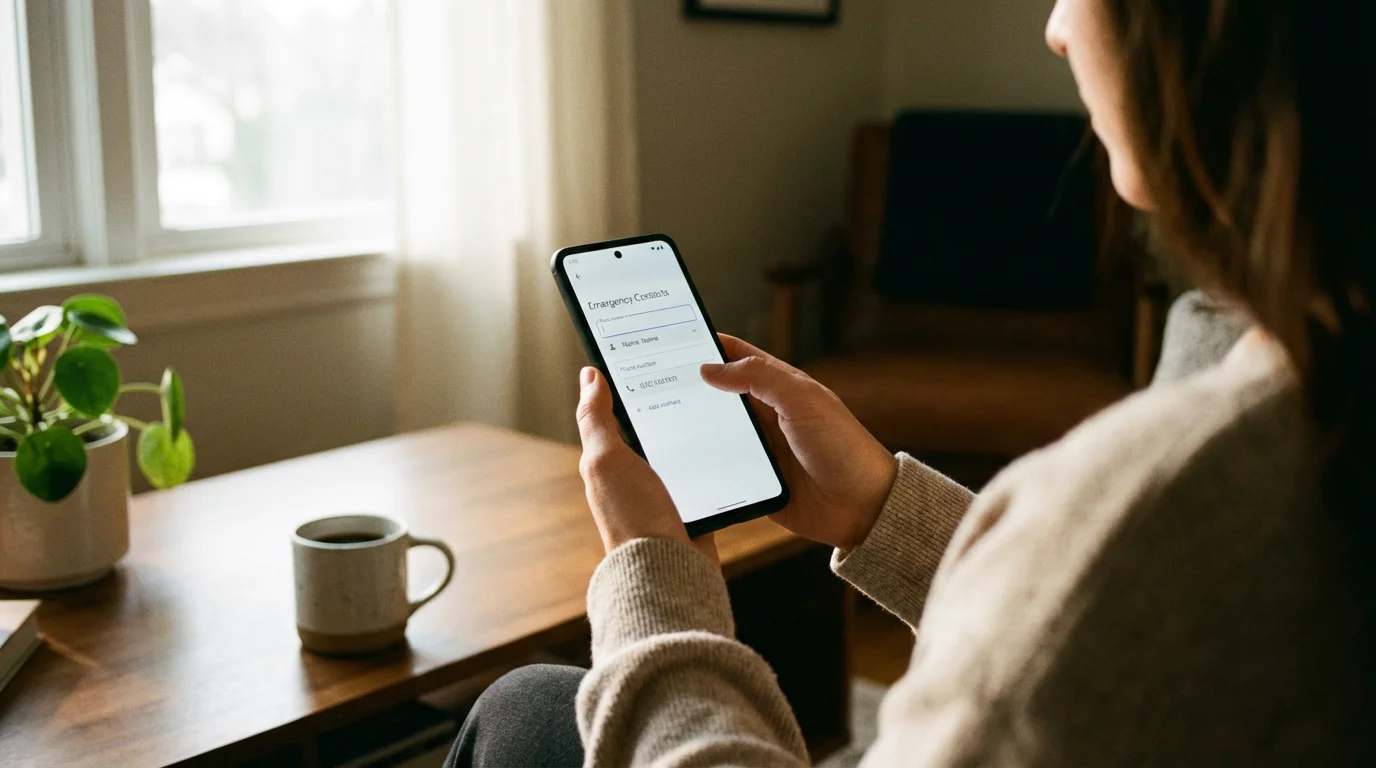
Adding Emergency Contacts on Android
Similar to iPhones, Android phones can alert your designated emergency contacts on phone after you activate Emergency SOS.
- Tap the Settings icon (the gear wheel).
- Scroll down and tap Safety & emergency (or the equivalent section you found earlier).
- Tap Emergency contacts or “Emergency numbers.”
- You might be asked to unlock your screen for security.
- Tap Add contact or a plus (+) icon.
- A list of your contacts will appear. Tap the name of the person you want to add.
- Repeat for any other contacts you wish to add. Aim for at least two trusted individuals.
These contacts will receive a message with your location when you use Emergency SOS. Ensure you have their correct and current phone numbers.
Creating Your Medical Info on Android
This information, often called Medical ID or Emergency Medical Info on Android, helps first responders quickly understand your health needs.
- Tap the Settings icon (the gear wheel).
- Scroll down and tap Safety & emergency.
- Tap Medical info or “Emergency medical information.”
- You might be asked to unlock your screen.
- Tap Edit information or a pencil icon.
- Fill in your important health details:
- Name: Your full name.
- Blood Type: If you know it.
- Allergies: List any allergies to medications or other substances.
- Medications: List any regular medications you take.
- Medical Conditions: Note any chronic illnesses like diabetes or heart disease.
- Organ Donor: Indicate your status if you wish.
- Ensure the option to “Show on lock screen” or “Make visible on lock screen” is turned on. This is crucial for first responders.
- Tap Save (usually in the top right corner) when you finish.
To test viewing your Medical Info from the lock screen, try swiping up from the bottom to access your unlock screen. Look for an “Emergency call” button or text, tap it, and then look for “Medical info” or “Emergency information” to see what is displayed.
Practicing Safe Use of Emergency SOS
Once you set up your emergency SOS and medical ID, it is helpful to know how to use it responsibly. While we do not recommend practicing calling 911 (unless it is a real emergency), you can practice activating the feature up to the point of actually dialing.
- Practice Activation (without calling):
- On iPhone: Press and hold the side button and one volume button. Release them when the “Emergency SOS” slider appears, but before the countdown finishes. This lets you see the screen without making the call. You can also practice pressing the side button five times rapidly, then quickly cancel the call if it initiates a countdown.
- On Android: Rapidly press the power button the set number of times. When the emergency call screen appears, quickly tap “Cancel” or “End call” if it starts dialing, or simply observe the countdown without letting it complete the call.
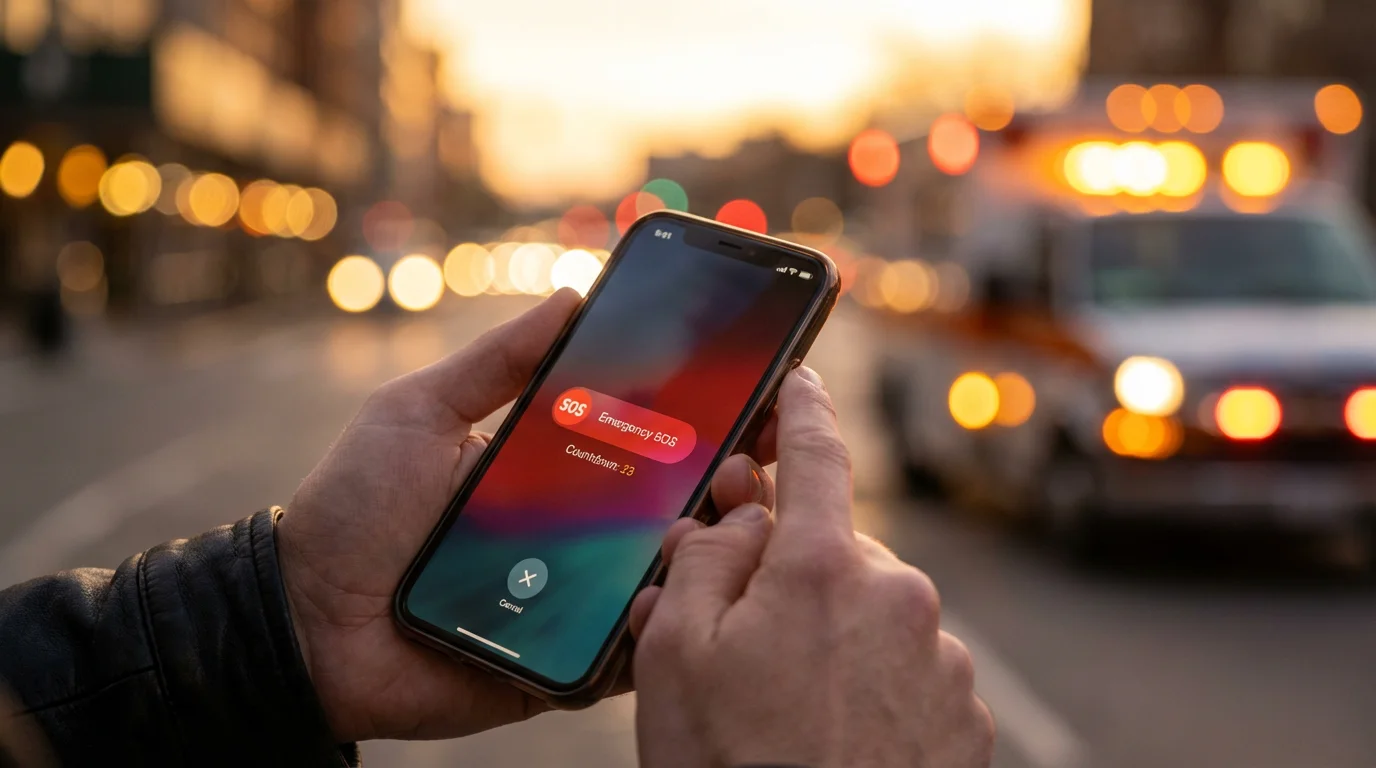
- Understand What Happens: When Emergency SOS activates, your phone makes noise and displays a countdown, giving you a chance to cancel if it is an accident. If the countdown finishes, it dials emergency services.
- Know When to Use It: Only activate Emergency SOS in genuine emergencies where you need immediate help from police, fire, or medical personnel.
Gaining comfort with these steps helps reduce anxiety if you ever face a real emergency. Knowing exactly what to do can make all the difference.
What to Do If Something Goes Wrong
Sometimes, technology does not cooperate exactly as we expect. If you encounter issues while setting up your emergency SOS or medical ID, do not worry.
- Buttons Not Responding: Ensure you press the correct buttons firmly. For iPhones, hold the side and volume buttons simultaneously. For Android, try pressing the power button more rapidly or ensure you are pressing the exact power button, not a different one.
- Feature Not Found in Settings: Manufacturers sometimes rename settings. If you cannot find “Emergency SOS” or “Safety & emergency,” try using the search bar within your phone’s Settings app. Tap the magnifying glass icon at the top of the Settings screen and type “Emergency” or “SOS.”
- Contacts Not Appearing: Make sure the people you want to add are already saved in your phone’s main Contacts app. If they are not, add them there first, then try adding them as emergency contacts again.
- Accidental Emergency Call: If you accidentally initiate a call to 911, stay on the line. Explain to the dispatcher that it was an accident and you do not have an emergency. This prevents them from sending responders unnecessarily.
- Screens or Menus Look Different: Phone models and software updates can change how screens appear. If your phone looks different from our descriptions, look for similar wording or icons.
If you are still struggling, remember you can always visit an Apple Store (for iPhones), your carrier store (Verizon, AT&T, T-Mobile), or ask a trusted family member or friend for assistance. Sometimes a fresh pair of eyes can spot what you missed.
For more general tech assistance, resources like Apple Support or Google Support provide detailed guides for your specific device model. You can also find helpful tutorials at GCFGlobal — Technology Tutorials.
Frequently Asked Questions
Here are answers to common questions about setting up and using Emergency SOS.
Q: What happens if I accidentally trigger Emergency SOS?
A: If you accidentally trigger Emergency SOS, your phone will usually start a loud countdown and display an emergency call screen. If you realize it is an accident during the countdown, quickly tap “Cancel” or “End call” to stop it from dialing. If it already connected to 911, stay on the line, explain that it was an accidental call, and confirm that you are safe and do not have an emergency. This ensures emergency services do not dispatch a response unnecessarily.
Q: Can Emergency SOS work without cell service or Wi-Fi?
A: Emergency calls to 911 (or your local emergency number) typically work even without a cellular plan or active Wi-Fi, as long as your phone has a signal from any available cellular network. However, sending location updates and messages to your personal emergency contacts requires an active cellular connection or Wi-Fi. It is always best to have a reliable connection for all features to work as intended.
Q: How do I know if my Medical ID is accessible when my phone is locked?
A: To check your Medical ID’s accessibility, try to view it from your phone’s lock screen. On an iPhone, swipe up (or press Home) to get to the passcode screen, tap “Emergency” in the bottom left, then tap “Medical ID.” On most Android phones, swipe up to the lock screen, tap “Emergency call,” then look for an option like “Medical info” or “Emergency information.” If you can see your medical details, it is set up correctly. Ensure you enabled the “Show When Locked” or “Show on lock screen” option during setup.
Q: Will using Emergency SOS charge me money?
A: No, calling 911 or emergency services through Emergency SOS will not cost you money. Emergency calls are free and do not use up your cellular plan minutes or data. However, if your phone sends text messages to your personal emergency contacts, those messages might count towards your cellular plan’s messaging limits if you do not have unlimited texts. Most modern plans include unlimited texting, so this is rarely an issue.
Q: Can I add more than one emergency contact?
A: Yes, absolutely. Both iPhones and Android phones allow you to add multiple emergency contacts on phone. We recommend adding at least two or three trusted individuals, such as family members or close friends, to ensure someone receives the alert in an emergency. This increases your chances of getting timely assistance and improves your overall smartphone safety for seniors.

Quick Reference Checklist
Use this checklist to quickly review if you have set up your emergency SOS and medical ID correctly:
- Emergency SOS Activation Method:
- iPhone: Have you chosen to use the “press and hold” method or the “5 presses of the side button” method?
- Android: Have you enabled Emergency SOS in your Safety & emergency settings and confirmed the number of power button presses?
- Emergency Contacts:
- Have you added at least two trusted individuals to your emergency contacts list in the Health app (iPhone) or Safety & emergency settings (Android)?
- Are their phone numbers current and correct?
- Medical ID/Info:
- Have you filled out your essential medical information (allergies, conditions, medications) in the Health app (iPhone) or Safety & emergency settings (Android)?
- Is the “Show When Locked” or “Show on lock screen” option enabled for your Medical ID?
- Practice: Have you familiarized yourself with the activation process without completing an actual call to 911?

Getting Further Help
Setting up your smartphone’s safety features, including emergency SOS and medical ID, significantly improves your smartphone safety for seniors. You gain confidence and peace of mind knowing help is readily available. If you encounter any difficulties during this process, do not hesitate to seek assistance.
- Family and Friends: Ask a trusted family member or friend who is tech-savvy to help you navigate your phone’s settings.
- Carrier Store: Visit your phone carrier’s retail store (e.g., Verizon, AT&T, T-Mobile). Their staff can often provide hands-on assistance specific to your device.
- Apple Store: If you have an iPhone, the Genius Bar at an Apple Store can offer personalized support.
- Online Resources:
- For general technology guidance, explore AARP Technology Resources and Senior Planet from AARP.
- Your device’s official support website (e.g., Apple Support or Google Support) provides comprehensive guides and troubleshooting for specific models.
You have taken a critical step in making your smartphone a powerful tool for your personal security. Keep practicing, and you will become even more comfortable with its many capabilities.
Disclaimer: This article is for informational purposes only. Screens and menus may look slightly different depending on your device model and software version. When in doubt, visit your device’s official support website or ask a trusted family member for help.

Leave a Reply