

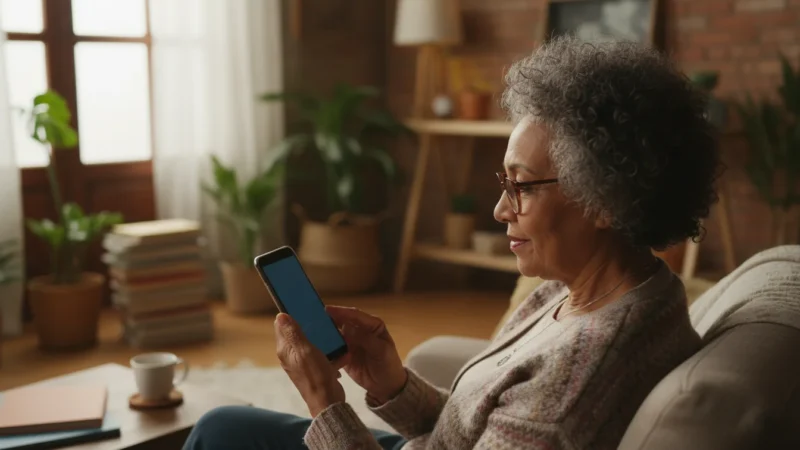
Embarking on your iPhone journey offers exciting possibilities. You hold a powerful tool in your hand, designed to connect you, inform you, and simplify your daily life. This guide focuses on the most fundamental aspect of your device: the iPhone home screen. Understanding this central hub gives you the control and confidence to explore everything your iPhone offers.
If you have recently switched from a different brand of device, you might also find our guide on understanding your Android phone’s home screen helpful for comparison.
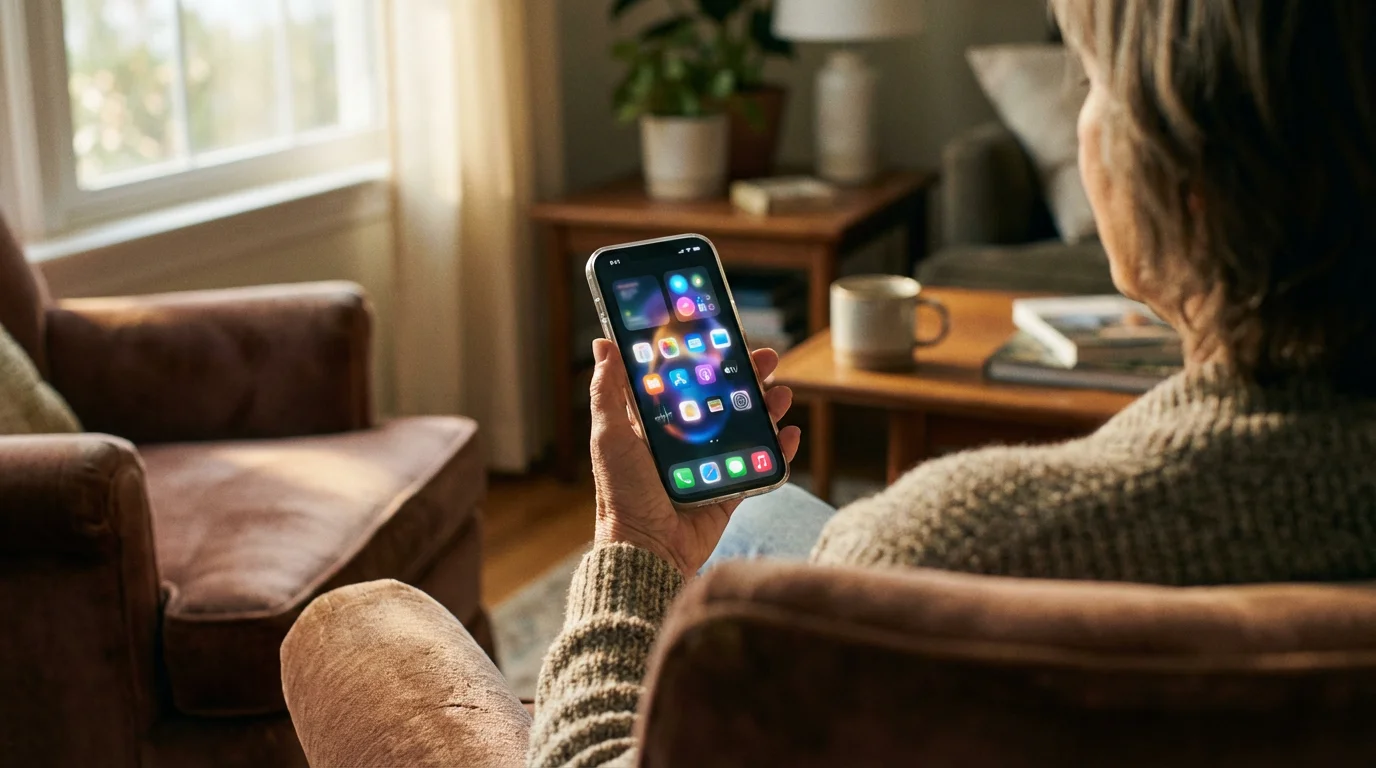
Many people receive their first iPhone as a gift or transition from an older phone model. You might feel overwhelmed by the array of colorful pictures, or app icons, that fill your screen. That is completely normal. We break down each element of your iPhone home screen, explaining its purpose and showing you exactly how to interact with it. By the end of this guide, you will navigate your iPhone with ease, opening apps, finding information, and customizing your view.
Imagine your iPhone home screen as the control panel of your device. It is where you find and launch all your applications. You will learn to identify key areas, manage your app icons, and use essential features that make your iPhone truly useful. Let us begin this journey together.
Table of Contents
- What You’ll Need to Get Started
- Your iPhone’s Home Screen at a Glance
- Exploring Your App Icons and the Dock
- Navigating Home Screen Pages and Organizing Apps
- Essential Quick Access Features: Control Center and Notification Center
- Finding What You Need with Spotlight Search
- What to Do If Something Goes Wrong
- Frequently Asked Questions
- Quick Reference Checklist
- Taking Your Next Steps with Confidence
What You’ll Need to Get Started
Before you dive into understanding your iPhone interface, ensure your device is ready. These simple preparations make your learning experience smoother:
- A Charged iPhone: Connect your iPhone to its charger to prevent it from shutting down unexpectedly during your learning session. A fully charged battery ensures uninterrupted exploration.
- Wi-Fi Connection (Optional, but Recommended): While not strictly necessary for understanding the home screen, connecting to Wi-Fi allows you to download new apps or access online content easily. To connect, find the Settings icon (it looks like a gray gear) on your home screen, tap it, then tap Wi-Fi and choose your network.
- Good Lighting: Make sure you have enough light to clearly see your iPhone screen. This helps you identify the small details and icons.
- Comfortable Seating: Take your time. Find a comfortable spot where you can relax and focus on your device. Learning new technology works best when you are patient with yourself.
Remember, everyone starts somewhere. Your iPhone is designed to be intuitive, and with a little practice, you will navigate it like a pro. Do not worry about making mistakes; your iPhone is incredibly resilient.
Your iPhone’s Home Screen at a Glance
Your iPhone home screen serves as your primary interaction point. It presents all your applications and provides key information about your device’s status. Let us break down its main components.
These interface concepts are very similar if you are also learning how to use the iPad, as the devices share the same basic design.
The Status Bar: Information at a Glance
Look at the very top of your iPhone screen. This narrow strip is the Status Bar. It displays crucial information about your phone’s current state:
- On the left: You see the current time. Next to it, you might see icons indicating signal strength for your cellular network (vertical bars) or if your Wi-Fi is connected (a fan-shaped symbol).
- On the right: Here, you find your battery level. It appears as a small battery icon, often with a percentage number next to it, indicating how much charge remains. A lightning bolt symbol within the battery icon means your phone is currently charging.
- Other icons: You might occasionally see other small icons here, such as a padlock indicating your phone is locked, or a crescent moon if “Do Not Disturb” is active.
The Status Bar provides a quick overview, allowing you to monitor essential aspects of your iPhone without opening any specific app.
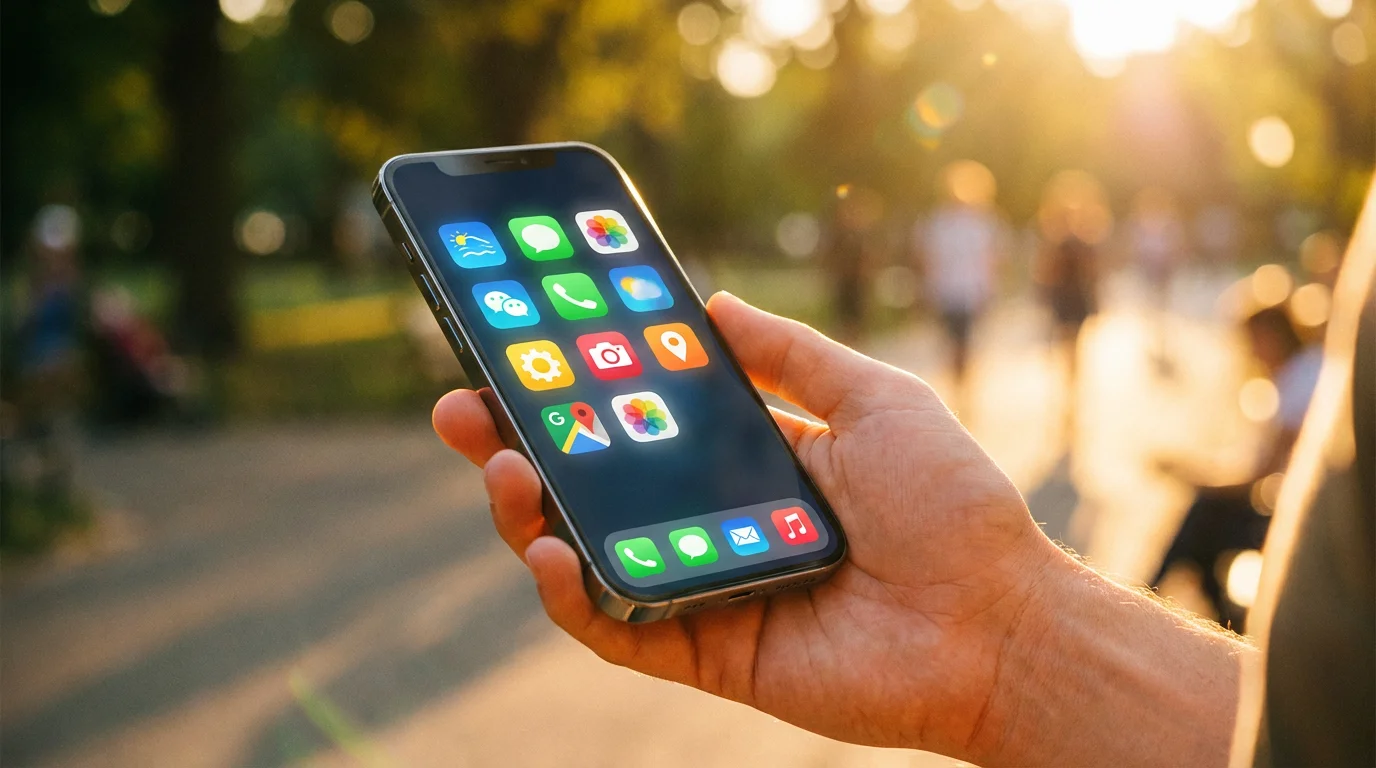
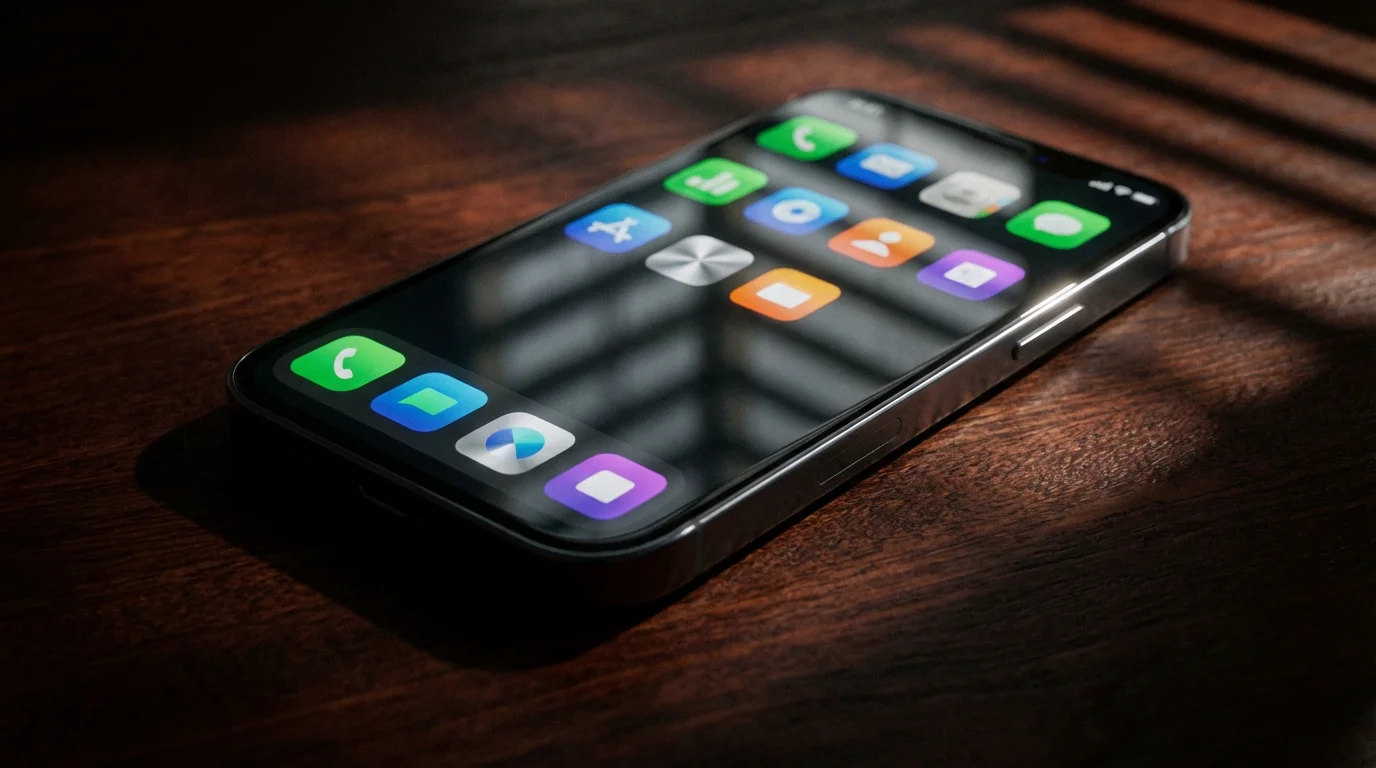
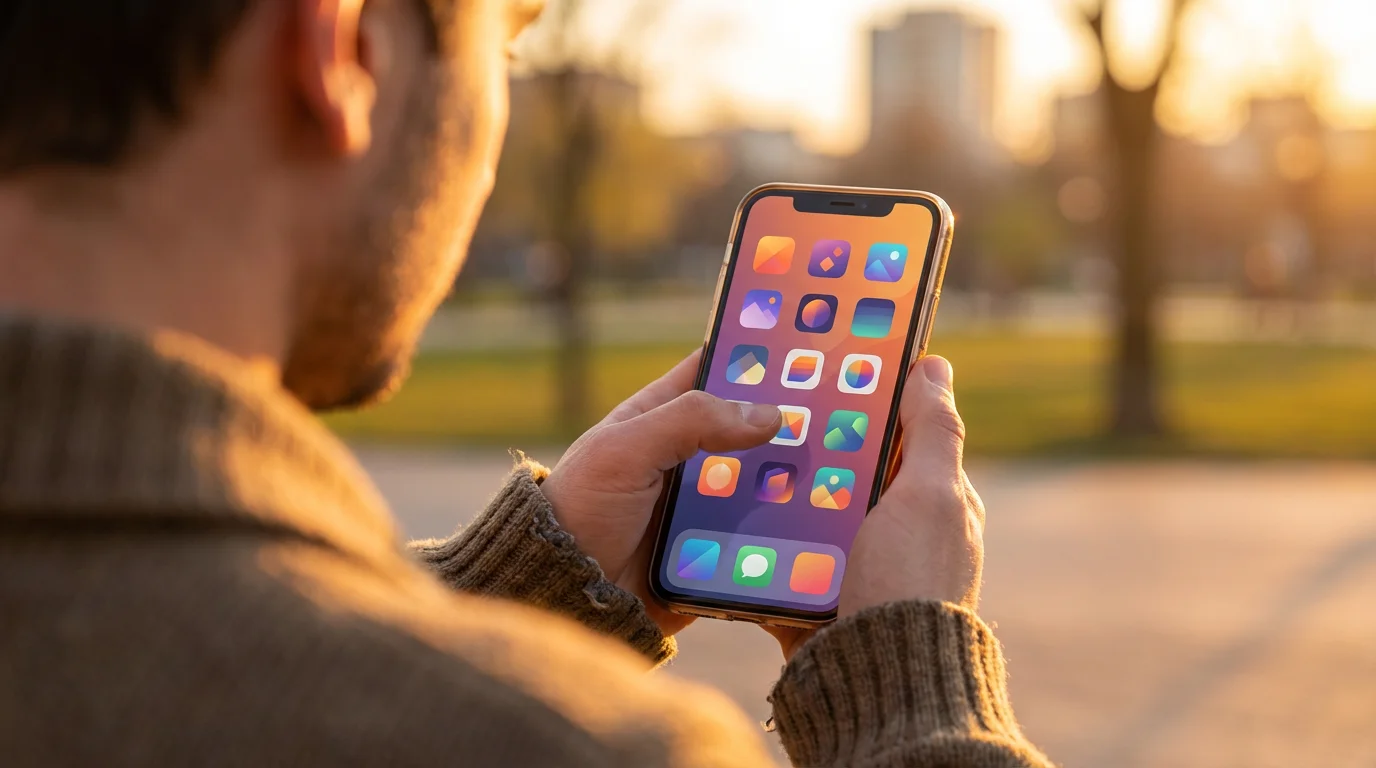
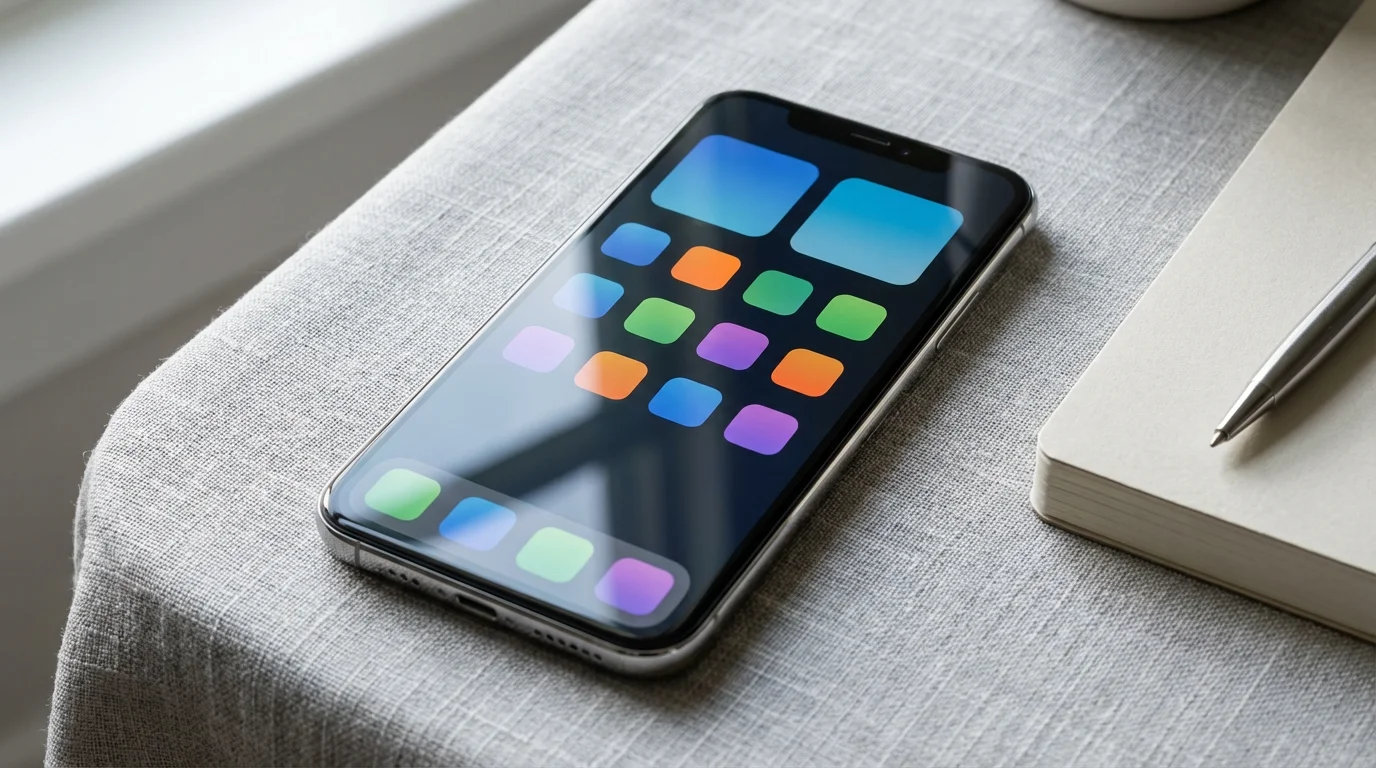
App Icons: Your Digital Tools
The main area of your home screen is filled with app icons. An “app” is a program or application, a piece of software designed to perform a specific task, such as making calls, sending messages, or checking the weather. An “icon” is a small picture you tap to open an app. Each icon represents a different app installed on your iPhone. For example:
- The green phone receiver icon opens your Phone app.
- The square speech bubble icon opens your Messages app for texting.
- The colorful flower-like icon opens your Photos app to view pictures.
You access nearly everything on your iPhone by tapping these icons. We will explore more about interacting with them shortly.
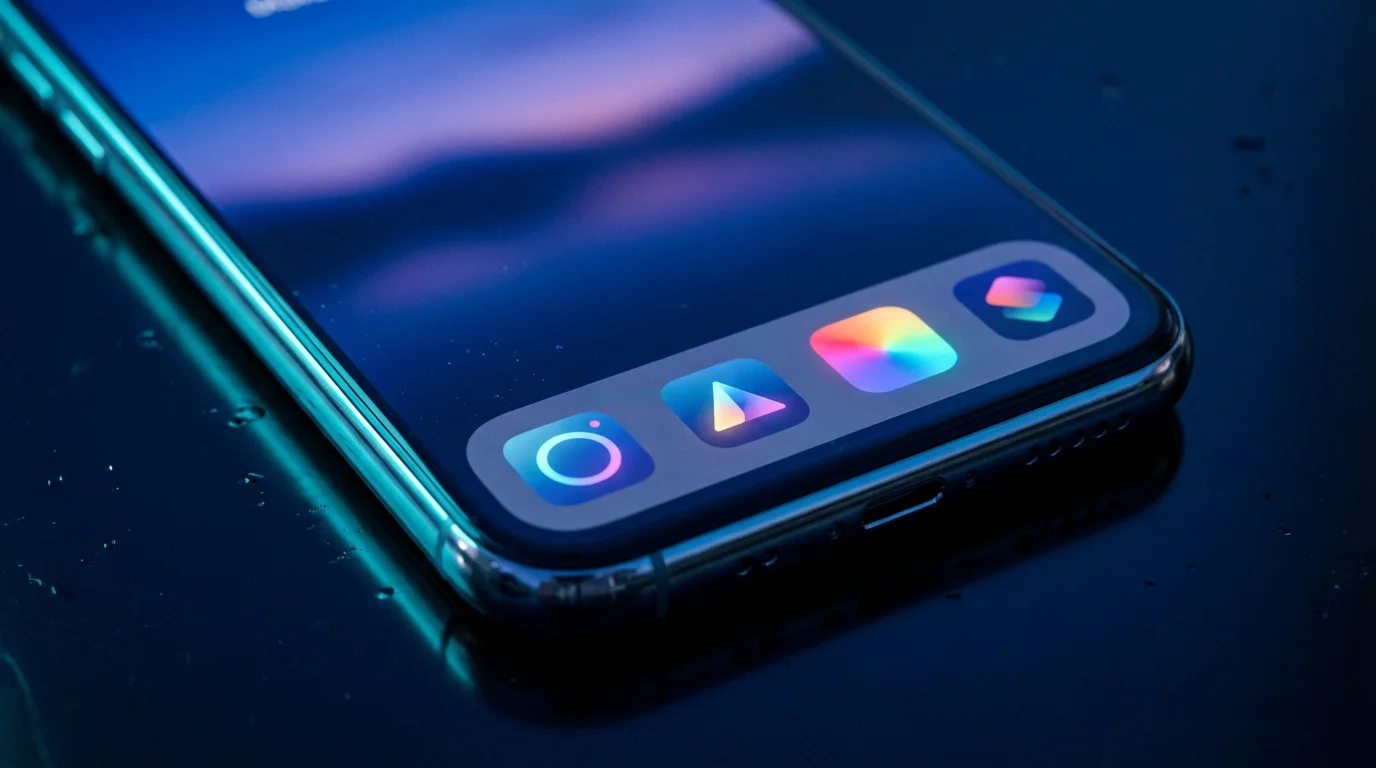
The Dock: Your Favorite Apps Always Available
At the very bottom of your iPhone home screen, you find a special row of apps called the Dock. These apps remain visible regardless of which home screen page you are viewing. This makes the Dock the perfect place for your most frequently used apps, such as your Phone, Messages, Safari (the internet browser, an icon of a blue compass), and Camera. You can customize the apps in your Dock, placing up to four of your favorites there for quick access.

Home Screen Pages: More Room for Apps
If you have many apps, they do not all fit on a single screen. Your iPhone organizes them into multiple home screen pages. You navigate between these pages by swiping your finger across the screen. To “swipe” means to slide your finger across the screen. If you swipe your finger from right to left, you move to the next page of apps. Swiping from left to right takes you back to a previous page. Small dots located just above the Dock indicate how many home screen pages you have and which one you are currently viewing.
Exploring Your App Icons and the Dock
Now that you know the basic layout, let us delve into using your app icons and the Dock. This provides practical and actionable insights into interacting with your core iPhone interface.
Opening an App
Opening an app is one of the most fundamental actions you perform on your iPhone:
- Locate the App Icon: Find the small picture that represents the app you want to open. For example, find the Phone icon, which looks like a green square with a white phone receiver inside.
- Tap the Icon: Gently touch the app icon once with your finger. This action is called “tapping.”
- Observe the Screen Change: The app will open, and its content will fill your screen.
- Return to the Home Screen: To close an app and return to your home screen, swipe up from the very bottom edge of your screen. If your iPhone has a physical Home button below the screen, press that button once.
Practice opening a few different apps, like Weather (a blue icon with a white sun or cloud) or Calculator (a gray icon with a calculator keypad), and then returning to the home screen. This builds muscle memory and familiarity.
Identifying Common App Icons
As you get comfortable, recognizing common app icons becomes second nature:
- Phone: Green icon with a white phone receiver. Use this to make and receive calls.
- Messages: Green icon with a white speech bubble. Use this for sending and receiving text messages.
- Safari: Blue icon with a white compass. This is your web browser for accessing the internet.
- Mail: Blue icon with a white envelope. Use this for sending and receiving emails.
- Camera: Gray icon with a camera lens. Use this to take photos and videos.
- Photos: Colorful flower-like icon. This stores all your pictures and videos.
- Settings: Gray icon that looks like a gear or wheel. This is where you adjust your iPhone’s preferences and features.
Take a moment to locate these essential apps on your home screen now. Knowing where they are saves you time and reduces frustration.
Using the Dock Effectively
The Dock is your prime real estate for immediate access to your most important apps. Think of it as your speed dial for applications.
- Identify Docked Apps: Look at the bottom row of your screen. These are the apps currently in your Dock.
- Tap to Open: Just like other app icons, a single tap opens an app from the Dock.
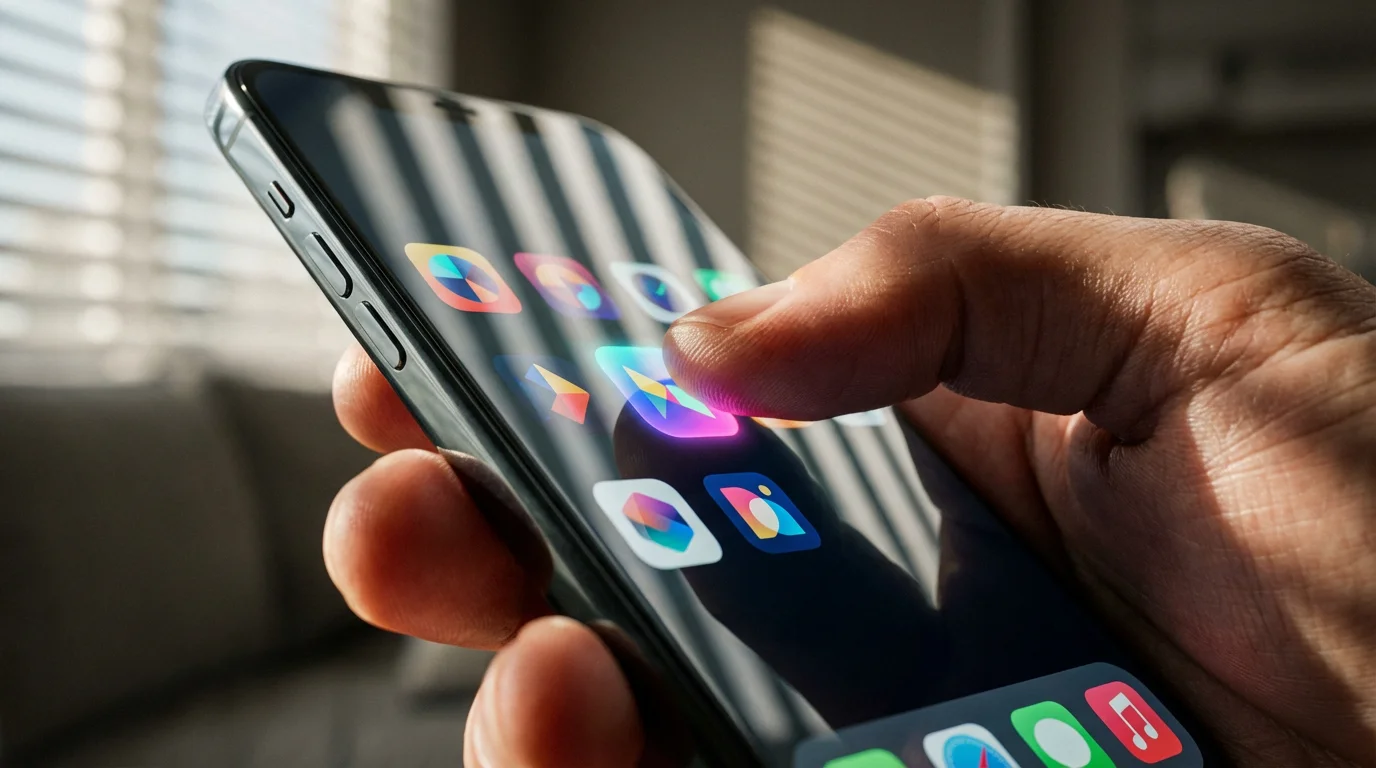
- Moving Apps into the Dock: To place an app in the Dock, you first need to enter “jiggle mode.” Press and hold your finger on any app icon on your home screen for a few seconds until all the icons begin to gently jiggle. A small “X” might appear in the corner of some icons.
- Drag to the Dock: While the icons are jiggling, tap and hold the app icon you want to move. Drag your finger to slide the icon down into the Dock. Release your finger when it is in the desired spot.
- Moving Apps Out of the Dock: If you want to remove an app from the Dock, enter “jiggle mode” again. Tap and hold the app icon in the Dock, then drag it out onto a regular home screen page. Release your finger.
- Exit Jiggle Mode: Once you finish arranging your apps, press the physical Home button (if your iPhone has one) or tap the “Done” button in the top right corner of the screen (if your iPhone uses Face ID or a gesture-based system). The icons will stop jiggling.
Experiment with moving an app in and out of your Dock. This hands-on practice helps you understand how app organization works on your iPhone.
Navigating Home Screen Pages and Organizing Apps
As you add more apps to your iPhone, managing them across different pages and within folders becomes very useful. Organizing your apps creates a cleaner, more efficient iPhone home screen.
Swiping Between Home Screen Pages
You can have several home screen pages to store all your apps. Dots above the Dock show which page you are on. A solid dot indicates your current page.
- Swipe Right to Left: Place your finger anywhere on the screen (not on an app icon) and gently slide it from the right edge of the screen to the left edge. You will see your screen shift to reveal the next page of apps.
- Swipe Left to Right: To go back, slide your finger from the left edge of the screen to the right edge.
Practice swiping through all your home screen pages. Pay attention to the small dots above the Dock as you swipe; they change to show your current location.
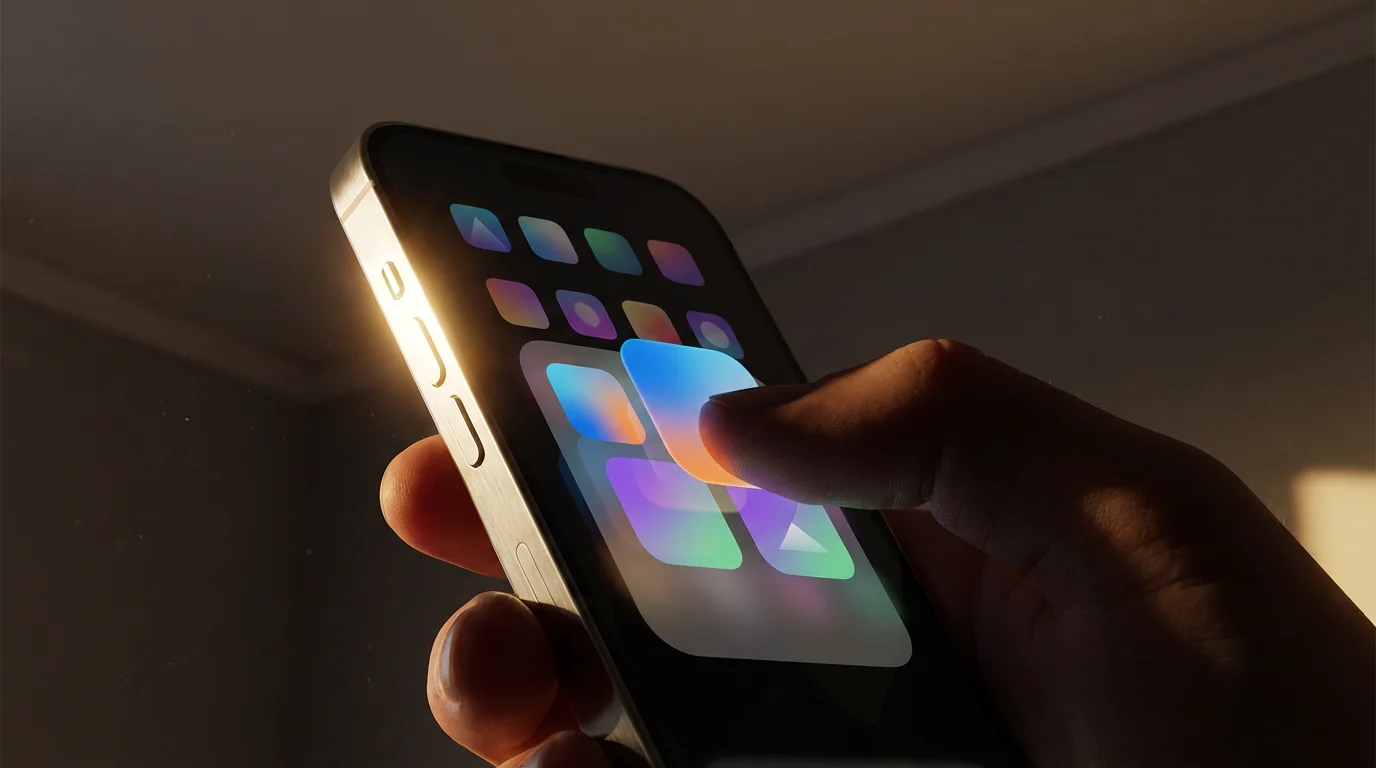
Rearranging App Icons
You can move any app icon to a different spot on the same page, to another page, or into a folder. This helps you keep your iPhone home screen organized.
- Enter Jiggle Mode: Press and hold your finger on any app icon for a few seconds until all the icons begin to gently jiggle.
- Move an App: Tap and hold the app icon you want to move. Drag your finger to slide the icon to a new position on the screen. Other icons will shift to make space.
- Move to Another Page: While holding an icon, drag it to the left or right edge of the screen. Your iPhone will automatically switch to the adjacent home screen page, allowing you to drop the icon there.
- Exit Jiggle Mode: Press the physical Home button or tap “Done” in the top right corner.
Try moving a less-used app to a different part of your home screen. This capability gives you significant control over your iPhone interface.
Creating and Using Folders
Folders help you group similar apps, reducing clutter on your home screen. For example, you could create a “News” folder for all your news apps or a “Games” folder for your favorite games.
- Enter Jiggle Mode: Press and hold an app icon until it jiggles.
- Create a Folder: Tap and hold the first app icon you want to put in a folder. Drag it directly on top of another app icon you want in the same folder. Release your finger. Your iPhone automatically creates a new folder containing both apps.
- Name the Folder: The iPhone usually suggests a folder name (like “Utilities” or “Productivity”). To change it, tap the current name when the folder is open in jiggle mode, delete the existing name using the backspace key on the keyboard, and type your desired name. Tap “Done” on the keyboard.
- Add More Apps to a Folder: While in jiggle mode, tap and hold other app icons and drag them into the open folder. Release your finger.
- Remove Apps from a Folder: While in jiggle mode, open the folder. Tap and hold an app icon inside the folder, then drag it out of the folder and onto the home screen. Release your finger.
- Exit Jiggle Mode: Press the physical Home button or tap “Done.”
Organizing apps into folders helps maintain a tidy iPhone home screen, making it easier to find specific applications quickly. Many users find creating a folder for “Utilities” or “Social Media” particularly helpful.
Essential Quick Access Features: Control Center and Notification Center
Beyond app icons and pages, your iPhone offers powerful quick-access centers. These areas provide fast ways to change settings or review important alerts without digging through menus. Understanding your iPhone home screen extends to these vital sections.
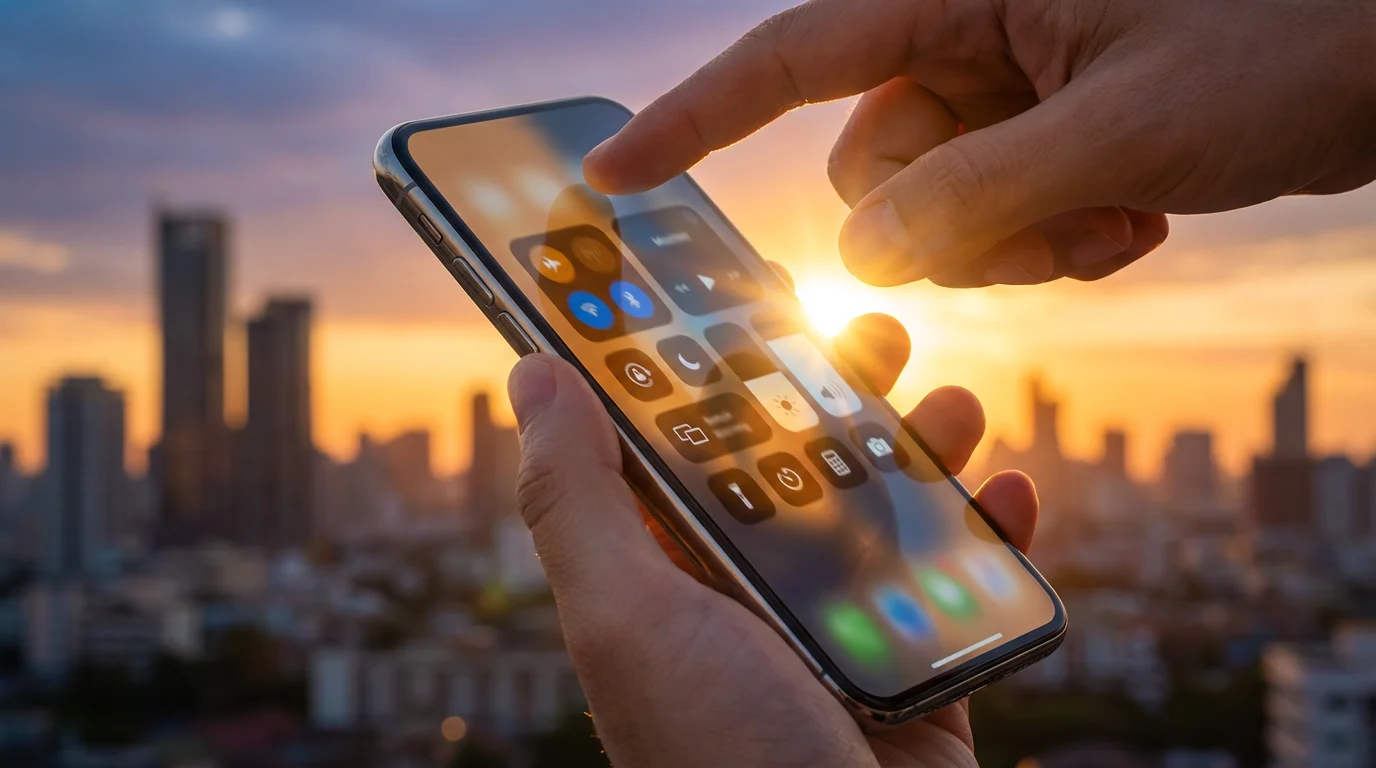
Control Center: Your Quick Settings Panel
The Control Center gives you immediate access to frequently used settings and features, such as Wi-Fi, Bluetooth, screen brightness, and the flashlight. It is like a dashboard for your iPhone.
- On iPhones with Face ID (no Home button): Swipe down from the top-right corner of your screen. This means placing your finger on the battery icon or Wi-Fi icon at the top right, then sliding your finger downwards.
- On iPhones with a Home button: Swipe up from the very bottom edge of your screen. Place your finger just below the Dock and slide it upwards.
Once the Control Center appears, you will see various buttons and sliders:
- Wi-Fi and Bluetooth: Tap these icons to turn Wi-Fi or Bluetooth on or off.
- Flashlight: Tap the flashlight icon to turn your iPhone’s flashlight on or off.
- Brightness: Use the vertical slider (looks like a sun icon) to adjust your screen’s brightness. Slide your finger up to make it brighter, down to make it dimmer.
- Volume: Use the other vertical slider (looks like a speaker icon) to adjust the volume.
To dismiss the Control Center, swipe up from the bottom of the screen (on Face ID iPhones) or swipe down from the top (on Home button iPhones), or simply tap anywhere on the screen outside of the Control Center panel. Practice opening and closing the Control Center now. This feature offers significant convenience for managing basic iPhone settings.
Notification Center: Your Hub for Alerts
The Notification Center keeps you informed about new messages, emails, calendar alerts, and updates from your apps. It aggregates all your notifications in one place.
- To Open Notification Center: Swipe down from the very top-center of your screen. Place your finger near the time display in the Status Bar and slide it downwards.
You will see a list of recent notifications, often grouped by app. For example, you might see several messages from a family member, or a reminder from your Calendar app. Tapping on a notification often opens the associated app to that specific item. For instance, tapping a message notification takes you directly into that conversation in the Messages app.
To dismiss the Notification Center, swipe up from the bottom of the screen, or press the Home button (if applicable). Checking your Notification Center regularly ensures you stay updated on important events and communications.
Finding What You Need with Spotlight Search
Your iPhone holds a vast amount of information: apps, contacts, messages, web pages, and more. Spotlight Search acts as a powerful search engine for everything on your phone and the internet, ensuring you can always find what you need. This feature makes understanding your iPhone interface much more efficient.
How to Use Spotlight Search
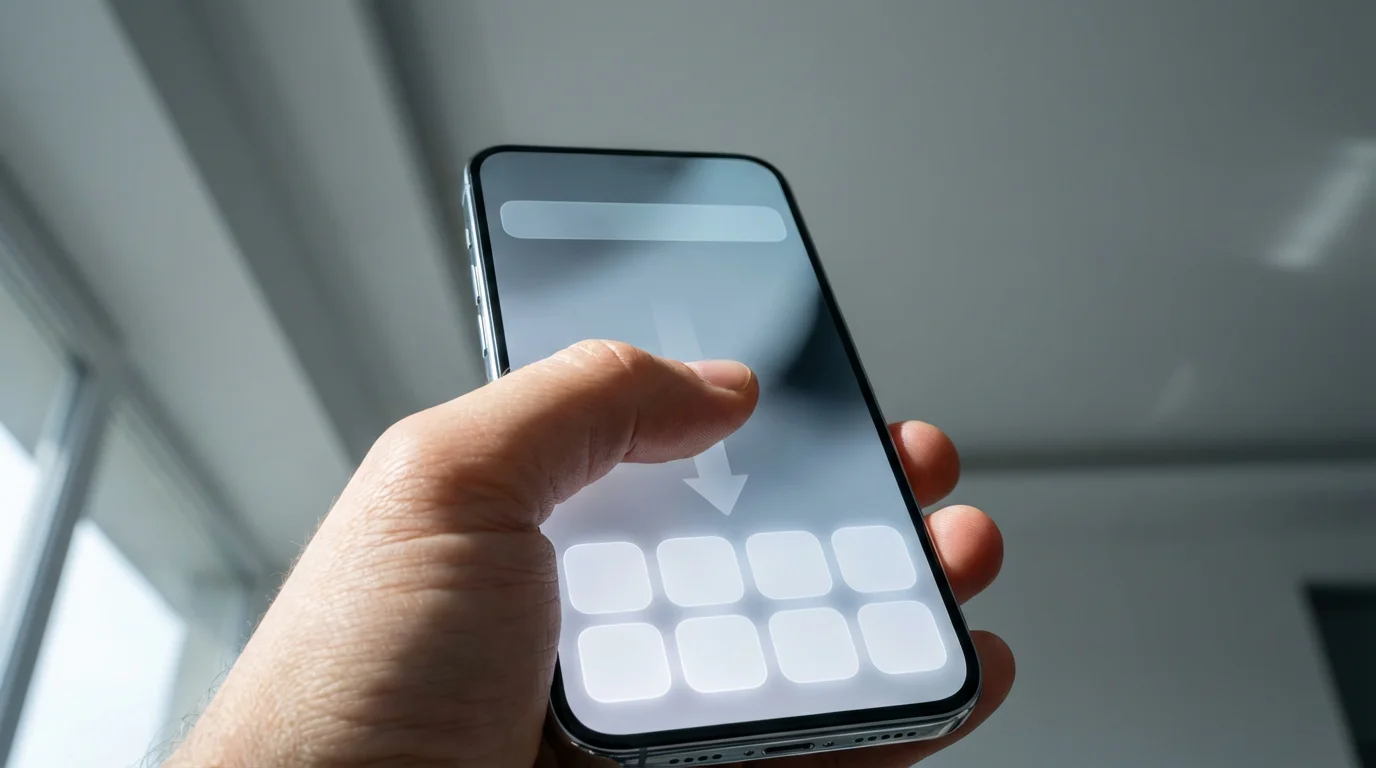
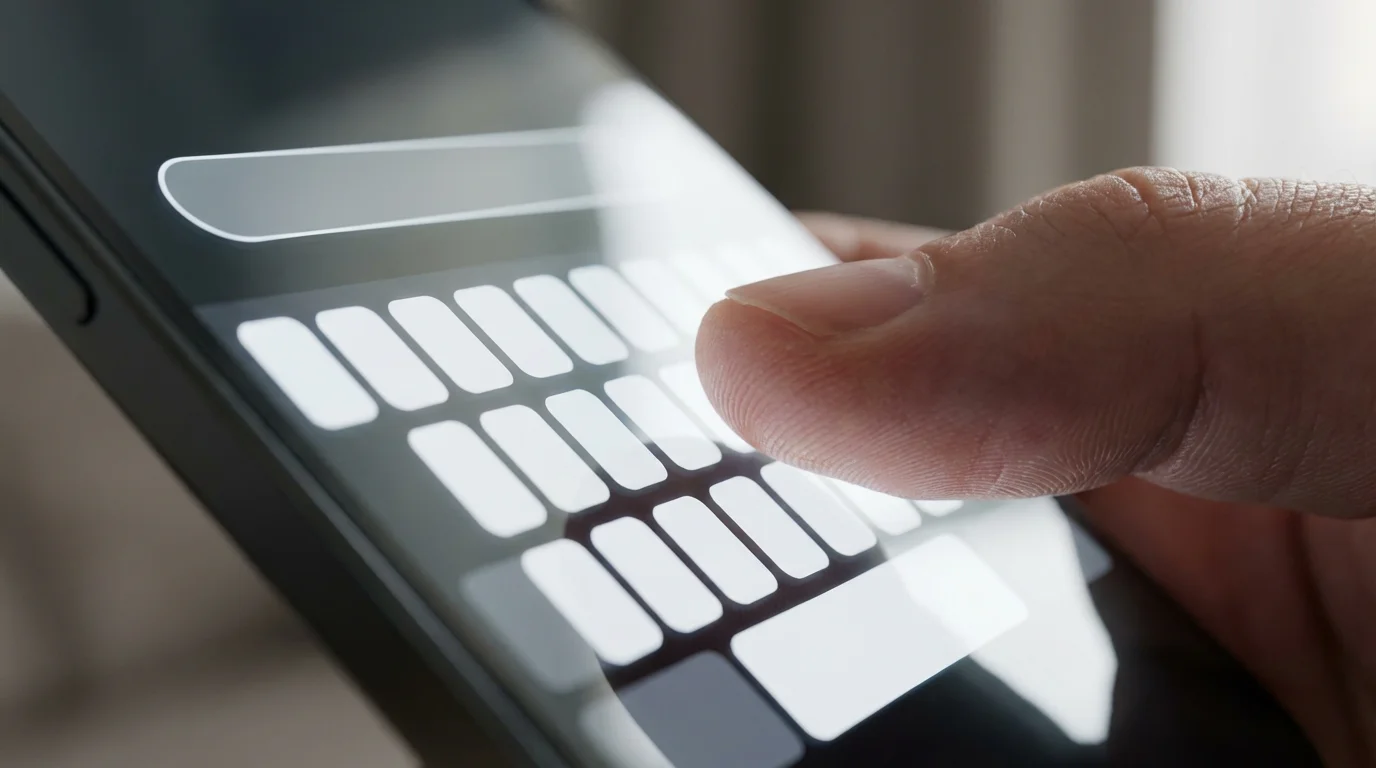
- Access Search: From your home screen, place your finger anywhere on the screen (not on an app icon) and swipe down. Do not swipe from the very top edge, but rather from the middle of the screen downwards. You will see a search bar appear at the top of your screen, often with the word “Search” inside it.
- Type Your Query: The keyboard will pop up automatically. Start typing what you are looking for. You can search for an app name (e.g., “Mail”), a contact’s name (e.g., “John Smith”), a setting (e.g., “Wi-Fi”), or a topic you want to search on the web (e.g., “weather forecast”).
- Review Results: As you type, your iPhone immediately displays relevant results below the search bar. These results can include apps, contacts, messages, emails, notes, photos, and even suggestions from the internet.
- Open a Result: Tap on the item you want to open. For example, if you type “Messages” and the Messages app appears in the results, tap it to open the app.
- Dismiss Search: To close the search bar and keyboard, tap “Cancel” to the right of the search bar, or swipe up from the bottom of the screen (on Face ID iPhones) or press the Home button (on Home button iPhones).
Spotlight Search is an incredibly useful tool for finding apps you have trouble locating or quickly looking up information. If you cannot remember where an app icon is, a quick search will bring it right up. It greatly simplifies the task of navigating your iPhone home screen and beyond.

What to Do If Something Goes Wrong
Even with careful guidance, new technology can sometimes present challenges. It is natural for questions to arise or for your iPhone to behave unexpectedly. Do not worry; most issues have simple solutions. Here are some common situations and how to address them, offering you practical, actionable insights.
- “My screen is frozen, or an app stopped responding.”
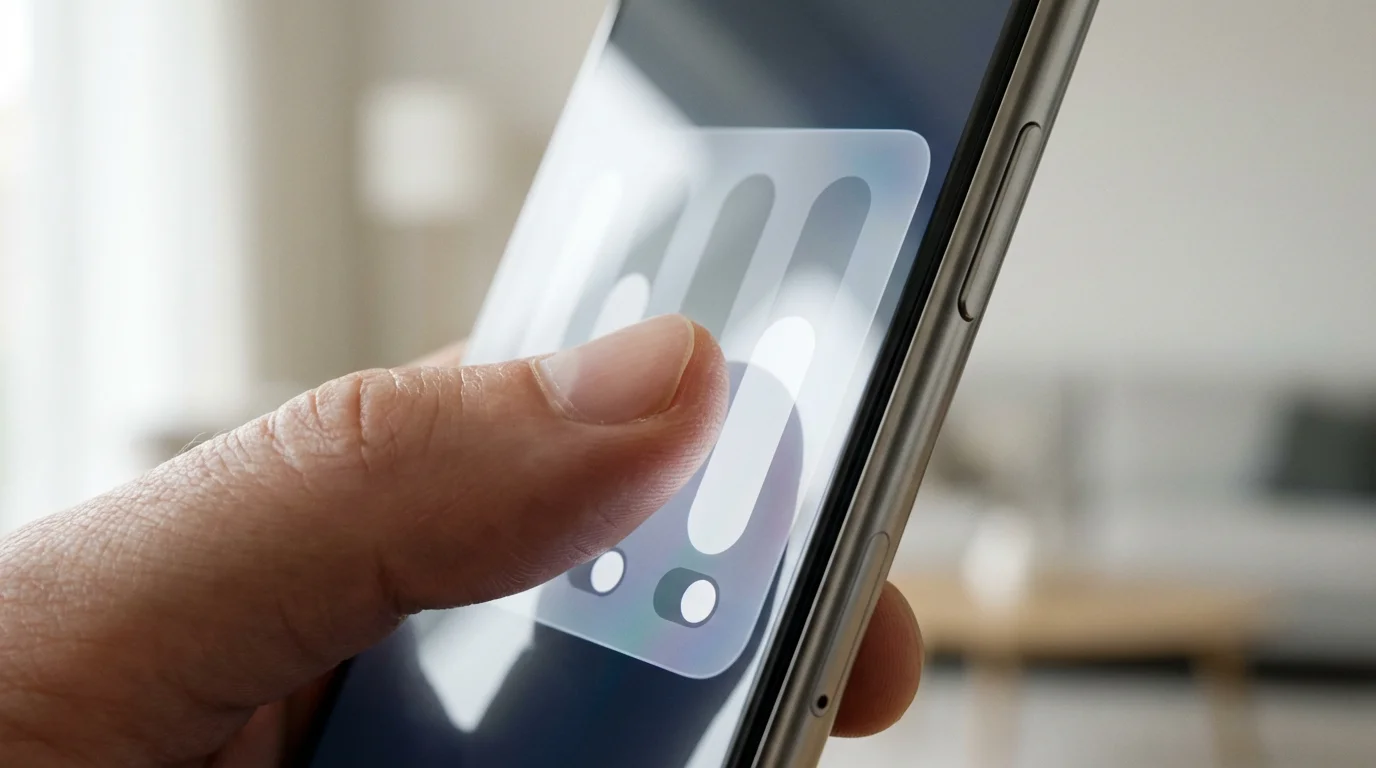
This happens occasionally. The best first step is to force close the app or restart your iPhone. To force close an app: on iPhones with Face ID, swipe up from the bottom of the screen and pause in the middle to bring up the App Switcher (a carousel of open apps). Swipe the unresponsive app’s preview screen upwards to “throw” it off the screen. On iPhones with a Home button, double-press the Home button quickly to open the App Switcher, then swipe the app upwards. After closing the app, try opening it again.
If that does not work, restart your iPhone. This often resolves minor glitches. To restart: press and hold the power button (on the right side of the phone for most models) and either a volume button (for Face ID iPhones) or just the power button (for older Home button iPhones) until a “Slide to Power Off” slider appears. Slide it to turn off your phone. Wait about 30 seconds, then press and hold the power button again until the Apple logo appears to turn it back on.
- “I cannot find an app I know I have.”
First, try using Spotlight Search as described earlier. Swipe down from the middle of your home screen and type the app’s name. If it appears, tap it to open. If it does not appear, it might be in a folder, on a different home screen page, or even offloaded (removed to save space but still available for re-download). Sometimes, apps can be accidentally hidden. Check all your home screen pages by swiping left and right. Consider asking a family member to help you look.
- “I tapped something, and now I am lost.”
This is a common feeling. The quickest way back to familiarity is often the Home button (if you have one) or the “swipe up from the bottom” gesture (on Face ID iPhones). This action returns you to your primary iPhone home screen, a safe starting point. From there, you can re-evaluate or try again. You can also often tap a “Back” button, which usually appears in the top-left corner of the screen within many apps.
- “My screen looks different from the pictures, or my instructions do not match.”
iPhone models and software versions vary. While the core functionality remains consistent, the exact appearance of icons, menus, or features might differ slightly. This guide covers general principles. If you encounter specific discrepancies, remember that variations are normal. You can often find specific guidance for your exact iPhone model and software version on the official Apple Support website.
Always remember that help is available. Do not hesitate to ask a trusted family member or friend for assistance. You can also visit your local Apple Store or your cellular carrier’s store for in-person support. Resources like Senior Planet from AARP also offer excellent technology guides and support specifically for older adults, providing a community for learning and sharing experiences.
Frequently Asked Questions
Here are answers to some common questions you might have about your iPhone home screen and basic usage. These address fundamental concerns with clear, actionable advice.
- Q: What is the difference between an app and an icon?
- A: An app is the actual program or software that performs a task, like the program that lets you make phone calls. An icon is the small picture or symbol you see on your home screen. You tap the icon to open and use the app. Think of the app as the car and the icon as the car’s keys; you use the keys to start and drive the car.
- Q: Can I delete apps I do not use?
- A: Yes, you can delete most apps you downloaded. To do this, press and hold your finger on the app icon until it jiggles. Tap the small “X” (or a minus sign) that appears in the corner of the app icon. Your iPhone will ask you to confirm if you want to delete the app. Be careful not to delete essential Apple-provided apps unless you are certain you do not need them, though many can be re-downloaded from the App Store. Some built-in Apple apps cannot be fully deleted, only removed from your home screen.
- Q: What if I accidentally move an app icon or delete an app?
- A: Do not worry! If you accidentally move an app icon, you can always move it back using the same drag-and-drop method (after entering jiggle mode). If you delete an app by mistake, you can usually redownload it for free from the App Store. To find the App Store, look for a blue icon with a white “A” in the middle. Tap it, then use the search bar at the bottom right to find the app by name and tap the cloud icon to re-download it.
- Q: How do I make the text or icons on my home screen bigger?
- A: Your iPhone offers excellent accessibility features. To make text bigger, go to Settings (the gray gear icon), tap “Display & Brightness,” then tap “Text Size.” Use the slider to adjust the text size. To make everything on your screen appear larger, including app icons and buttons, go back to “Display & Brightness,” tap “Display Zoom,” and choose “Larger Text” or “Zoomed” view. Confirm your choice to apply it.
- Q: My battery drains very quickly. What should I do?
- A: Several factors influence battery life. Common solutions include reducing screen brightness (using the Control Center), turning off Wi-Fi or Bluetooth when not in use (also via Control Center), and making sure background app refresh is off for apps you do not need constantly updated. Go to Settings, then “Battery,” to see which apps use the most power. For more comprehensive tips, you can visit Apple Support or check resources like AARP Technology Resources.
Quick Reference Checklist
Keep this checklist handy for a quick reminder of essential iPhone home screen actions:
- Open an App: Tap its icon once.
- Return to Home Screen: Swipe up from the bottom (Face ID iPhones) or press the Home button (Home button iPhones).
- Swipe Between Pages: Slide your finger left or right across the screen.
- Enter Jiggle Mode (to move/delete apps): Press and hold any app icon until it jiggles.
- Move an App: In jiggle mode, tap, hold, and drag the icon.
- Create a Folder: In jiggle mode, drag one app icon onto another.
- Access Control Center: Swipe down from top-right (Face ID) or swipe up from bottom (Home button).
- Access Notification Center: Swipe down from top-center.
- Use Spotlight Search: Swipe down from the middle of the home screen and type.
- Restart iPhone (if frozen): Press and hold power button (and volume button for Face ID) until “Slide to Power Off” appears.

Taking Your Next Steps with Confidence
You have successfully navigated the foundational elements of your iPhone home screen. This understanding empowers you to use your device confidently. You know how to launch apps, manage your layout, access quick settings, and find what you need. This knowledge forms the bedrock of your iPhone proficiency, enabling you to use this sophisticated piece of technology effectively in your daily life.
Continue exploring your device. Tap on different app icons to see what they do. Practice swiping, searching, and organizing. The more you interact with your iPhone, the more natural it becomes. Remember, your iPhone is a tool designed to adapt to you. Embrace the learning process, and enjoy the many ways your iPhone can enrich your world. Every interaction builds your comfort and skill, making your iPhone truly your own.
Disclaimer: This article is for informational purposes only. Screens and menus may look slightly different depending on your device model and software version. When in doubt, visit your device’s official support website or ask a trusted family member for help.


Leave a Reply