
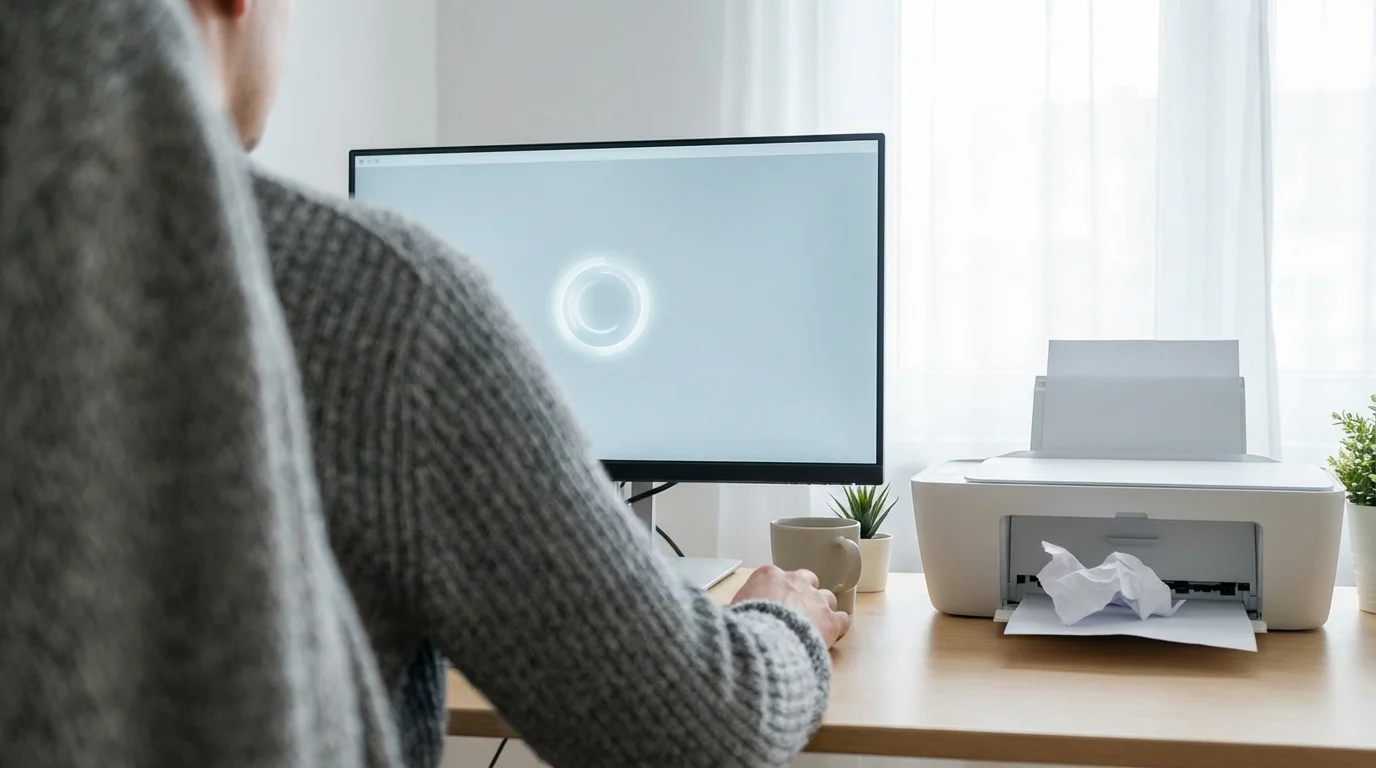
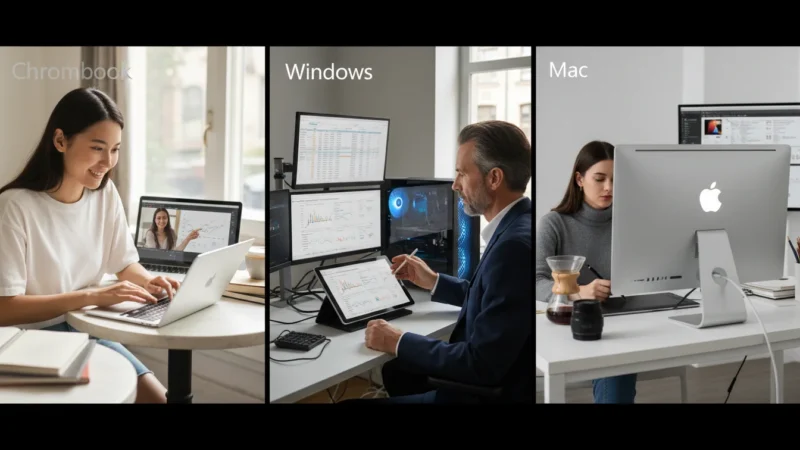
Connecting your computer to a printer might seem like a complex task, especially with new technology always emerging. However, setting up a printer is often straightforward, and you can easily do it yourself. This guide walks you through the process step-by-step, whether you use a Windows PC, a Mac, or a Chromebook. You will learn how to connect your printer, print your first document, and troubleshoot common issues. By the end, you will feel confident managing your printer for all your important tasks, from printing family photos to essential documents.
Before you begin printing, it is helpful to know how to create and manage folders to keep your digital files organized.
Table of Contents
- Understanding Your Printer Connection Options
- Before You Begin: Essential Preparations
- Connecting a Printer to a Windows PC (Windows 10/11)
- Connecting a Printer to a Mac (macOS)
- Connecting a Printer to a Chromebook (Chrome OS)
- Printing Your First Document
- Solving Common Printer Problems
- Maintaining Your Printer for Long-Term Use
- When to Ask for Help
- Frequently Asked Questions

Understanding Your Printer Connection Options
Printers connect to your computer in several ways. Knowing the differences helps you choose the best method for your setup. Most modern printers offer more than one option.
Much like connecting a second monitor, adding a printer is a great way to make your home computer setup more versatile.
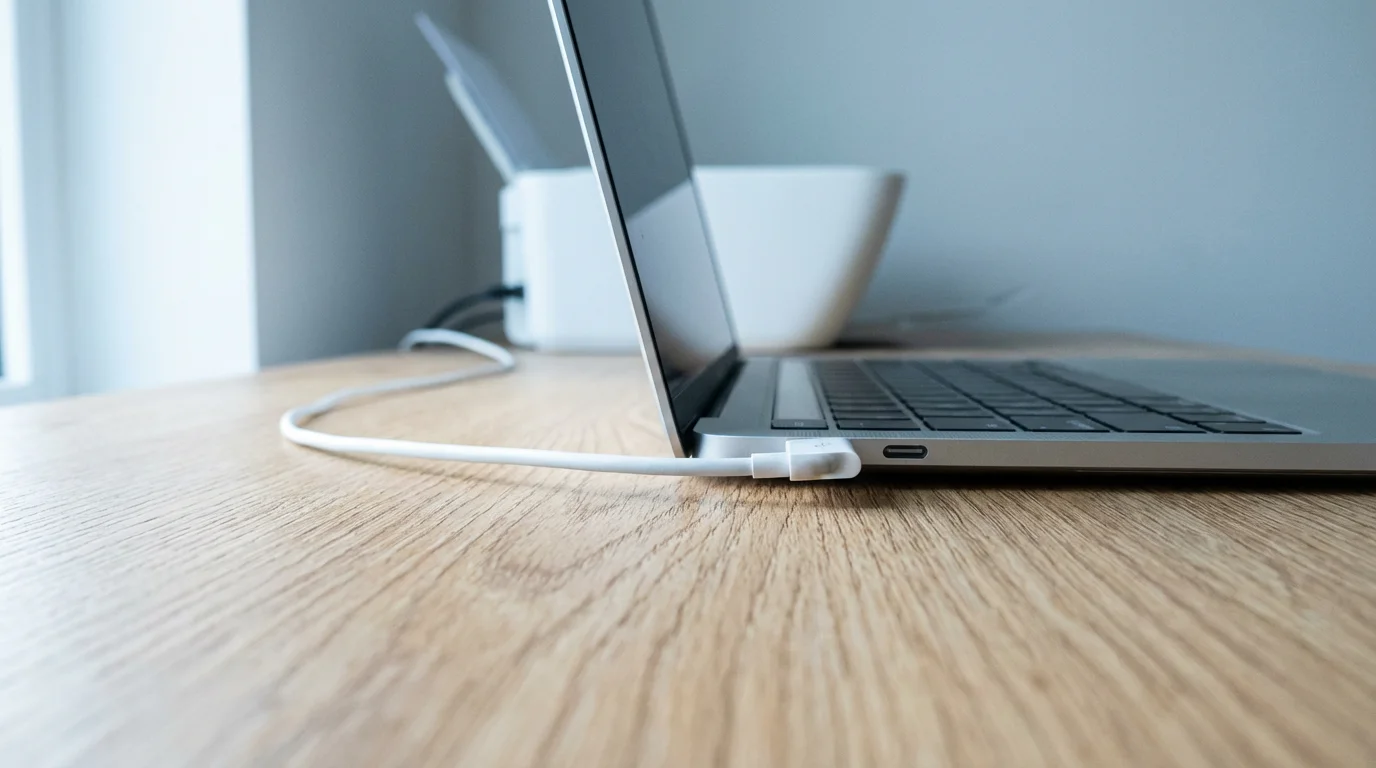
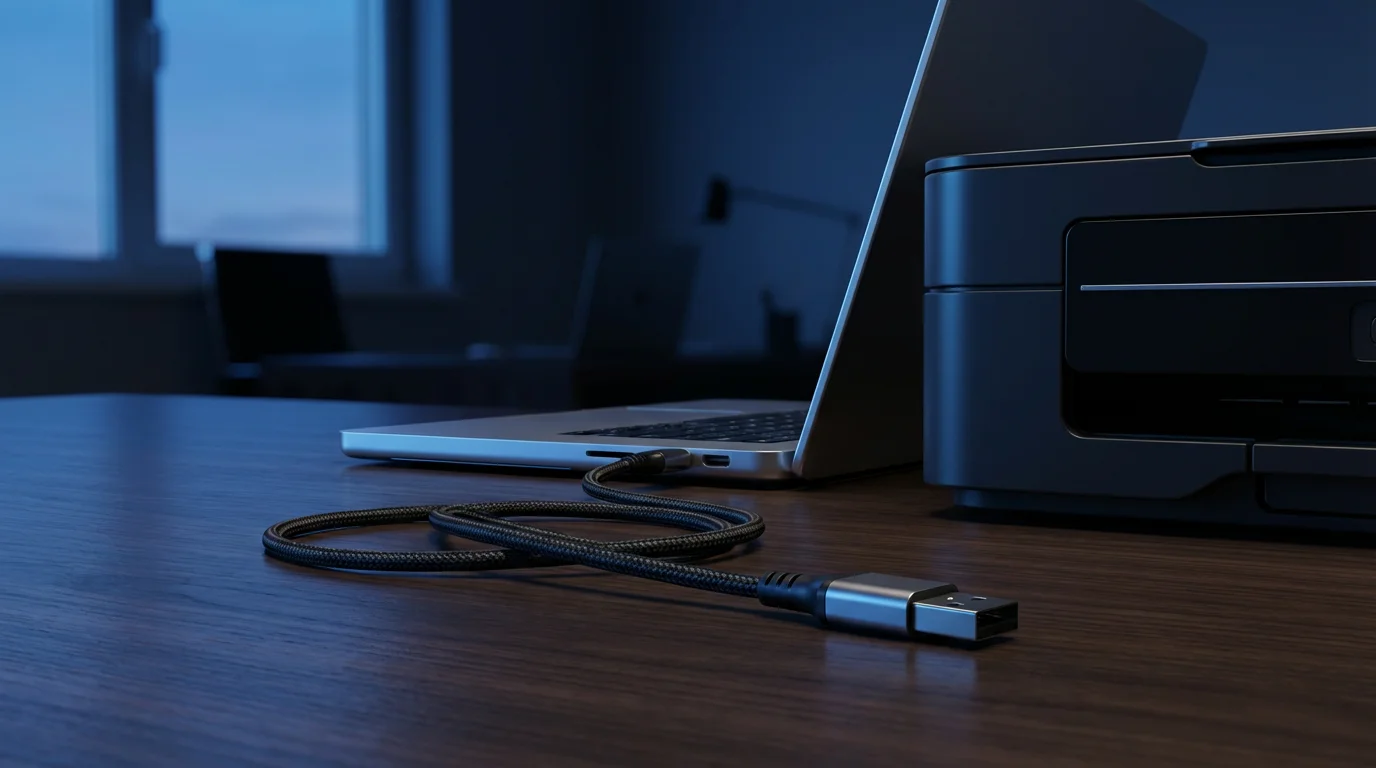
USB Connection: Simple and Direct
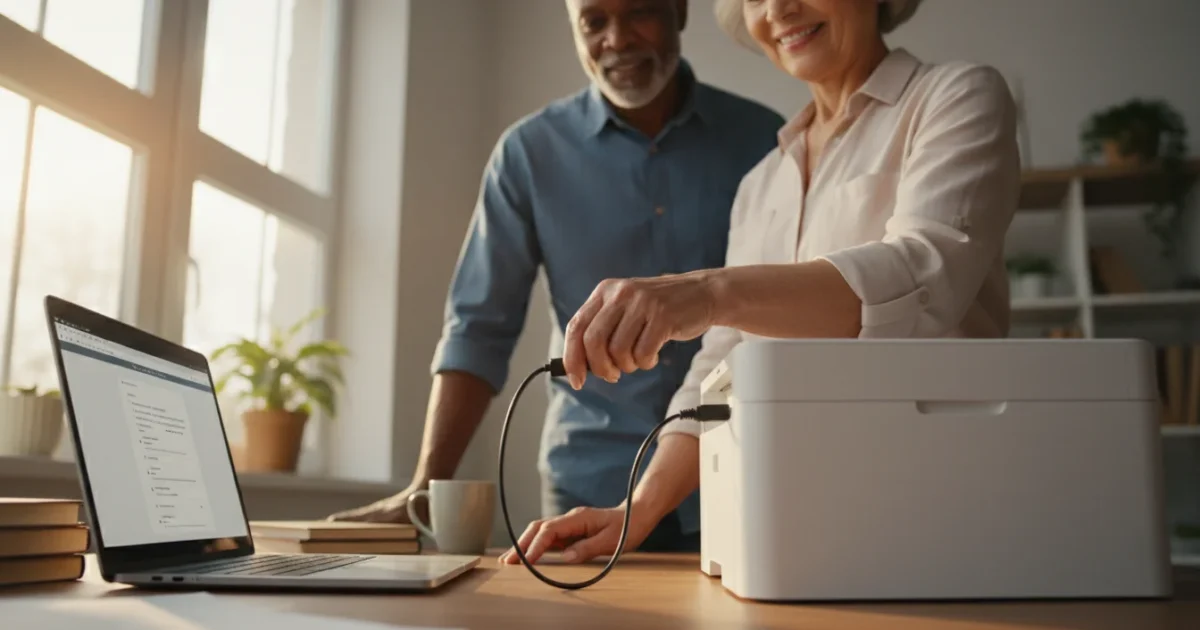
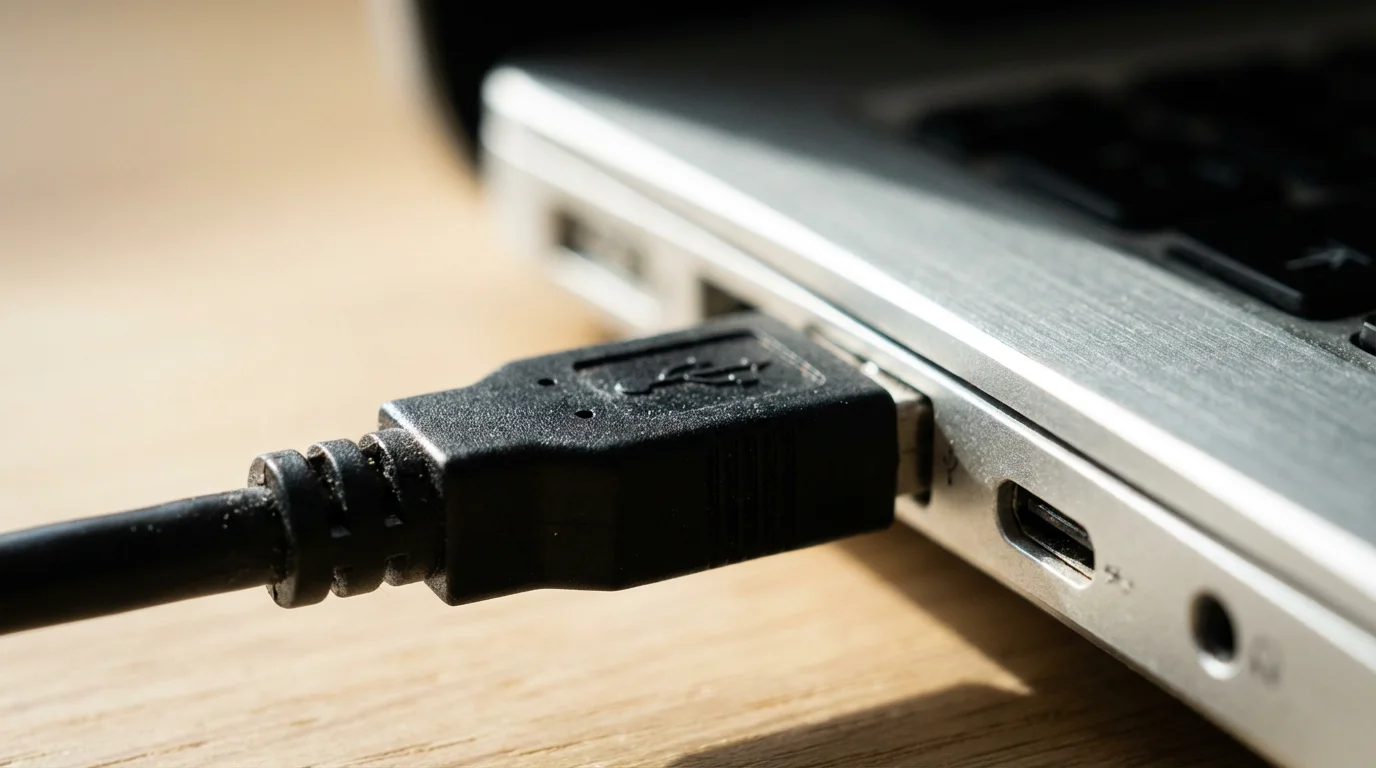
A Universal Serial Bus, or USB, connection is the most direct way to connect your printer. You use a physical cable that plugs into both your printer and your computer. Think of it like plugging in a lamp. This method is reliable and generally very easy to set up, especially if your computer and printer are close to each other.
- Pros: Very reliable, often the fastest setup, no network needed.
- Cons: Your computer must be physically close to the printer, limits where you can place the printer.
Wireless (Wi-Fi) Connection: Freedom to Print
Wireless connections use your home Wi-Fi network to send print jobs. This means you do not need a cable connecting your computer directly to the printer. You can place the printer anywhere within range of your Wi-Fi router. Many households now have a wireless printer because of its convenience.
- Pros: Print from anywhere in your home, multiple devices can print to the same printer, no messy cables.
- Cons: Requires a working Wi-Fi network, initial setup can be slightly more involved than USB, relies on strong Wi-Fi signal.
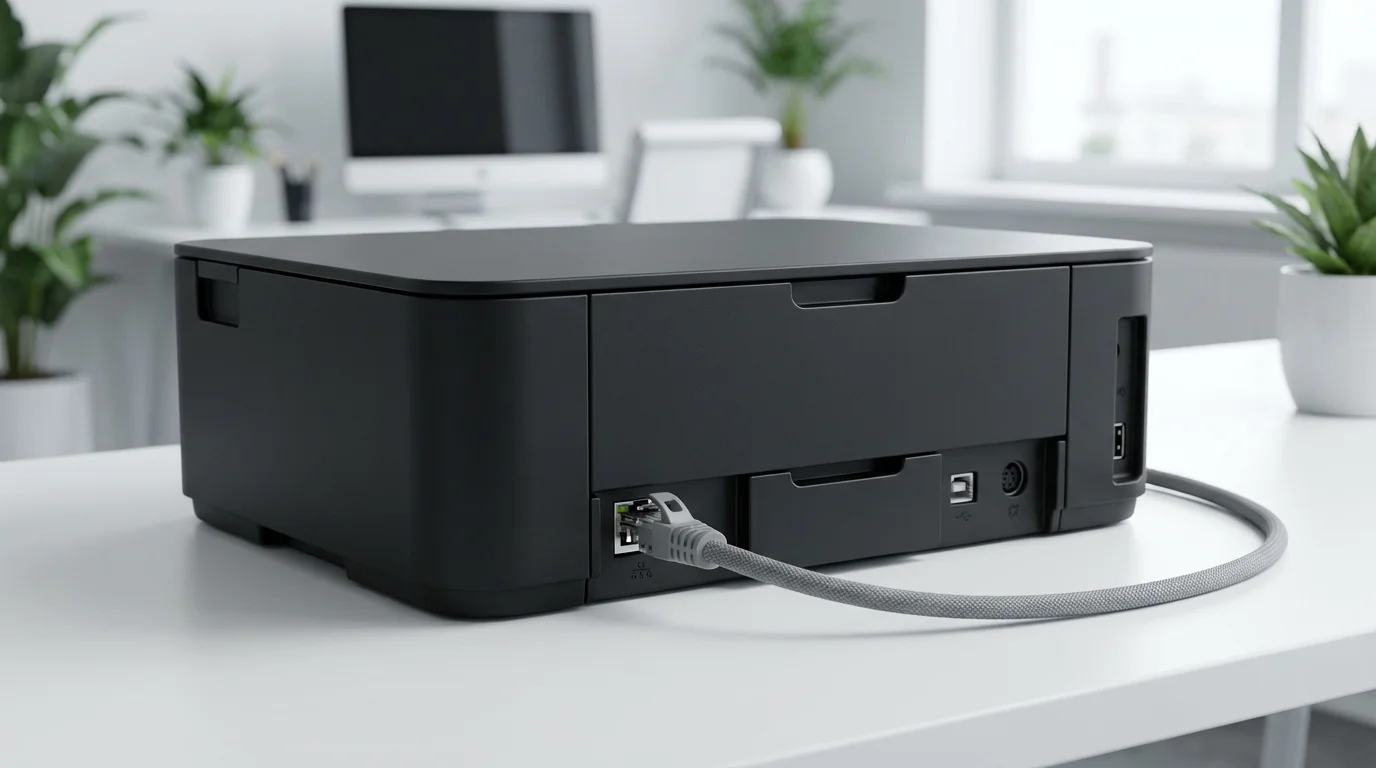
Ethernet (Wired Network) Connection: Stable for Many
Some printers, especially those used in offices, have an Ethernet port. This allows you to connect the printer directly to your home network router using an Ethernet cable. This provides a very stable and fast connection, similar to how many desktop computers connect to the internet. While less common for home users today, it is an option for printers that support it.
- Pros: Extremely stable connection, great for multiple computers in a network.
- Cons: Requires an Ethernet cable, printer needs to be near your router or an Ethernet port.
Before You Begin: Essential Preparations
Before you even think about connecting cables or going through computer settings, prepare your printer. This ensures a smooth setup process and avoids frustrating delays. These steps apply to almost any new printer.
Performing basic computer maintenance ensures your system is ready to handle new hardware installations without any sluggishness.
Before you begin connecting any new hardware, it is helpful to be comfortable with how to turn your computer on and off safely.
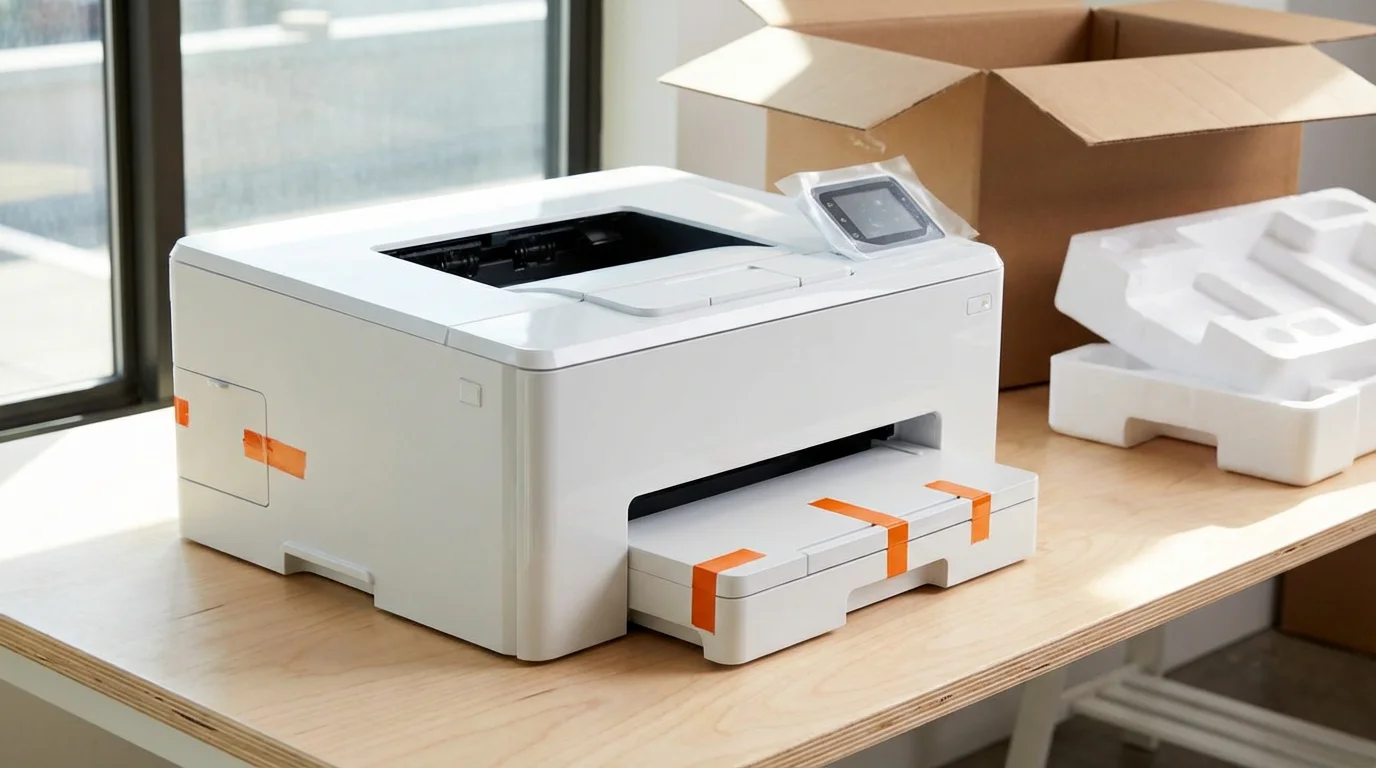
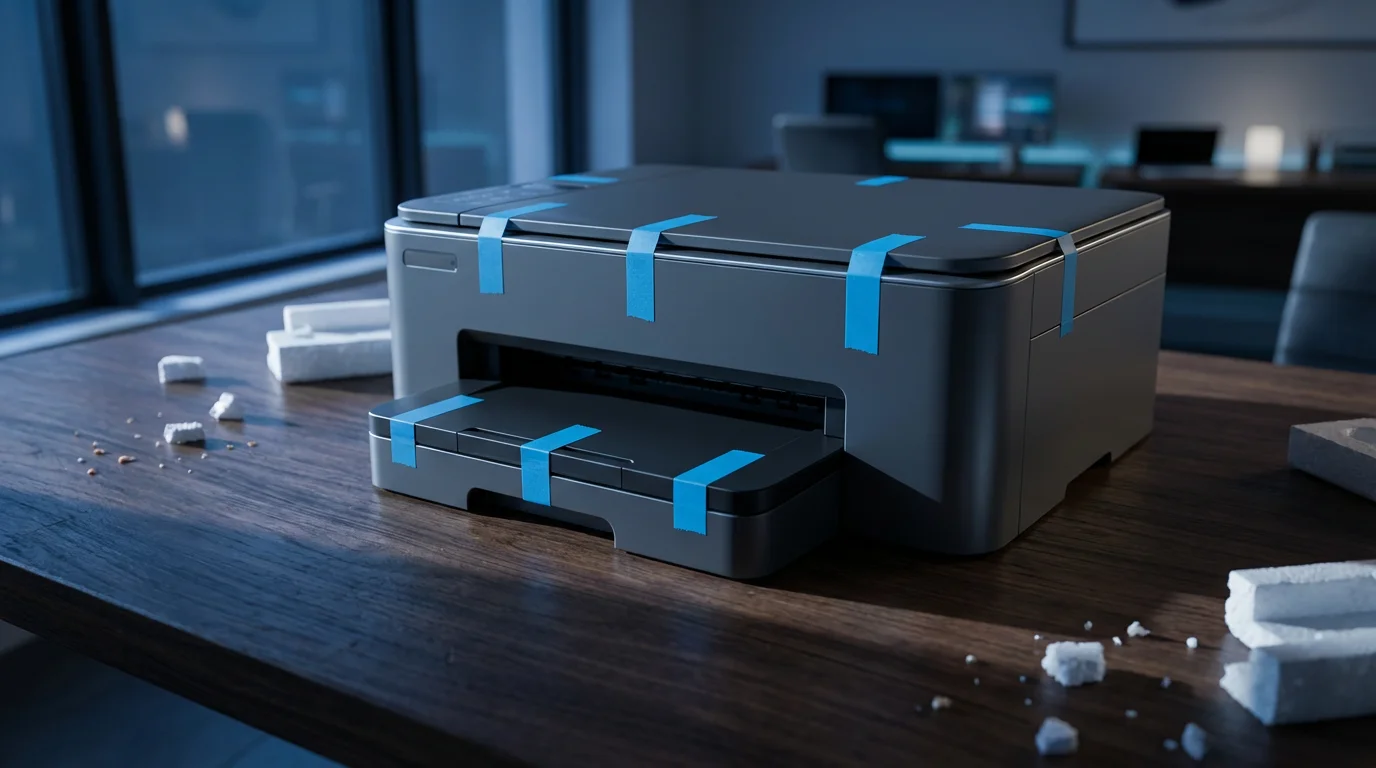
1. Unbox Your Printer and Remove Packing Materials
Carefully take your new printer out of its box. Look for all packing tape, plastic films, cardboard inserts, and foam pieces, both inside and outside the printer. Manufacturers often place these to protect the printer during shipping. If you miss any, the printer may not work correctly or could even be damaged when you turn it on.
Take your time with this step. Removing all packing materials is crucial for the printer to function properly. Check every compartment, including the paper trays and ink cartridge areas.
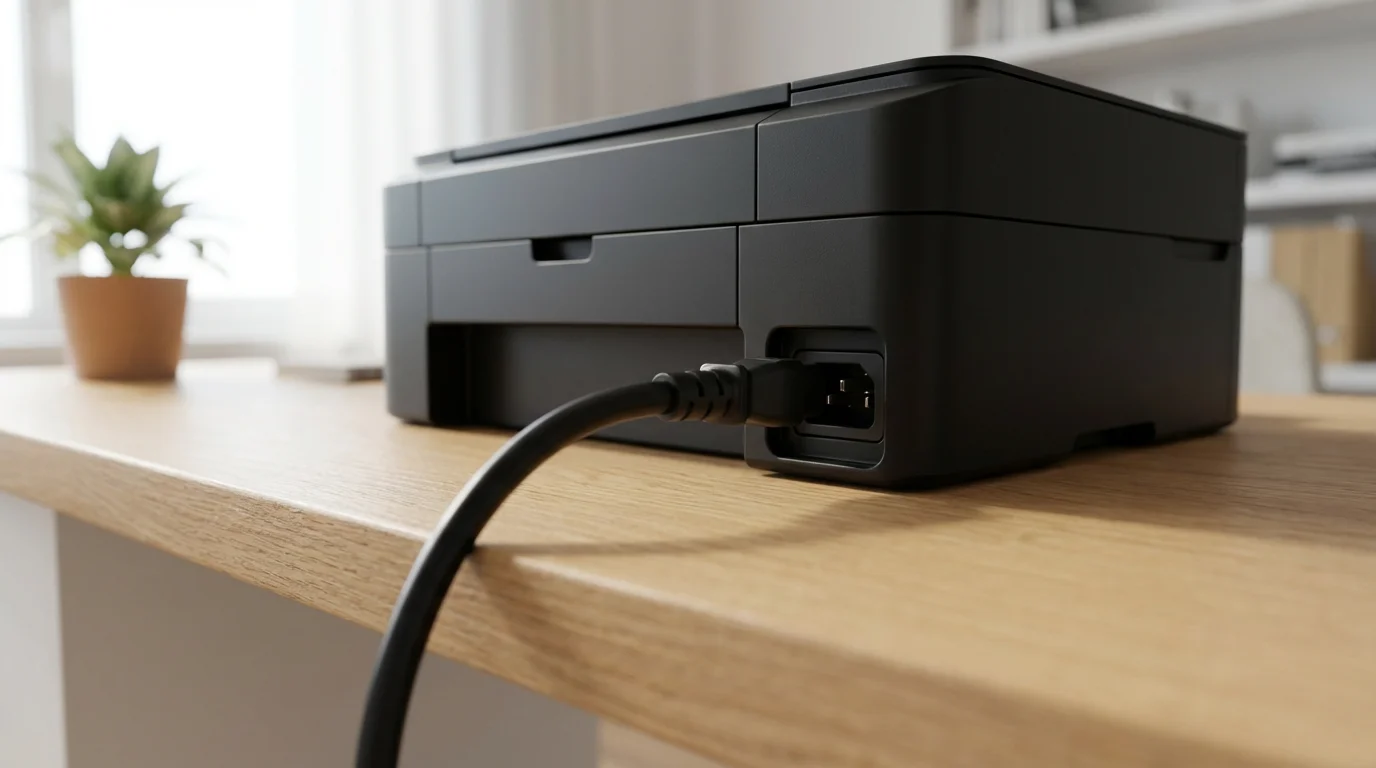
2. Connect the Power Cable
Locate the power cord that came with your printer. Plug one end into the appropriate port on your printer and the other end into a wall outlet or a surge protector. Do not use an extension cord if you can avoid it, as some printers require direct power for optimal performance. Once connected, press the power button on the printer to turn it on. The printer will likely make some noises as it prepares itself, which is normal.
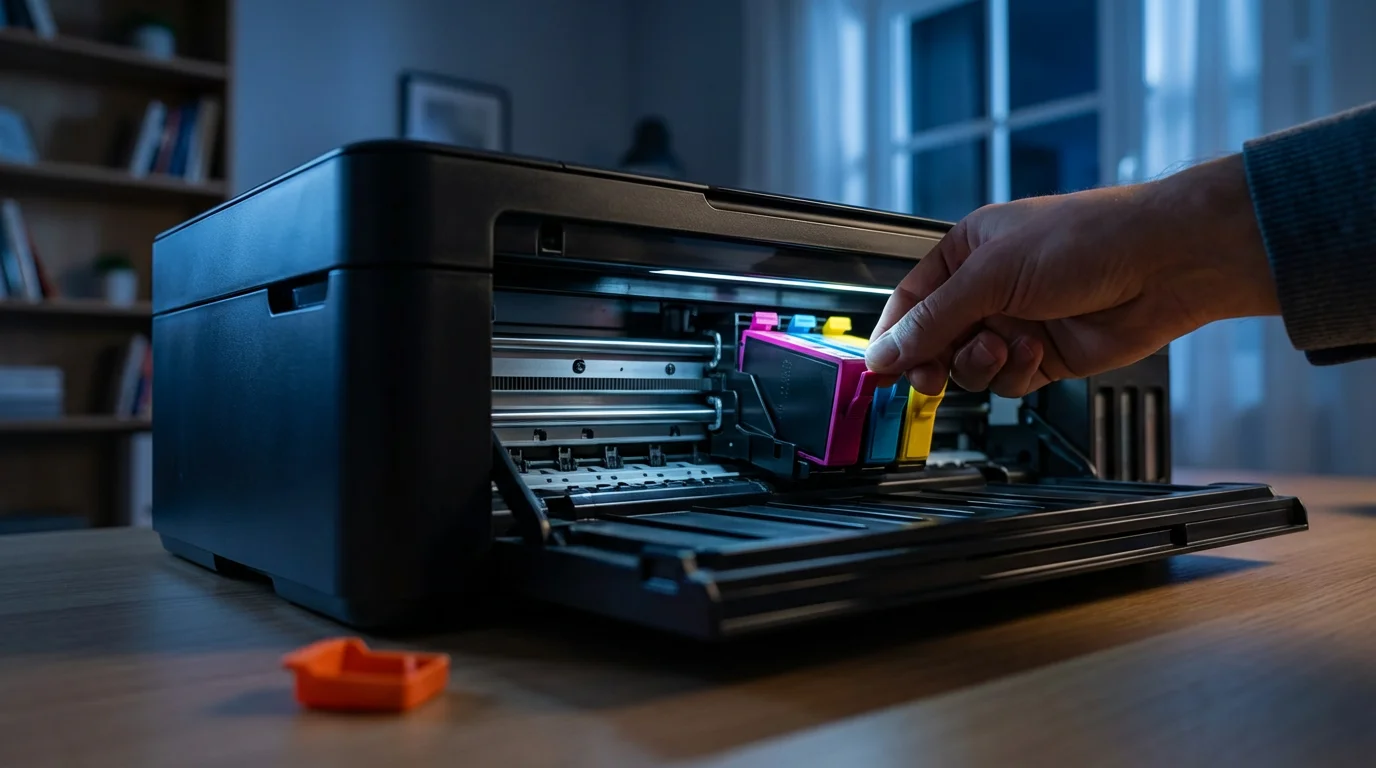
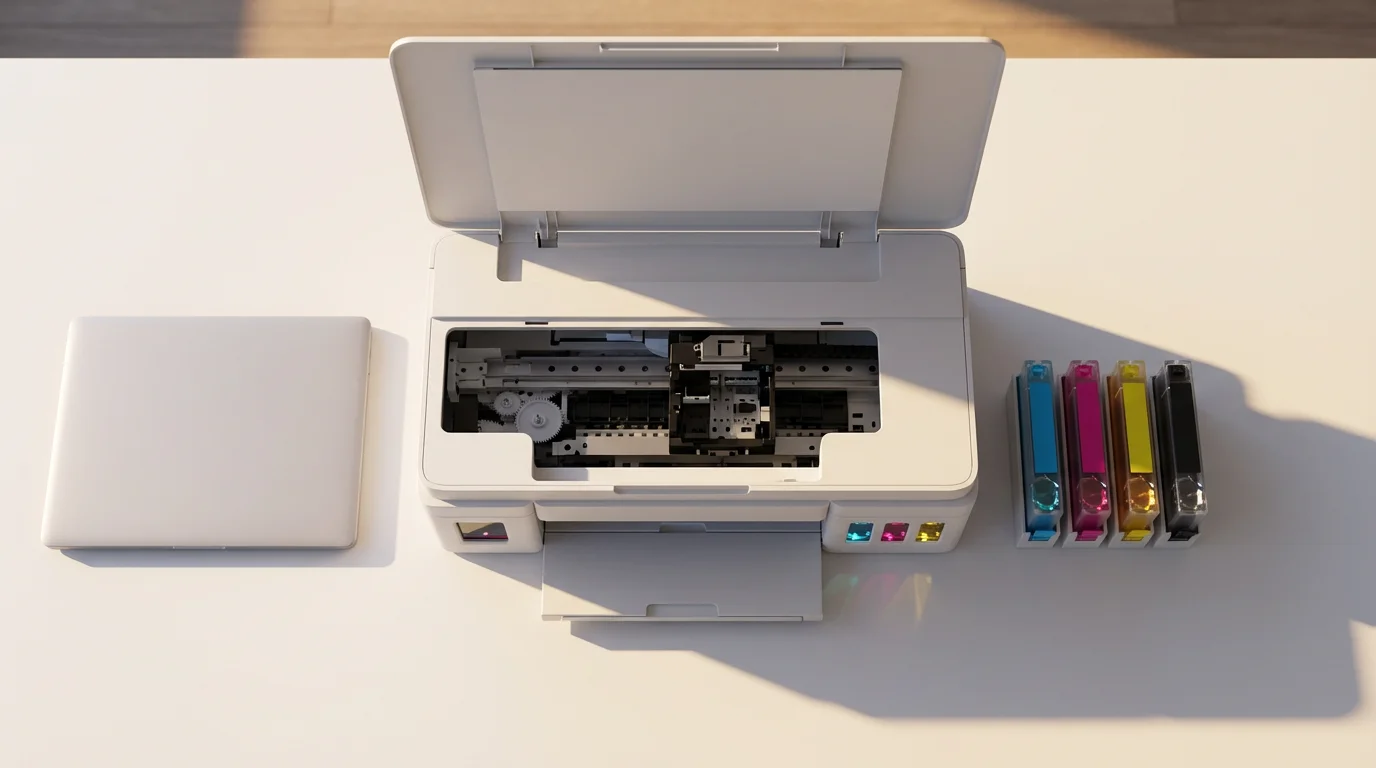
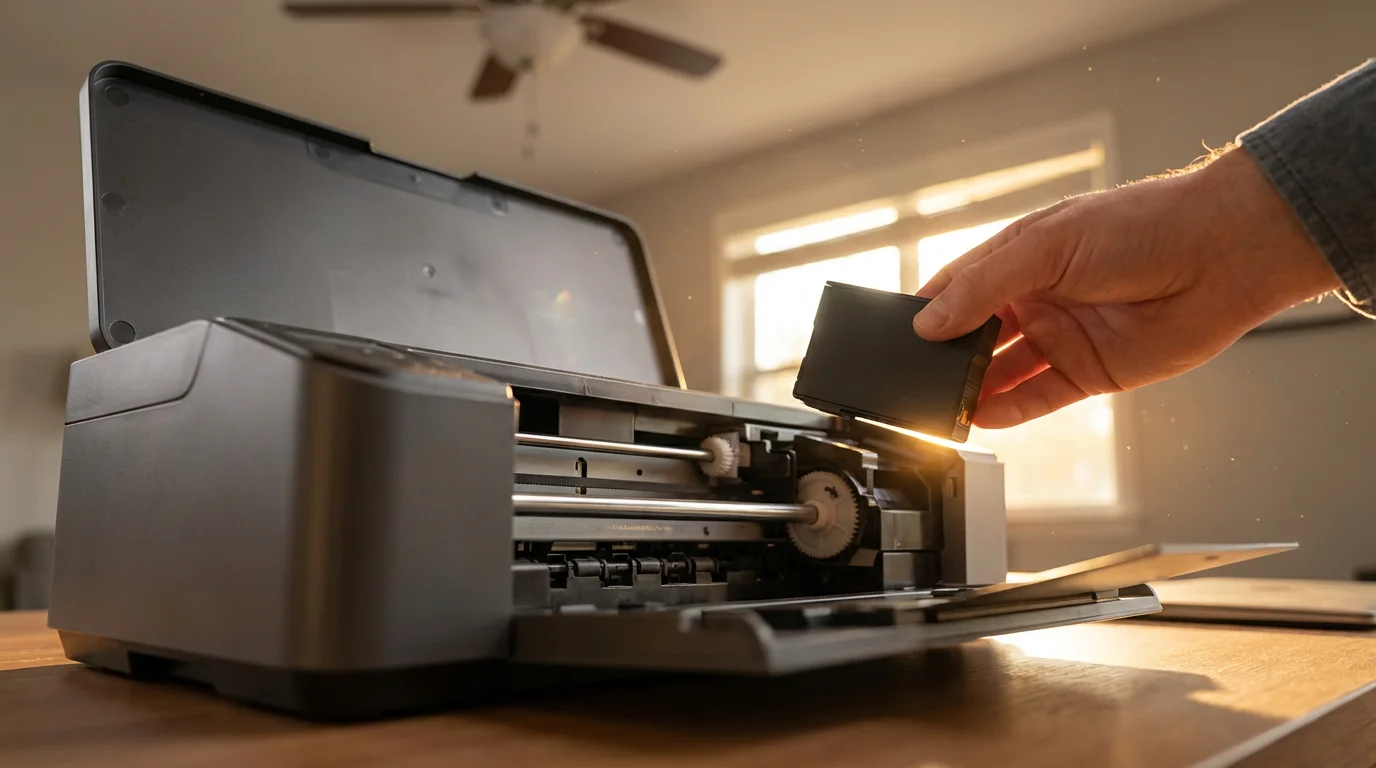
3. Install Ink Cartridges or Toner
Your printer needs ink (for inkjet printers) or toner (for laser printers) to print. Open the access panel for the cartridges, usually on the front or top of the printer. Follow the instructions provided in your printer’s manual for installing the cartridges. They often click into place. Make sure to remove any protective strips or caps from the cartridges before installation. These strips keep the ink from drying out before use.
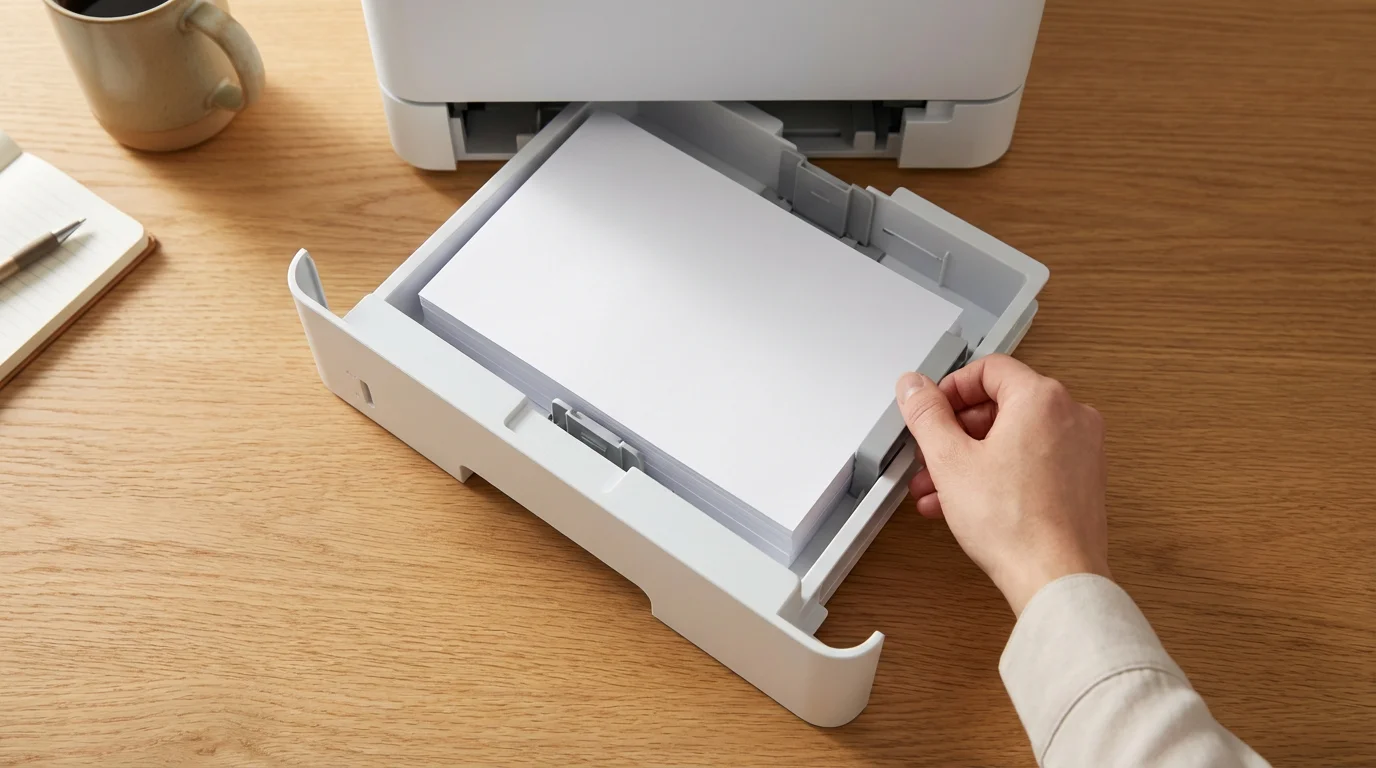
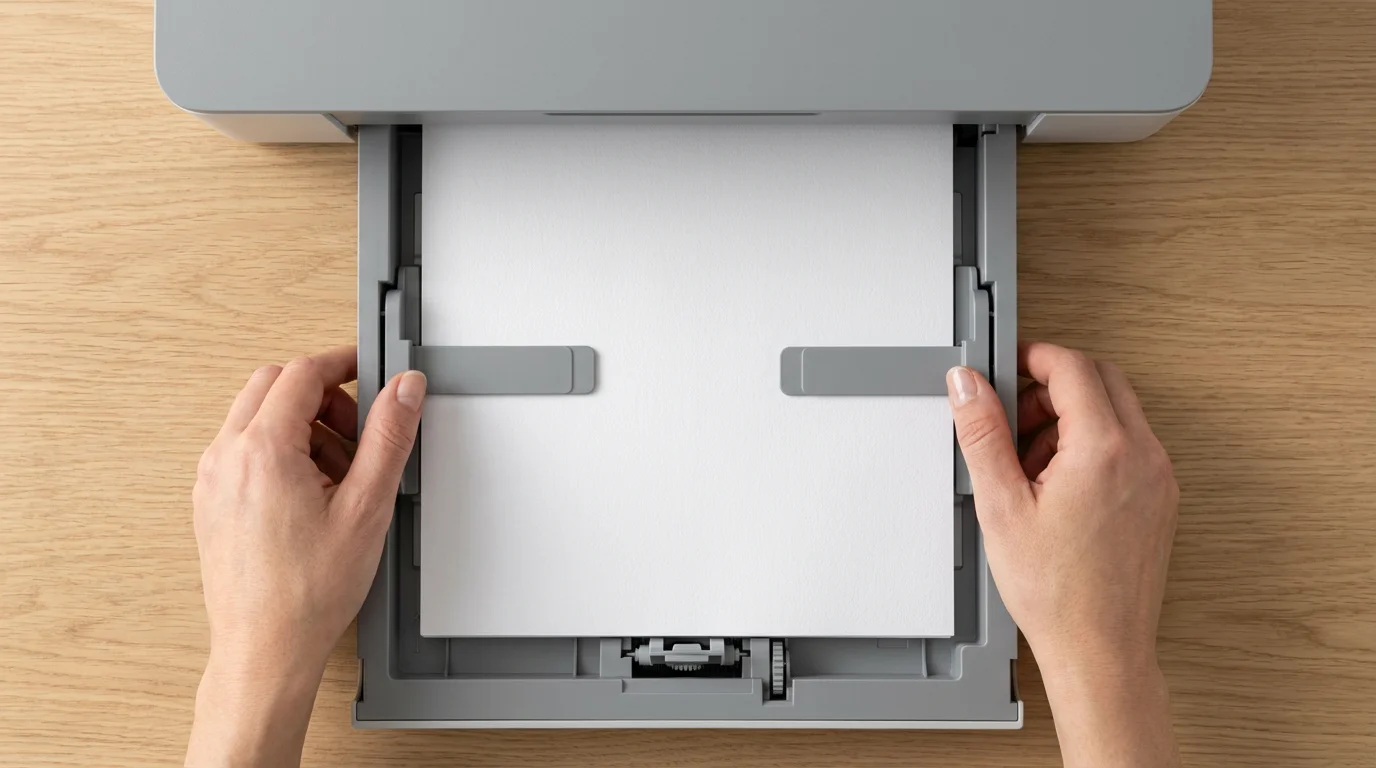
4. Load Paper into the Paper Tray
Open the paper tray, usually located at the bottom or back of the printer. Stack a fresh ream of paper neatly, making sure the edges are aligned. Adjust the paper guides to fit the width and length of your paper. Do not overfill the tray, as this can cause paper jams.
5. Gather Your Supplies (for Wireless Setup)
If you plan to connect wirelessly, make sure you know your home Wi-Fi network name (SSID) and password. This information is often found on a sticker on your Wi-Fi router. Keep it handy, as you will need to enter it into the printer or your computer during the setup process.
Connecting a Printer to a Windows PC (Windows 10/11)
Connecting a printer to your Windows computer is straightforward. The steps are very similar for both Windows 10 and Windows 11.
If you are new to Apple computers, our guide to the Mac desktop will help you find the System Settings menu easily.
If you find the setup windows difficult to see, you can make your computer screen easier to read by adjusting the text size.
While you are exploring your computer’s settings, you can also use keyboard shortcuts to navigate through menus more quickly.

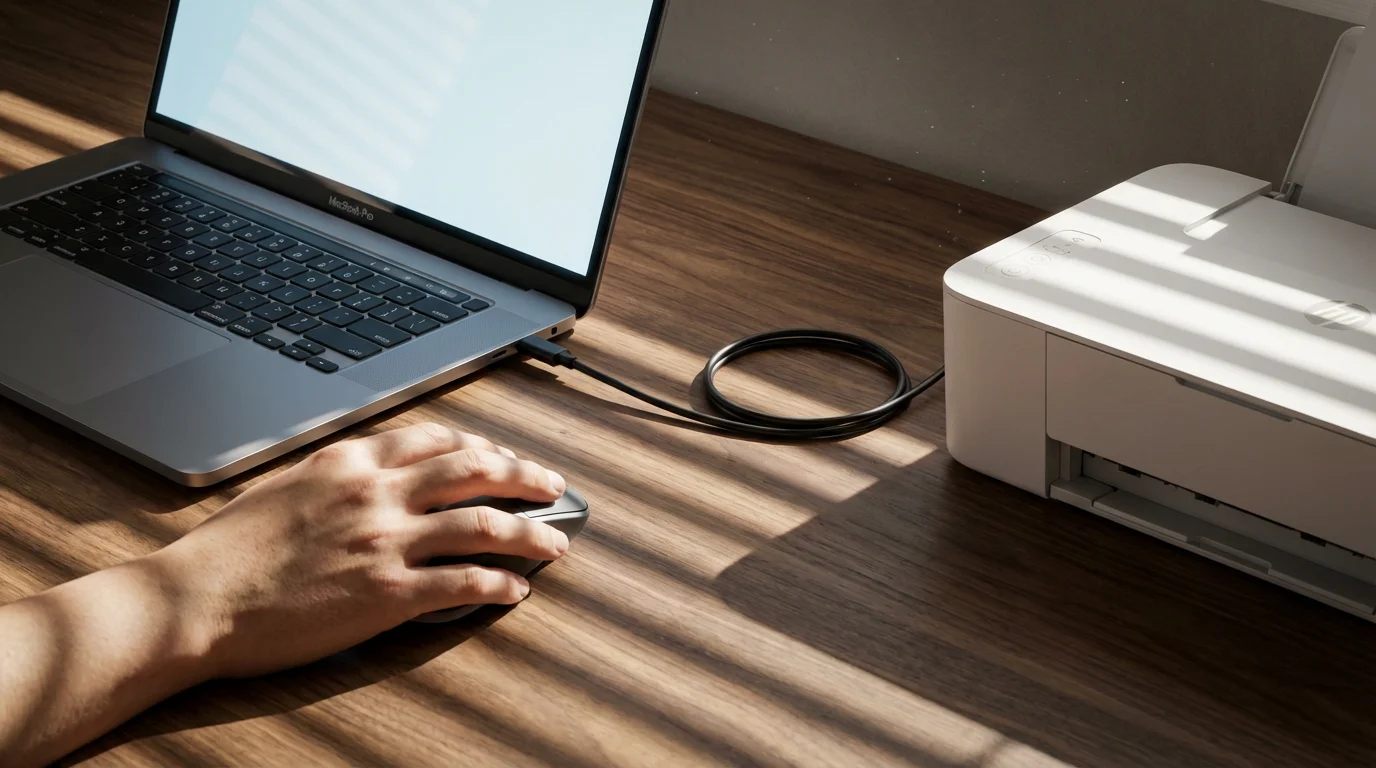
Method 1: USB Connection (Windows 10/11)
- Turn on your printer: Make sure your printer has power, ink, and paper loaded.
- Connect the USB cable: Plug one end of the USB cable into your printer and the other end into an available USB port on your computer. A USB port is a small, rectangular opening on the side, back, or front of your computer.
- Windows detects the printer: Your Windows PC will usually detect the new printer automatically. You might see a small message pop up in the bottom-right corner of your screen saying “Setting up a device” or “New hardware found.”
- Install drivers: Windows will often install the necessary software, called drivers, automatically. Drivers help your computer communicate with the printer. This can take a few minutes.
- Confirmation: Once complete, you may see a message like “Device is ready for use.” Your printer should now appear in your list of devices.
What You’ll See On Screen: You may see a notification bubble near the bottom right of your screen, indicating that a new device is being set up. It might show a progress bar. Once finished, it often disappears, and you can usually find your printer listed in your computer’s settings.
Method 2: Wireless Connection (Windows 10/11)
Connecting wirelessly usually involves two main parts: getting your printer onto your Wi-Fi network and then adding it to your computer.
Part A: Connect Your Printer to Your Wi-Fi Network
Most modern wireless printers have a small screen or buttons to help you connect to Wi-Fi. The exact steps vary by printer brand, but the general idea is the same.
- Access your printer’s wireless settings: On your printer’s control panel (the small screen), look for a “Setup,” “Wireless,” or “Network” menu. You might need to scroll through options.
- Select “Wireless Setup Wizard” or similar: This option guides you through connecting to your Wi-Fi.
- Choose your network: The printer will scan for available Wi-Fi networks. Select your home network’s name (SSID) from the list.
- Enter your Wi-Fi password: Use the printer’s keypad or screen to enter your Wi-Fi password (also called a network key or security key). This password is case-sensitive, meaning capital letters matter.
- Confirm connection: Your printer will attempt to connect. A message like “Connection Successful” usually appears if it works. If not, double-check your password and try again.
What You’ll See On Screen: The printer’s small display will show network names, a keypad for typing your password, and confirmation messages like “Connecting” or “Connected.”
Part B: Add the Wireless Printer to Your Windows PC
Once your printer is on the Wi-Fi network, tell your computer to find it.
- Open Windows Settings:
- In Windows 10: Click the Start button (the Windows logo in the bottom-left corner of your screen), then click on the gear icon labeled “Settings.”
- In Windows 11: Click the Start button (the Windows logo, usually in the center of your taskbar, the bar at the bottom of the screen), then click on the gear icon labeled “Settings.”
- Navigate to Printers & Scanners: In the Settings window, click on “Bluetooth & devices” (Windows 11) or “Devices” (Windows 10), then click on “Printers & scanners.”
- Add a printer: Click the “Add a printer or scanner” button. Your computer will start searching for available printers on your network. This might take a moment.
- Select your printer: When your printer’s name appears in the list, click on it, then click the “Add device” button.
- Install drivers: Windows will automatically download and install the necessary drivers.
- Confirmation: Once the process finishes, your printer will appear in the list of “Printers & scanners.”
What You’ll See On Screen: The “Printers & scanners” page will show a spinning circle or a “Searching for printers” message. When your printer is found, its name (e.g., “HP Envy 6000 series”) will appear, and you can click to add it. You will see progress during driver installation.
For more detailed support on Windows, you can visit Microsoft Support.
Connecting a Printer to a Mac (macOS)
Connecting a printer to your Mac is generally a very smooth process. macOS is designed to work well with most printers right out of the box.
Method 1: USB Connection (macOS)
- Turn on your printer: Ensure your printer is powered on, has ink, and has paper loaded.
- Connect the USB cable: Plug one end of the USB cable into your printer and the other end into an available USB port on your Mac. If your Mac has only smaller USB-C ports, you might need a USB-C to USB-A adapter.
- Mac detects the printer: Your Mac will typically recognize the new printer automatically. A notification might appear asking if you want to set up the printer.
- Add the printer (if not automatic): If a notification does not appear, follow these steps:
- Click the Apple menu (the apple icon in the top-left corner of your screen).
- Click “System Settings” (on newer macOS versions like Ventura or Sonoma) or “System Preferences” (on older macOS versions).
- Click “Printers & Scanners.”
- Click the “+” button (plus sign) at the bottom of the printer list.
- Your Mac will search for connected printers. Select your printer’s name from the list.
- Click “Add.” Your Mac will often automatically find and install the correct software, called drivers.
- Confirmation: The printer will now appear in your “Printers & Scanners” list, ready for use.
What You’ll See On Screen: When you connect a USB printer, your Mac might show a pop-up window asking if you want to install drivers or add the printer. In “Printers & Scanners,” you will see the printer’s name appear in the list once it is added.
Method 2: Wireless Connection (macOS)
Just like with Windows, connecting a wireless printer to your Mac involves two steps: connecting the printer to your Wi-Fi network and then adding it to your Mac.
Part A: Connect Your Printer to Your Wi-Fi Network
Follow the same steps as described in the “Connect Your Printer to Your Wi-Fi Network” section for Windows. Use your printer’s control panel to find your Wi-Fi network and enter its password.
What You’ll See On Screen: The printer’s small screen will display network names and prompt you for the Wi-Fi password.
Part B: Add the Wireless Printer to Your Mac
Once your printer is connected to your home Wi-Fi network, your Mac can find it.
- Open System Settings/Preferences:
- Click the Apple menu (the apple icon in the top-left corner of your screen).
- Click “System Settings” or “System Preferences.”
- Navigate to Printers & Scanners: Click “Printers & Scanners” in the sidebar.
- Add a printer: Click the “+” button (plus sign) at the bottom of the list of printers.
- Select your printer: Your Mac will search for available network printers. When your printer’s name appears (it might have “Bonjour” next to it, which is how Macs find devices on the network), select it.
- Review settings: Ensure the “Use” or “Print Using” dropdown menu has the correct printer software selected. macOS usually selects this automatically.
- Click “Add”: Your Mac will add the printer to your list and install any necessary software.
What You’ll See On Screen: The “Add Printer” window will display a list of discovered printers. After you select your printer and click “Add,” you will see it populate in the main “Printers & Scanners” list.
For more specific Mac troubleshooting, consult Apple Support.
Connecting a Printer to a Chromebook (Chrome OS)
Chromebooks manage printers differently than Windows PCs or Macs. They primarily work with wireless printers that support a technology called “Google Cloud Print” (which has been discontinued, so newer methods are used) or local network printers that are compatible with Chrome OS. Most modern Wi-Fi printers are compatible.

Method: Wireless Connection (Chrome OS)
The easiest way to connect a printer to a Chromebook is through Wi-Fi.
Part A: Connect Your Printer to Your Wi-Fi Network
First, ensure your printer is connected to your home Wi-Fi network. Follow the same steps as outlined in the “Connect Your Printer to Your Wi-Fi Network” section for Windows. Use your printer’s control panel to find your Wi-Fi network and enter its password.
What You’ll See On Screen: The printer’s own small screen will guide you through selecting the Wi-Fi network and entering the password.
Part B: Add the Wireless Printer to Your Chromebook
Once your printer is on the network, add it to your Chromebook.
- Open Chromebook Settings:
- Click on the time (usually in the bottom-right corner of your screen, on the “shelf” or taskbar).
- Click on the gear icon labeled “Settings.”
- Navigate to Printers: In the Settings window, scroll down and click on “Advanced.” Then, under the “Printing” section, click “Printers.”
- Add a printer:
- If your printer is automatically detected, it will appear under “Available printers to save.” Click the “Save” button next to it.
- If it does not appear, click the “Add Printer” button (the plus sign).
- Manual setup (if needed): If you click “Add Printer”:
- Enter a “Name” for your printer (e.g., “Living Room Printer”).
- For “Connection,” choose “Wi-Fi (default)” or “Network.”
- For “Printer model,” select your printer’s brand and model from the dropdown menus. If your specific model is not listed, you might be able to select a generic option or “Generic PCL/PostScript Printer,” though this can be less reliable. Many popular brands are fully supported.
- Click “Add.”
- Confirmation: Your printer will now appear under “Saved printers.”
What You’ll See On Screen: In the “Printers” settings, you will see a list of “Available printers to save” or “Saved printers.” When you add one, its name will appear in the “Saved printers” list. If you are adding manually, dropdown menus help you select your printer’s brand and model.
For more help with Chromebooks and printers, visit Google Support.
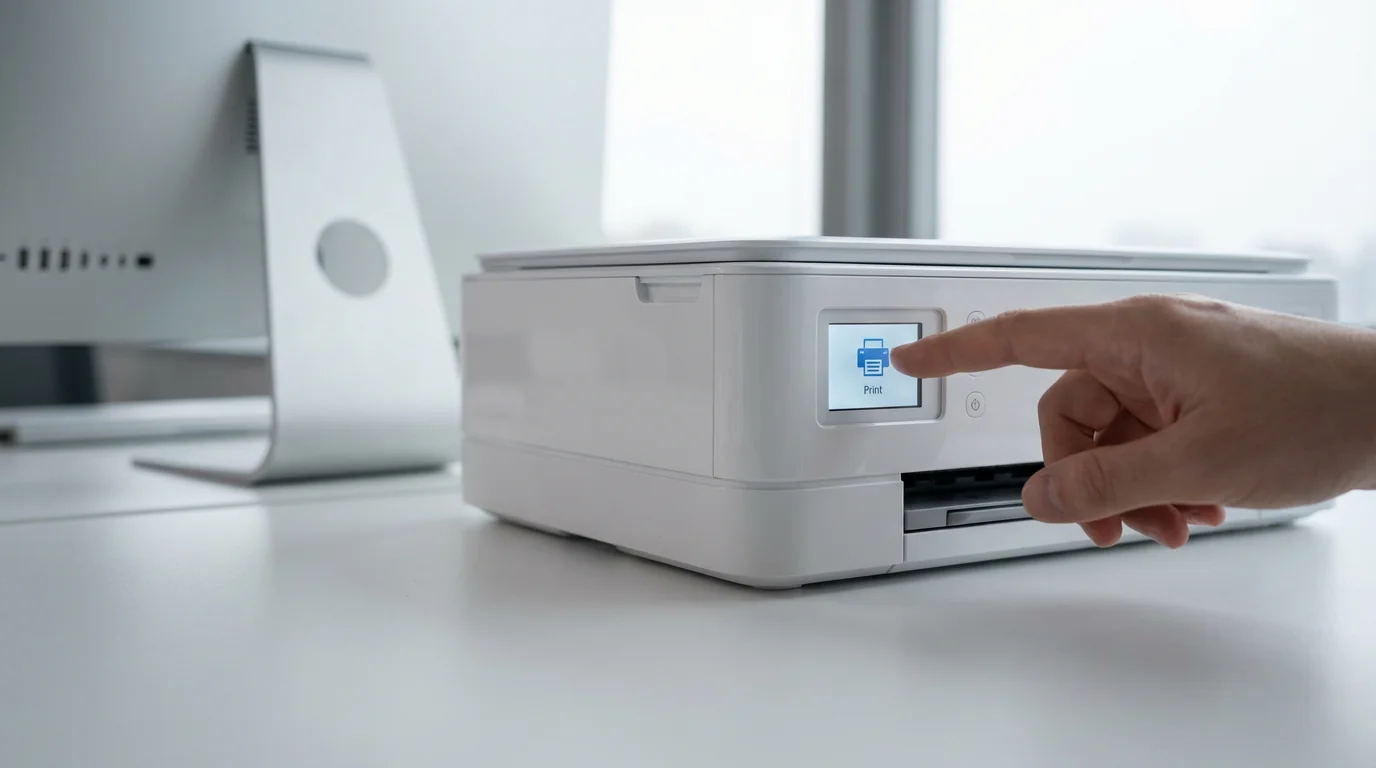
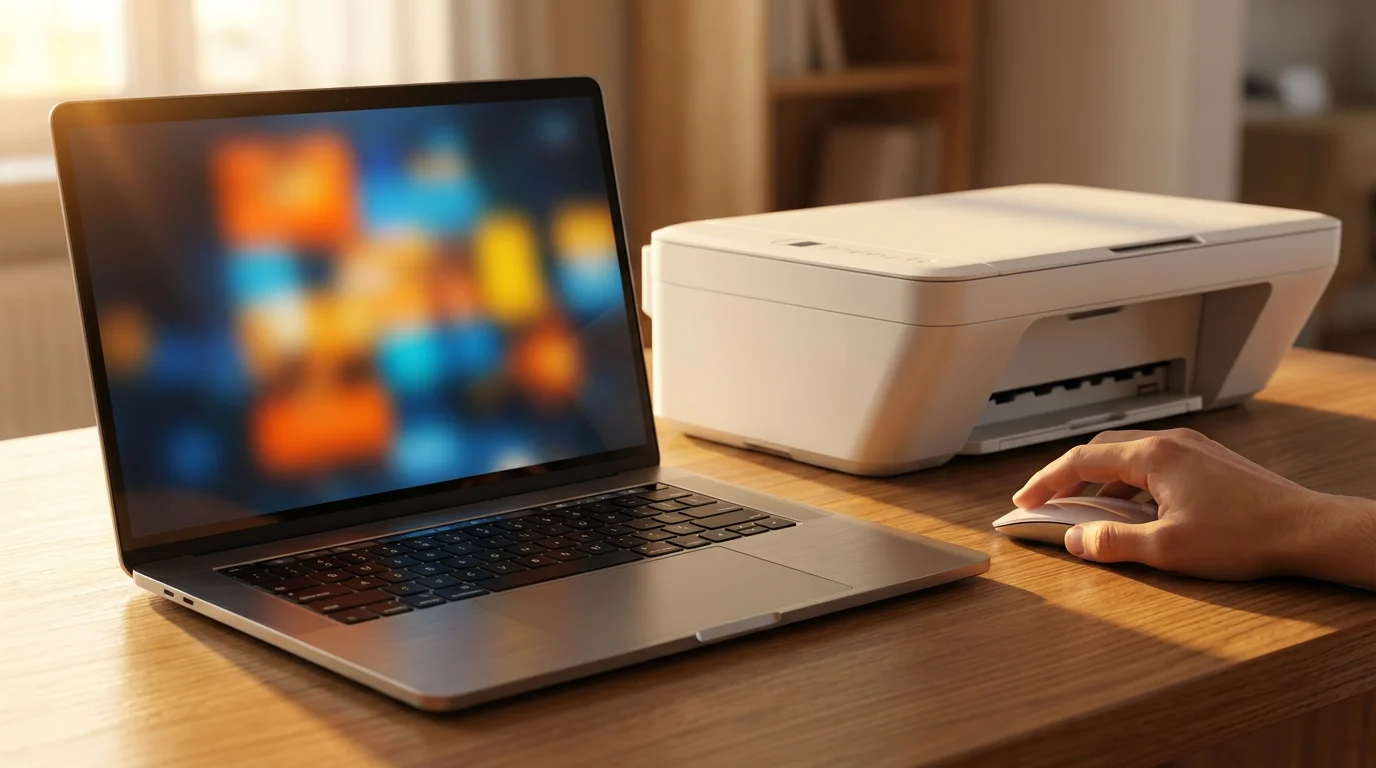
Printing Your First Document
Now that your printer is connected, let us print something! The basic steps for printing a document are very similar across Windows, Mac, and Chromebooks.
If you are having trouble locating the item you want to print, our guide on how to find files on your computer can help.
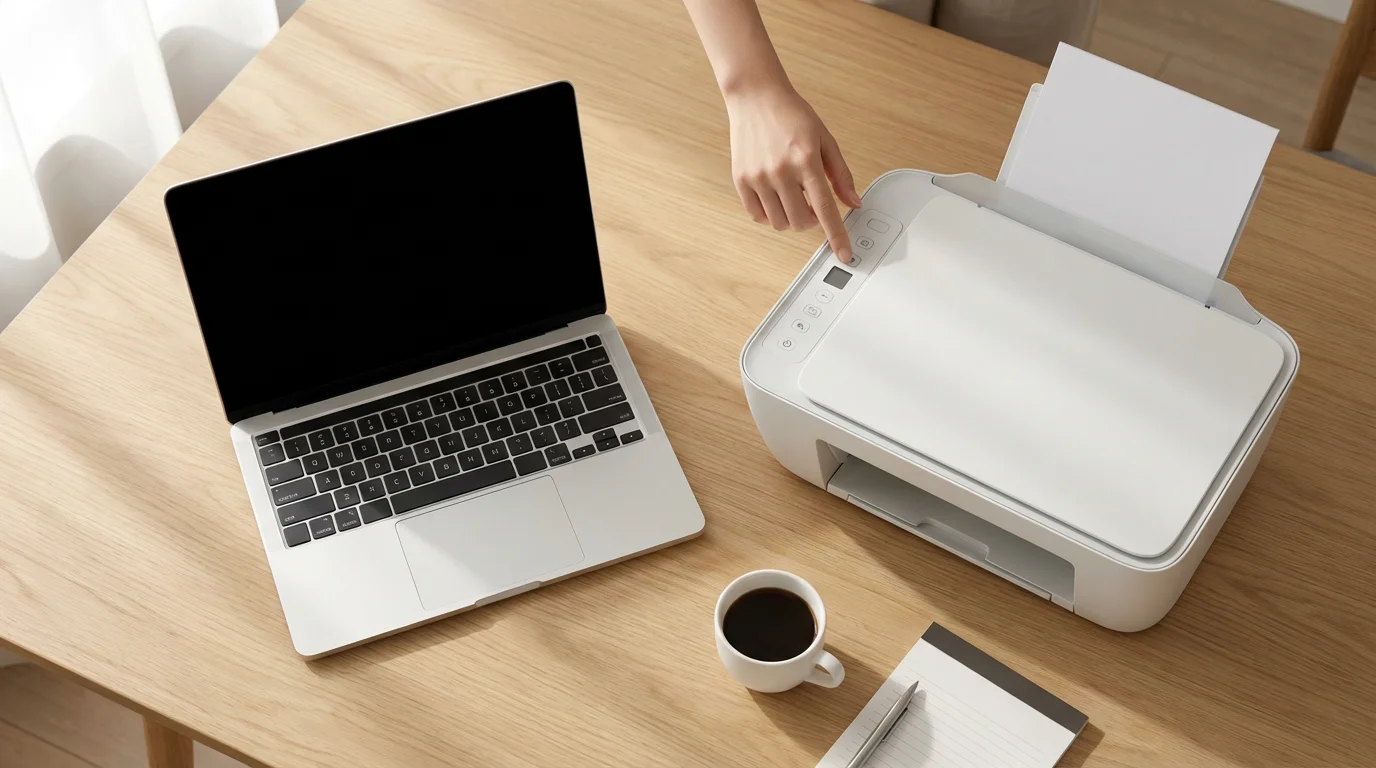
General Steps to Print
- Open the document: Open the file you want to print. This could be a document in Microsoft Word, a PDF file, a photo, or a webpage in your internet browser.
- Find the Print option: Look for a “File” menu at the top of the program window. Click on “File,” then click on “Print.” Alternatively, many programs have a printer icon, or you can use a keyboard shortcut:
- Windows: Hold down the Ctrl key and press the P key (Ctrl+P).
- Mac: Hold down the Command key and press the P key (Cmd+P).
- Chromebook: Hold down the Ctrl key and press the P key (Ctrl+P).
- The Print Dialog Box: A “Print” window or dialog box will appear. This is where you choose your printer and adjust settings.
- Select your printer: In the print dialog, you will see a dropdown menu that lists available printers. Click on it and select the name of the printer you just set up.
- Choose print settings: You can often adjust settings like:
- Number of copies: How many times you want the document printed.
- Pages: Which pages to print (all, current page, or a custom range like 1-5).
- Color or Black & White: Whether to print in color or grayscale.
- Paper size: Usually Letter (8.5×11 inches) is the default.
- Orientation: Portrait (tall) or Landscape (wide).
- Click “Print”: Once you are satisfied with your settings, click the “Print” button.
What You’ll See On Screen: The print dialog box will show a preview of your document, a dropdown list for your printers, and various options like “Copies,” “Pages,” and “Color/Grayscale.”
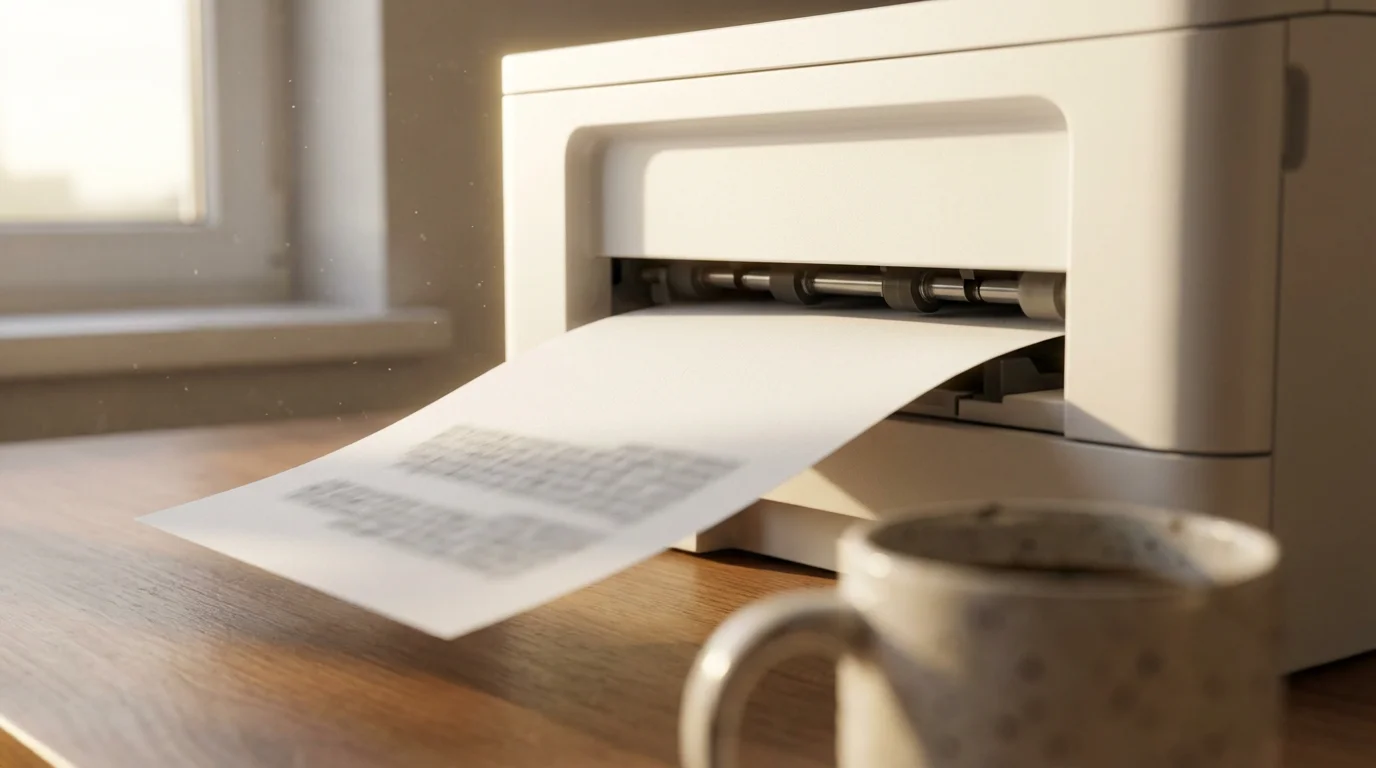
Your printer should now whir to life and begin printing your document. Congratulations, you have successfully connected and used your printer!
Solving Common Printer Problems
Even with careful setup, printers can sometimes be finicky. Here are solutions to some common issues you might encounter.
1. Printer Is “Offline” or Not Responding
This is one of the most common problems. Your computer thinks the printer is not available.
- Check physical connections: Ensure the power cable is firmly plugged into both the printer and the wall outlet. If using a USB cable, make sure it is securely connected to both the printer and the computer.
- Check Wi-Fi connection: If it is a wireless printer, check the printer’s own screen to confirm it is connected to your Wi-Fi network. If not, try reconnecting it. Make sure your computer is also connected to the same Wi-Fi network.
- Restart everything: Turn off your printer, wait 30 seconds, then turn it back on. Do the same for your computer and your Wi-Fi router. Sometimes, a fresh restart resolves communication issues.
- Check printer status (Windows):
- Go to “Settings” > “Bluetooth & devices” > “Printers & scanners.”
- Click on your printer’s name.
- Click “Open print queue.” If “Use Printer Offline” is checked, uncheck it.
2. Print Jobs Are Stuck in the Queue
Sometimes, documents get stuck, and the printer will not print them. This is called a “stuck print queue.”
- Clear the print queue (Windows):
- Go to “Settings” > “Bluetooth & devices” > “Printers & scanners.”
- Click on your printer’s name, then click “Open print queue.”
- In the print queue window, click on “Printer” in the top menu, then select “Cancel All Documents” or “Open As Administrator” and then “Cancel All Documents.”
- If this does not work, restart your computer and printer.
- Clear the print queue (Mac):
- Click the Apple menu > “System Settings” or “System Preferences” > “Printers & Scanners.”
- Click on your printer’s name, then click “Open Print Queue.”
- In the print queue window, you will see a list of documents. Click the “X” button next to any stuck documents to cancel them.
3. Printer Not Found When Adding
If your computer cannot find your printer during the setup process.
- Ensure printer is on and connected to Wi-Fi: Double-check that your wireless printer has successfully joined your home Wi-Fi network. Your computer needs to be on the same Wi-Fi network.
- Check drivers: Sometimes, older printers might need you to manually download drivers from the printer manufacturer’s website. Search for your printer model and “drivers” online.
- Restart printer and computer: A simple restart can often make devices discoverable again.
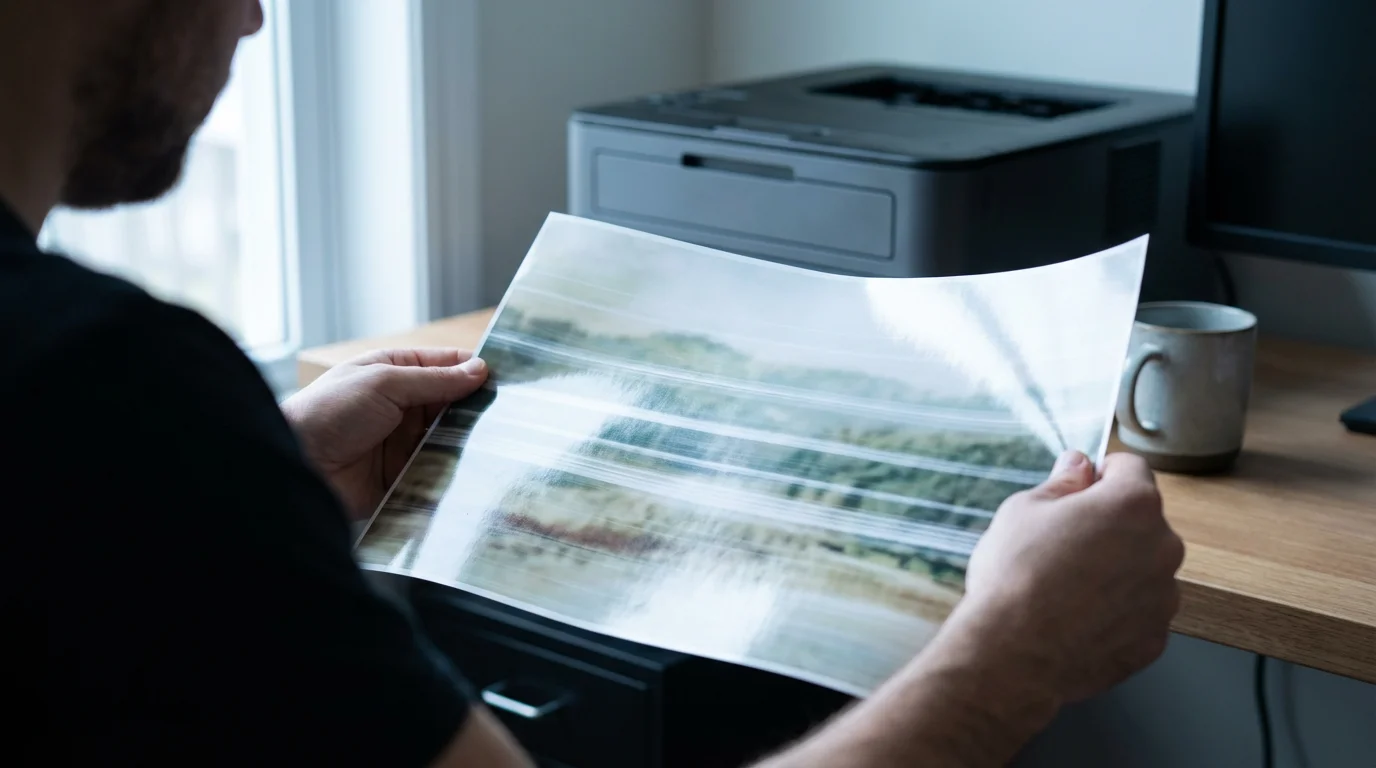
4. Poor Print Quality (Streaks, Faded Prints)
This is usually an ink or toner issue.
- Check ink/toner levels: Your printer’s screen or accompanying software on your computer usually shows ink/toner levels. Replace cartridges if they are low.
- Clean print heads: Most printers have a “maintenance” or “tools” option on their control panel or software to clean the print heads. This can remove clogs that cause streaks.
- Align print heads: Another maintenance option that can improve print quality and fix misalignments.
Regular maintenance can prevent many of these problems. You can also find additional troubleshooting tips on resources like GCFGlobal — Technology Tutorials.
Maintaining Your Printer for Long-Term Use
Printers, like any electronic device, benefit from a little care and attention. Regular maintenance helps ensure they work reliably and prolongs their lifespan.
Just as your printer needs care, performing basic computer maintenance will ensure your whole tech setup stays in good working order.
1. Replace Ink or Toner Promptly
When your printer indicates that ink or toner is low, replace the cartridges as soon as you can. Running a printer with very low or empty cartridges can sometimes lead to print head clogs (for inkjet) or reduced component life. Always use genuine cartridges recommended by your printer manufacturer for the best results and to avoid potential damage.
2. Load Paper Correctly
Always align paper neatly in the tray and adjust the paper guides to fit snugly without bending the paper. This prevents paper jams and ensures smooth feeding. Avoid mixing different types of paper in the same tray, as this can confuse the printer. Store paper in a dry place to prevent moisture absorption, which can also cause jams.

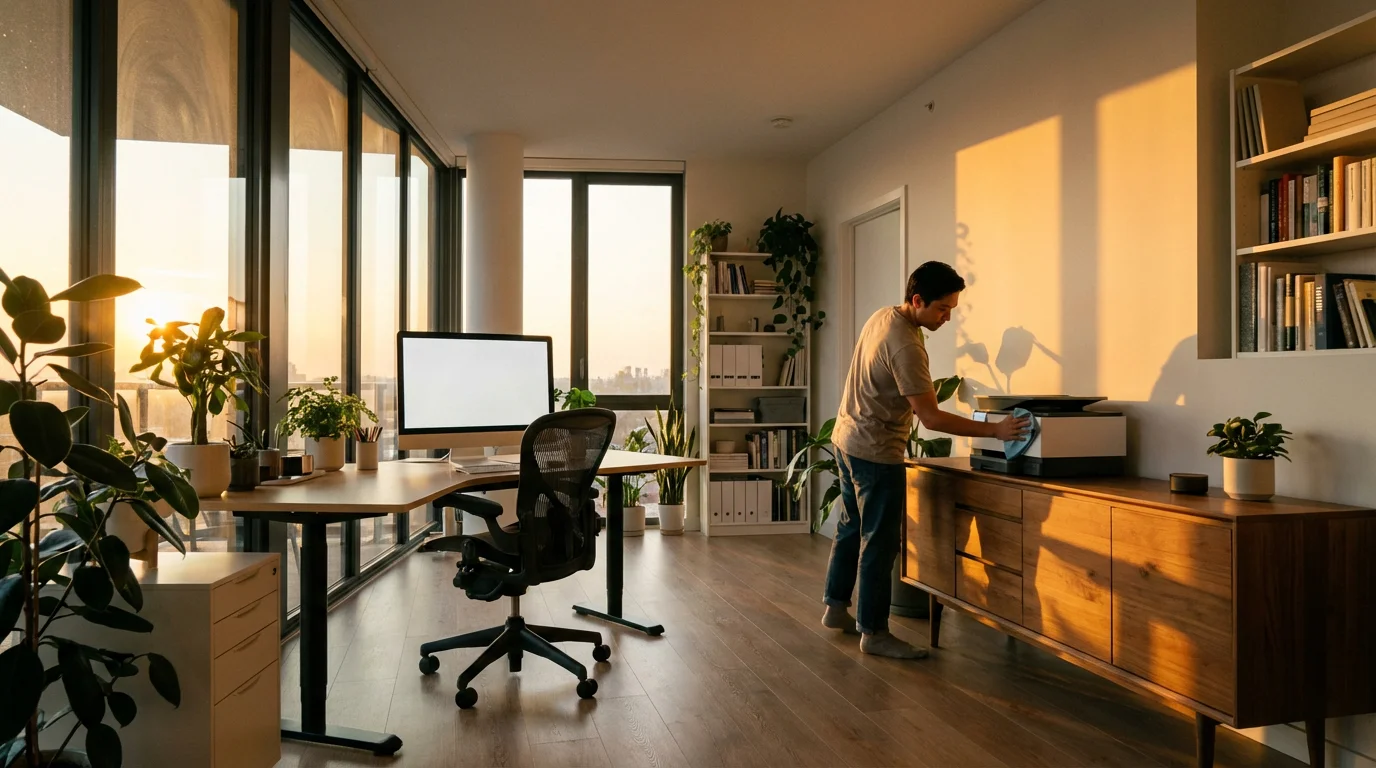
3. Keep it Clean
Dust and debris can accumulate inside your printer, affecting its performance. Occasionally, use a soft, lint-free cloth to wipe the exterior of the printer. For the interior, follow your printer’s manual for specific cleaning instructions. Some printers have rollers or glass surfaces (for scanners) that need gentle cleaning. Always power off and unplug the printer before cleaning any internal components.

4. Run Maintenance Cycles
Many printers have built-in maintenance routines, such as “print head cleaning” or “nozzle check” for inkjet printers, and “drum cleaning” for laser printers. Consult your printer’s manual or its control panel menu for these options. Running these cycles periodically can prevent common print quality issues like streaks or faded areas.
5. Keep Drivers and Firmware Updated
Printer manufacturers occasionally release software updates (drivers and firmware) that improve performance, add new features, or fix bugs. While your computer often handles driver updates automatically, you can periodically check your printer manufacturer’s website for the latest versions. Keeping your printer’s internal software, called firmware, up-to-date can also resolve connectivity or printing problems.
A well-maintained printer is a happy printer. These simple steps ensure you get clear, consistent prints for years to come without unnecessary headaches.
When to Ask for Help
While this guide covers many common scenarios, sometimes a problem is beyond simple troubleshooting. Do not hesitate to seek assistance if you are feeling overwhelmed or if your printer still will not cooperate.
- Contact your printer manufacturer’s support: Their support teams are experts on their specific models. Have your printer’s model number ready.
- Reach out to a tech-savvy family member or friend: Someone you trust who understands technology can often offer hands-on help.
- Visit a local computer repair shop: Professionals can diagnose and fix more complex hardware or software issues. They often charge a fee for their services, but it might be worth it for persistent problems.
- Explore online resources: Websites like Senior Planet from AARP or AARP Technology Resources offer additional articles and community support for various tech topics.
Remember, it is perfectly normal to need help with technology. Computers and printers can be complex, and finding solutions sometimes requires expert knowledge.
Frequently Asked Questions
Q: What is a printer “driver”?
A: A printer “driver” is a piece of software that allows your computer to communicate with your printer. Think of it like a translator. Without the correct driver, your computer and printer cannot understand each other, and you cannot print. Your computer often installs these automatically when you connect a new printer.
Q: Can I use one wireless printer with multiple computers in my home?
A: Yes, absolutely! One of the biggest advantages of a wireless printer is that multiple devices (laptops, desktops, tablets, smartphones) connected to the same Wi-Fi network can all send print jobs to it. You just need to set up the printer on each computer or device as described in this guide.
Q: My printer is connected, but pages are printing blank or with streaks. What is wrong?
A: Blank or streaky pages usually indicate an issue with your ink cartridges (for inkjet printers) or toner (for laser printers). First, check the ink/toner levels through your printer’s display or software. If levels are fine, try running a “print head cleaning” or “nozzle check” cycle from your printer’s maintenance menu. This often clears clogs or realigns components, improving print quality. Ensure you have removed any protective tape or caps from new cartridges.
Q: Do I need to turn my printer off when I am not using it?
A: You can certainly leave most modern printers on. They typically enter a low-power “sleep” mode when idle, consuming very little electricity. Turning them off and on frequently can sometimes use more ink as they perform maintenance cycles each time they start up. However, if you will not use your printer for an extended period (like a vacation), turning it off can save a tiny bit of energy.
Q: My computer asks for a “WPS PIN” when connecting wirelessly. What is that?
A: WPS stands for Wi-Fi Protected Setup. It is a way to connect devices to your Wi-Fi network without typing the full password. Some printers and routers have a WPS button you can press, or your printer might display a WPS PIN number that you enter into your computer or router. If you do not want to use WPS, look for an option to connect to the Wi-Fi network by selecting its name and entering the password manually, which is usually more reliable.
Disclaimer: This article is for informational purposes only. Your computer’s screens may look slightly different depending on your operating system version and settings. When in doubt, consult official support resources or ask someone you trust for help.


Leave a Reply