
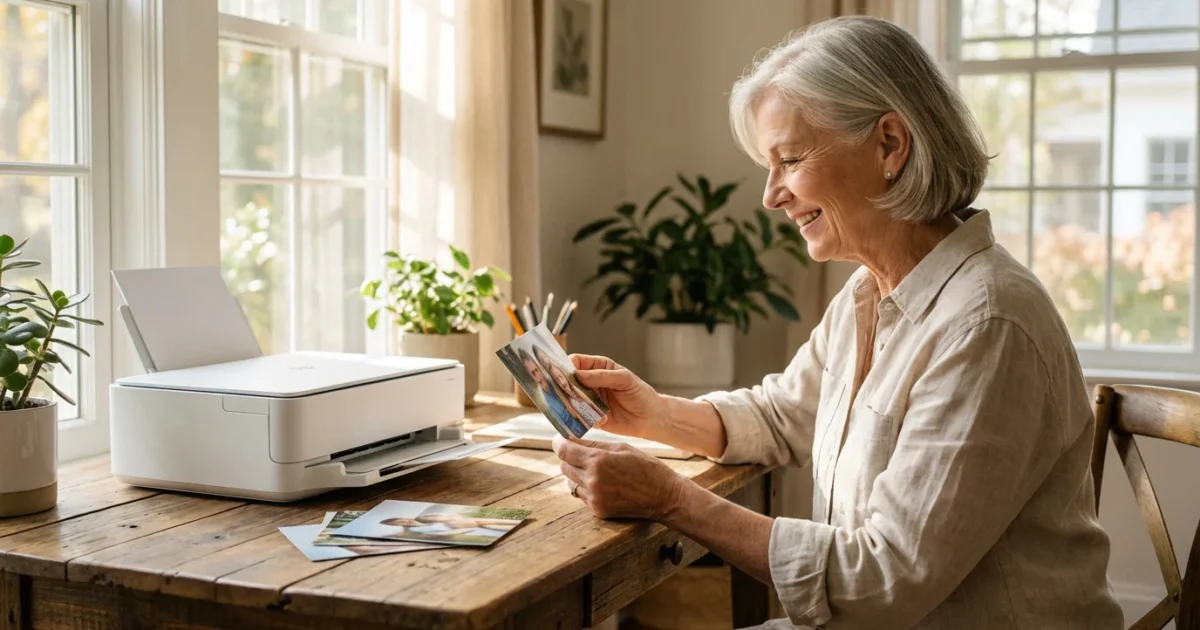
The days of being tethered to your desk by a short, gray cable are over. Wireless printing allows you to print letters, photos of your grandchildren, and recipes from anywhere in your home—even from your favorite armchair. While the initial setup might seem like a daunting task, modern technology has made the process much more intuitive than it was even five years ago. This guide walks you through every step of the process, whether you use a Windows PC, a sleek Mac, or a simple Chromebook.
A wireless printer communicates with your computer using your home’s Wi-Fi network. Think of your Wi-Fi router—the small box with blinking lights that provides your internet—as a digital post office. Your computer sends the document to the post office, and the post office delivers it directly to your printer. Once this connection is established, you can tuck your printer away in a closet or on a shelf where it is out of sight but still ready to work. You will gain the freedom to organize your home office exactly how you want it.
You are fully capable of completing this setup on your own. Technology is a tool meant to serve you, and by following these clear steps, you will master your equipment and feel a sense of accomplishment every time you hear that printer start to hum.
Table of Contents
- Gathering Your Tools and Information
- Step 1: Preparing the Printer
- Step 2: Connecting the Printer to Wi-Fi
- Step 3: Setting Up Your Windows PC (10 and 11)
- Step 4: Setting Up Your Mac (macOS)
- Step 5: Setting Up Your Chromebook (Chrome OS)
- Maintenance and Solving Common Problems
- Frequently Asked Questions
Gathering Your Tools and Information
Before you begin the digital part of the setup, you need to have a few physical items and pieces of information ready. Having these at your side will prevent you from having to get up and search for them mid-process. According to consumer data, the most common reason for a failed printer installation is a missing or incorrect Wi-Fi password.
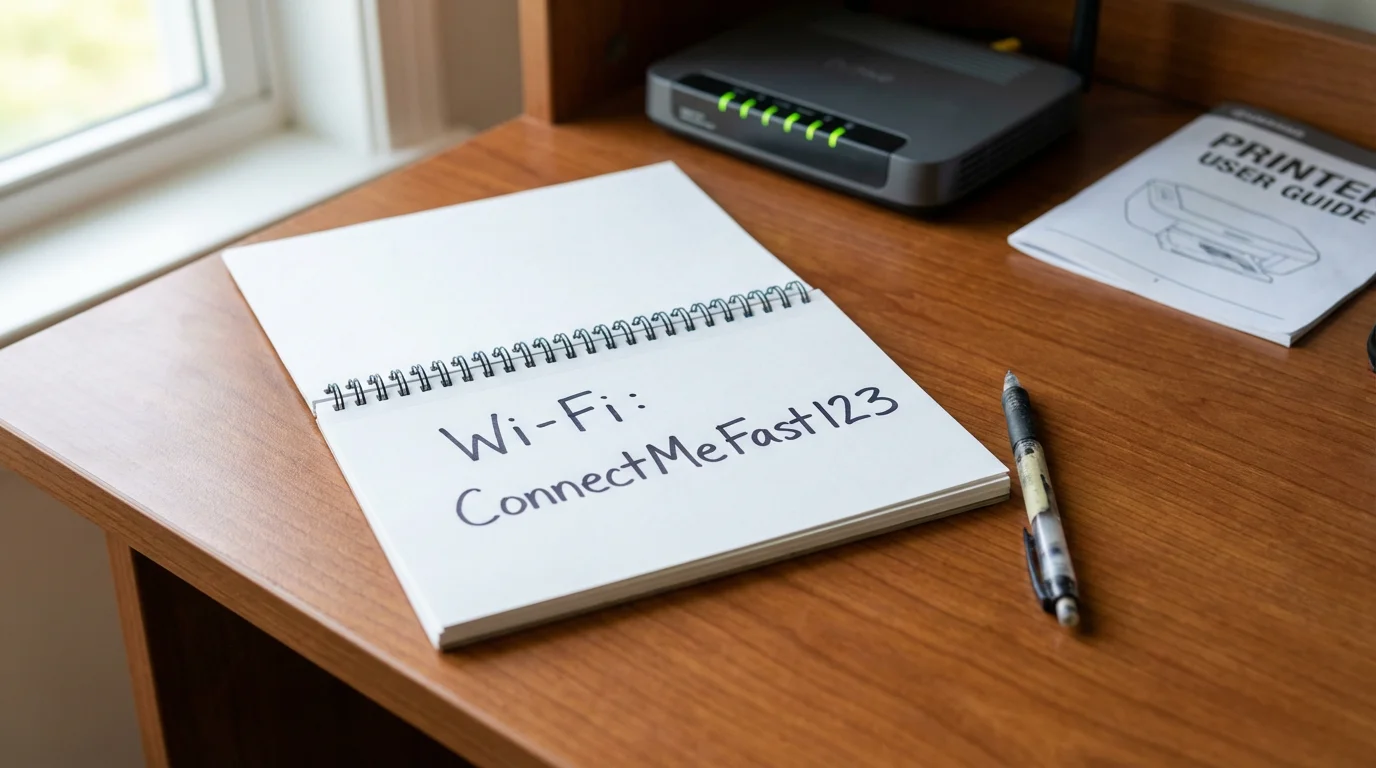
First, ensure you have your Wi-Fi network name and password. You can often find this information on a sticker attached to the side or bottom of your router. The network name is sometimes called the SSID. Write this down in large, clear letters. If you cannot find it on the router, check the paperwork provided by your internet service provider or look at a “cheat sheet” you may have created for your other devices.
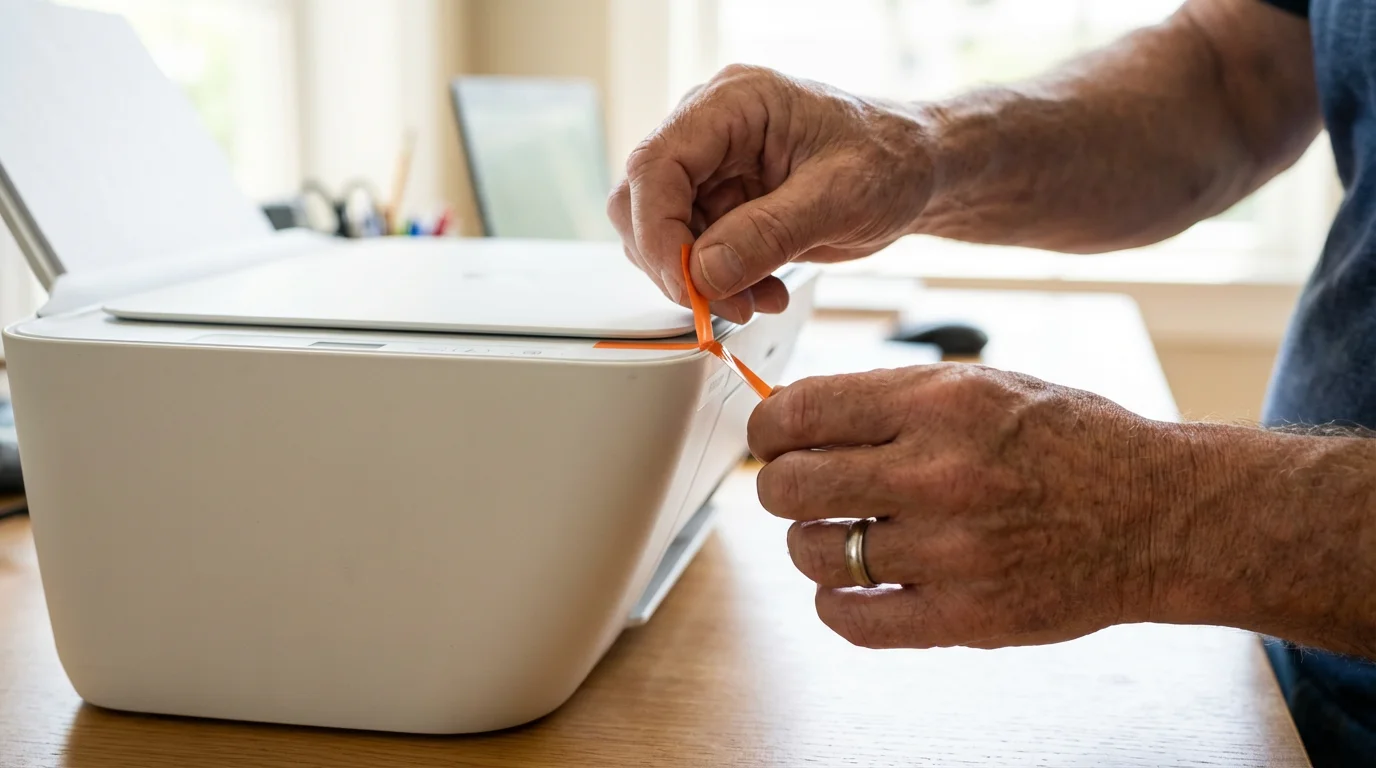
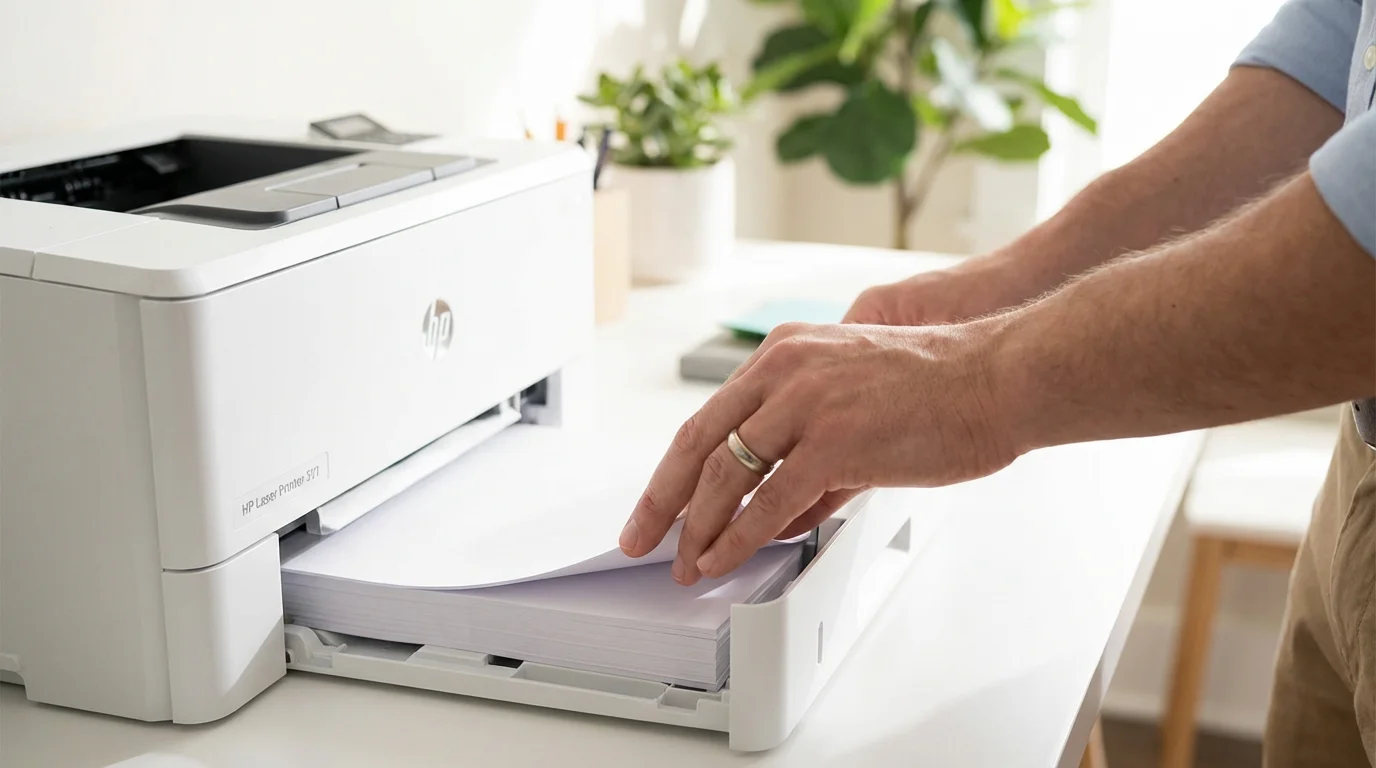
Second, unpack your printer and remove all the bright orange or blue shipping tape. Manufacturers often hide tape inside the printer near where the ink cartridges go, so open every flap and door to be sure it is clear. Plug the printer into a wall outlet and turn it on by pressing the power button once. You should also have your paper and ink or toner cartridges ready. Most printers will require you to install the ink and load at least a few sheets of paper before they will allow you to proceed with the wireless settings.
Step 1: Preparing the Printer
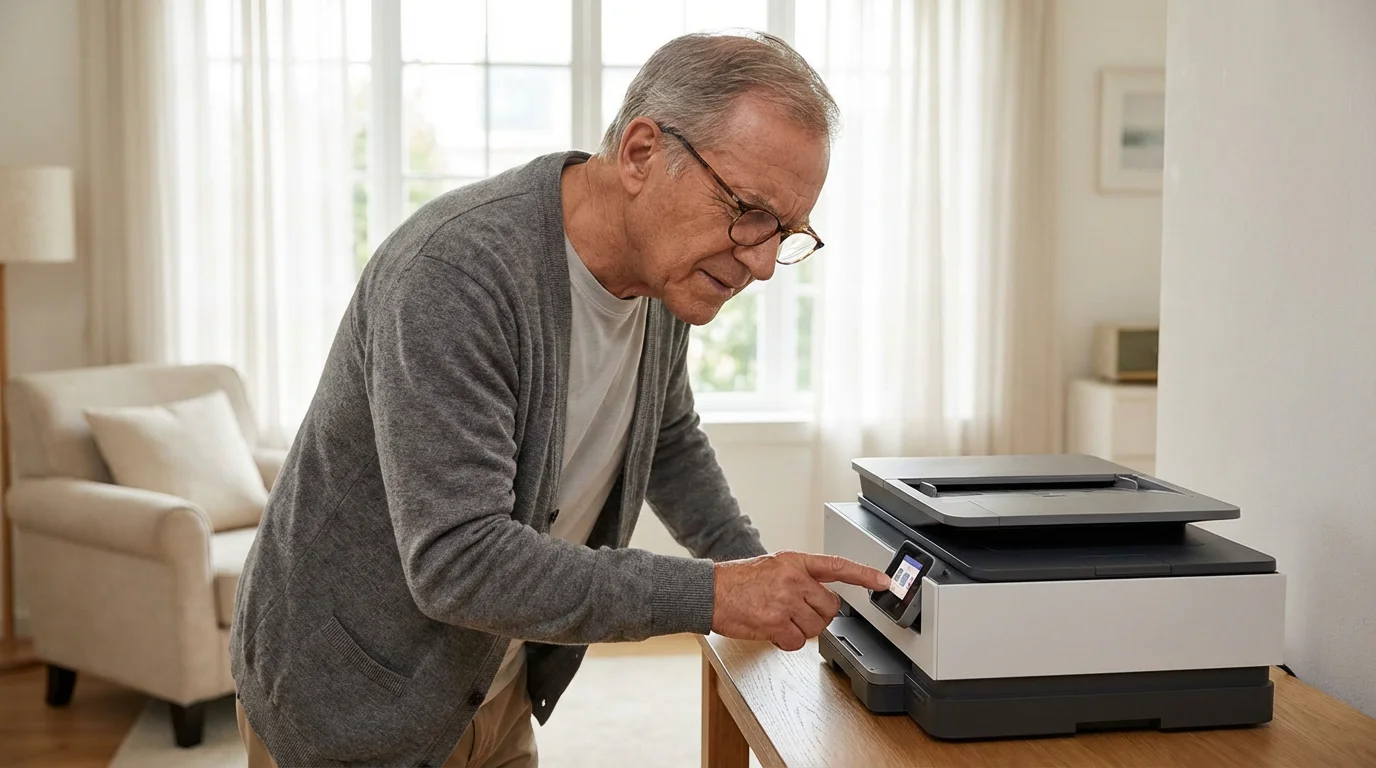
Once the printer is powered on, it needs to be “introduced” to your home network. Most modern printers from brands like HP, Epson, or Canon feature a small display screen on the front. This screen is your primary tool for the initial setup. Use the arrow buttons on the printer to navigate the menus. When you find the option you want, press the OK or Select button once.
Look for a menu labeled Settings, Setup, or Network. Inside that menu, you are looking for a Wireless Setup Wizard. This is a built-in program that does the heavy lifting for you. When you start the wizard, the printer will search for all the Wi-Fi networks in your neighborhood. It might take a minute or two to find yours. Once the list appears on the screen, use the arrow buttons to highlight your network name and press OK.
The printer will now ask for your password. This is often the trickiest part because printer screens are small. If you make a mistake, look for a “backspace” or “delete” icon on the screen to correct it. Once you enter the password, the printer will attempt to connect. A successful connection is usually confirmed by a solid blue light on the printer or a message on the screen saying “Connection Successful.”
Step 2: Connecting the Printer to Wi-Fi
If your printer does not have a screen, or if the wizard seems too complicated, you might be able to use a feature called WPS (Wi-Fi Protected Setup). This is like a “digital handshake” between your printer and your router that doesn’t require a password.
To use this, look for a button on your printer that has a Wi-Fi icon (which looks like three curved lines). Press and hold this button until the light starts flashing. Now, walk over to your Wi-Fi router and look for a button labeled WPS. Press the WPS button on the router once. You usually have about two minutes to press both buttons. The printer and router will “talk” to each other and establish a connection automatically. When the Wi-Fi light on the printer stops flashing and stays solid, you are connected.
If your router is hidden behind a heavy cabinet or in the basement, the WPS method might not work well. In those cases, using the printer’s built-in screen or a temporary USB cable connection is much more reliable. Don’t be afraid to try one way and switch to another if it feels too difficult.
Step 3: Setting Up Your Windows PC (10 and 11)
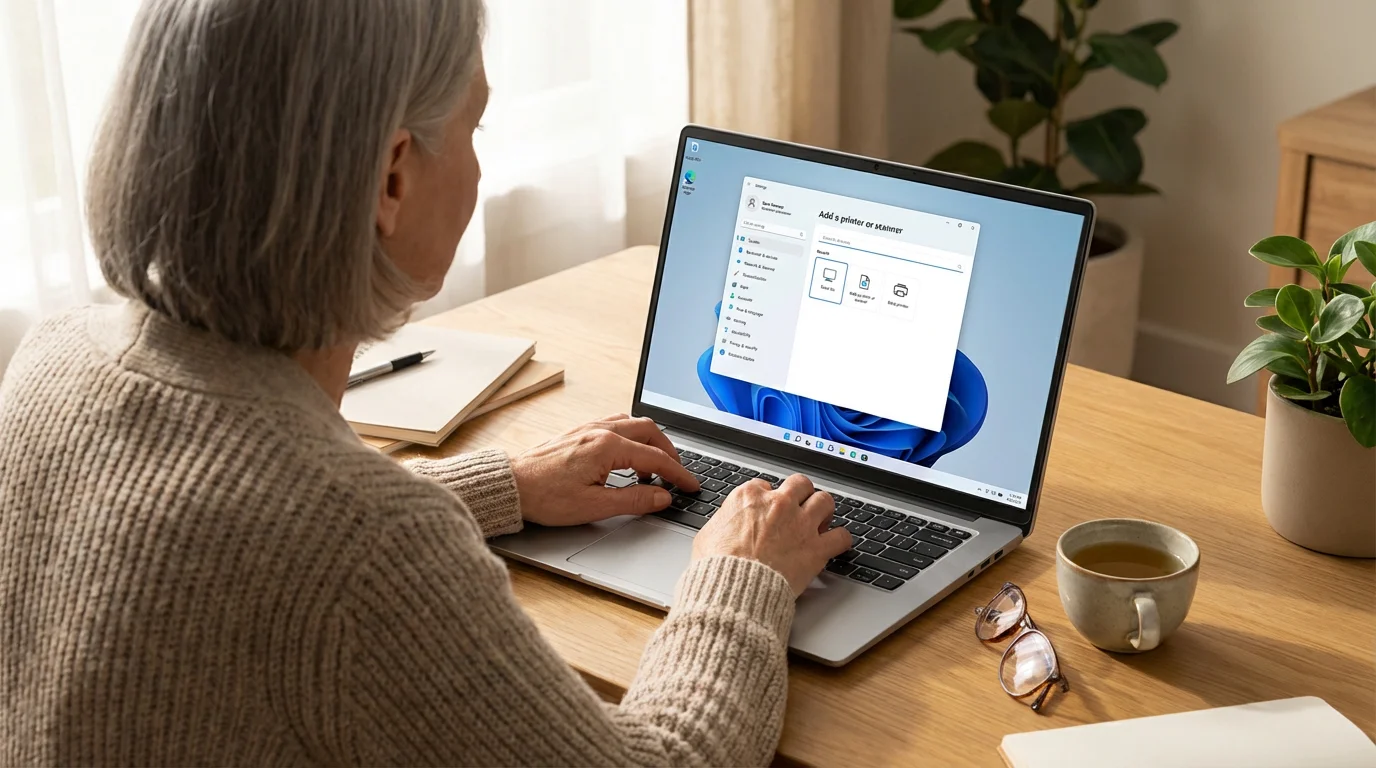
Now that your printer is on the network, you need to tell your Windows computer to look for it. Whether you are using Windows 10 or the newer Windows 11, the process is very similar. The “desktop” is the main screen you see when you turn on your computer. At the bottom of this screen is the “taskbar,” which contains the “Start” button.
- Press the left mouse button once (click) on the Start button in the bottom left corner (Windows 10) or bottom center (Windows 11). It looks like a blue window icon.
- Click on the Settings icon, which looks like a small gray gear.
- In the menu that appears, click on Bluetooth & devices (Windows 11) or Devices (Windows 10).
- Click on Printers & scanners.
- You will see a button that says Add device or Add a printer or scanner. Click that button once.
Your computer will now scan your home network for any available printers. Your printer’s name (for example, “HP OfficeJet 5200” or “Epson XP-7100”) should appear on the list. When you see it, click the button next to it that says Add device. Windows will automatically download the necessary “drivers”—the digital instructions that tell the computer how to talk to the printer. This may take a few minutes. Once it says “Ready” or “Idle,” your printer is installed and ready for use.
To test it, open a “file” (a document or photo saved on your computer). Click on File in the top left corner of the program, then click Print. You should see your new printer listed in the box at the top. Click the Print button at the bottom of that window, and your document should begin printing shortly.

Step 4: Setting Up Your Mac (macOS)
Apple makes connecting to a printer quite simple through a feature called AirPrint. Most wireless printers manufactured in the last decade support this, meaning you don’t have to download any special software. On a Mac, the “dock” is the bar of icons at the bottom of the screen, but most of our work will happen in the “Apple menu” at the very top.
- Click on the Apple icon in the very top left corner of your screen. This is the Apple menu.
- Click on System Settings (or System Preferences on older Macs).
- Scroll down the list on the left side until you find Printers & Scanners and click it once.
- Click the Add Printer, Scanner, or Fax… button. It might also look like a small plus (+) sign at the bottom of the list of printers.
A new window will open showing a list of printers found on your network. Click on your printer’s name once to highlight it. The “Kind” column should say something like “Bonjour” or “AirPrint.” Click the Add button in the bottom right corner. Your Mac will configure the printer instantly. You should now see your printer listed as “Idle” with a green dot next to it, indicating it is ready to go.
To print a document, go to the top of your screen, click File, and then click Print. You can also use a keyboard shortcut: hold down the Command key (the one with the cloverleaf symbol) and press the P key once. A print window will appear. Ensure your printer is selected in the dropdown menu and click Print.

Step 5: Setting Up Your Chromebook (Chrome OS)
Chromebooks are popular because they are simple and fast. Setting up a printer on a Chromebook is also very straightforward, as it happens entirely within the Chrome browser settings. Ensure your Chromebook is connected to the same Wi-Fi network as your printer.
- Click on the time in the bottom right corner of your screen. This opens a small panel.
- Click the Settings icon (the gear shape).
- On the left side of the window, click on Advanced to show more options, then click Print and scan.
- Click on Printers.
- Click the Add Printer button.
If your printer is on and connected to the Wi-Fi, the Chromebook will usually see it immediately. Click the Add button next to your printer’s name. If your printer is an older model, the Chromebook might ask you to select the “Manufacturer” and “Model” from a list. Simply find your brand (like Canon) and the model number printed on the front of your machine. Once finished, you can print any webpage or document by pressing the Ctrl key and the P key at the same time.
Maintenance and Solving Common Problems
Even the best setup can occasionally run into a hiccup. If you find that your printer isn’t responding, the most effective solution is often the simplest: the “power cycle.” Turn your printer off, wait thirty seconds, and turn it back on. Do the same with your computer. This resets the “handshake” between the devices and often fixes 90% of printing issues.
Another common issue is “offline” status. This usually happens if the printer’s connection to the Wi-Fi has dropped. Check the printer’s screen to see if the Wi-Fi icon is still visible. If not, you may need to run the Wireless Setup Wizard again. If you have moved your router or your printer recently, they might be too far apart. Most printers work best when they are within 30 feet of the router, with as few walls in between as possible.
Finally, keep an eye on your ink levels. Most computers will show a warning message when ink is low. When replacing cartridges, ensure you “drag” (hold down the mouse button while moving the mouse) the old cartridge out of its slot and firmly click the new one into place. If you ever feel stuck, don’t hesitate to call a tech-savvy family member or visit a local computer repair shop. There is no shame in asking for help; even experts occasionally struggle with a stubborn printer.
| Action | Windows Shortcut | Mac Shortcut | Description |
|---|---|---|---|
| Open Print Menu | Ctrl + P | Command + P | Opens the settings window where you choose your printer and number of copies. |
| Select All | Ctrl + A | Command + A | Highlights everything on the page so you can print the whole document. |
| Save Document | Ctrl + S | Command + S | Always save your work before printing to ensure your latest changes are kept. |
Frequently Asked Questions
Do I need to install the software that came on the CD with the printer?
In most cases, no. Modern operating systems like Windows 11 and macOS are designed to find and install the necessary software automatically over the internet. Using the CD can actually lead to installing “bloatware,” which is unnecessary extra software that can slow down your computer. If the computer doesn’t find the printer on its own, it is better to visit the manufacturer’s website (like HP Support) to download the latest version.
Can I print from my smartphone or tablet too?
Yes! Once your printer is on your Wi-Fi network, it is available to any device in your home. On an iPhone or iPad, look for the “Share” icon (a square with an upward arrow) and then tap Print. On an Android phone, look for the three dots in the corner and select Print. Your printer should appear automatically on those lists as well.
What is the difference between a printer and a scanner?
A printer takes a digital file from your computer and puts it on paper. A scanner does the opposite: it takes a physical piece of paper and creates a digital “file” or photo on your computer. Many modern machines are “All-in-One” devices that can do both. To scan a document, you usually place the paper face-down on the glass and use a program on your computer called “Windows Scan” or “Image Capture” (on Mac) to start the process.
Why does my printer say it is ‘Offline’ when it is turned on?
This often means the printer and your router have stopped talking to each other. This can happen after a power outage or if your router was restarted. Try turning the printer off and on again. If that doesn’t work, go into your printer’s settings menu and reconnect it to your Wi-Fi as if you were setting it up for the first time.
If you find that the steps in this guide aren’t matching what you see on your screen, don’t worry. Manufacturers sometimes update their layouts. You can find very specific help for your exact model on websites like GCFGlobal or Senior Planet, both of which offer excellent, free tutorials for adults who want to improve their tech skills.
Setting up your first wireless printer is a major milestone in becoming more independent with your technology. Once the papers start rolling out of the machine without a single wire in sight, you will realize that you have the skills to handle many other tech tasks. Take a deep breath, follow the menus, and enjoy the convenience of your new, wireless home office.
Disclaimer: This article is for informational purposes only. Your computer’s screens may look slightly different depending on your operating system version and settings. When in doubt, consult official support resources or ask someone you trust for help.
Keywords: wireless printing, printer setup, connecting printer, how to connect printer to wifi, wireless printer installation guide
Meta Description: Learn how to set up wireless printing on Windows, Mac, and Chromebook with this easy, jargon-free guide designed specifically for seniors.


Leave a Reply