
Do you ever find yourself swiping through endless screens on your smartphone or tablet, searching for that one app you need? Perhaps your home screen feels cluttered, or you struggle to find your favorite photo app when you want to capture a moment. If this sounds familiar, you are not alone. Many people feel overwhelmed by the number of apps on their devices.
This is also an excellent opportunity to free up storage space on your smartphone to keep it running smoothly.
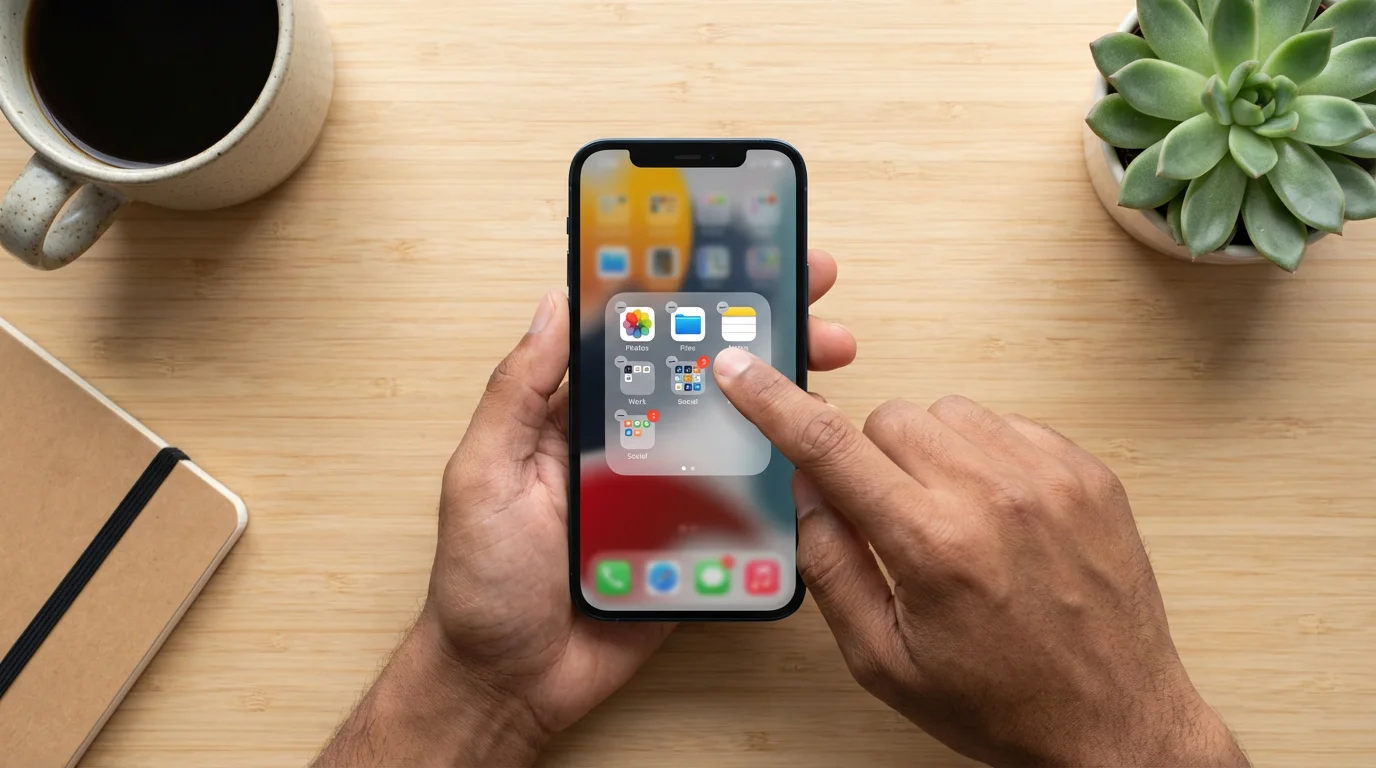
Imagine finding your banking app in a designated “Finances” folder, or all your communication tools neatly tucked into a “Messages” folder. Organizing your apps into folders simplifies your phone, making it easier and faster to find what you need. This guide shows you how to create, name, and manage app folders on both iPhones and Android phones, helping you regain control of your digital space. You will learn practical steps to declutter your phone home screen and enjoy a more organized experience.
Table of Contents
- What You’ll Need
- Why Organize Your Apps into Folders?
- Understanding App Icons and Your Home Screen
- Creating App Folders: Step-by-Step
- Adding and Removing Apps from Folders
- Smart Strategies for Organizing Your Folders
- Renaming and Deleting Folders
- What to Do If Something Goes Wrong
- Quick Reference Checklist
- Frequently Asked Questions
- Taking Control of Your Digital Space

What You’ll Need
To follow along with this guide, you need just a few simple things:
- Your Smartphone or Tablet: Whether you have an iPhone or an Android device, this guide covers both. Make sure your device is charged.
- A Wi-Fi Connection: While not strictly necessary for organizing apps, a stable internet connection is always good to have if your device needs to update.
- Your Finger: You will use your finger to gently touch (we call this “tap”), slide across (we call this “swipe”), and hold down on the screen.
You do not need any special technical knowledge. This guide explains every step clearly, helping you organize apps with confidence.
Why Organize Your Apps into Folders?
Organizing your apps into folders offers several significant benefits, transforming your phone experience:
- Find Apps Faster: No more endless swiping. Grouping similar apps means you locate what you need in seconds. If all your photo apps are in a “Photos” folder, you know exactly where to look. This improves your phone organization dramatically.
- Reduce Clutter: A busy home screen can feel overwhelming. App folders allow you to declutter phone home screen space, giving your device a cleaner, more streamlined look. You only see the folders, not dozens of individual app icons.
- Improve Focus: With fewer distractions on your main screens, you can concentrate better on the task at hand. Your device becomes a tool that serves you efficiently, rather than a source of visual noise.
- Feel More in Control: Learning to manage your apps provides a sense of accomplishment and mastery over your technology. You dictate how your phone looks and functions, making it truly yours.
Taking a few minutes to organize your apps can save you a lot of time and frustration in the long run. It is a simple step that makes a big difference in how you use your phone every day.
Understanding App Icons and Your Home Screen
Before creating folders, let us clarify some basic terms:
- App: An “app” is a program or application on your phone or tablet. Examples include Facebook, your phone’s Camera, or a weather app.
- Icon: An “icon” is a small picture you tap to open an app. Each app has its own unique icon. For instance, the phone app usually has a telephone icon, and the camera app often shows a picture of a camera.
- Home Screen: This is the main screen you see when you unlock your phone. It shows your app icons, a background picture, and sometimes a clock or weather display. You can have several home screens, which you can move between by sliding your finger across the screen (this is called “swiping”).
Our goal is to gather these individual app icons into neat groups, making your home screens much tidier and easier to navigate.
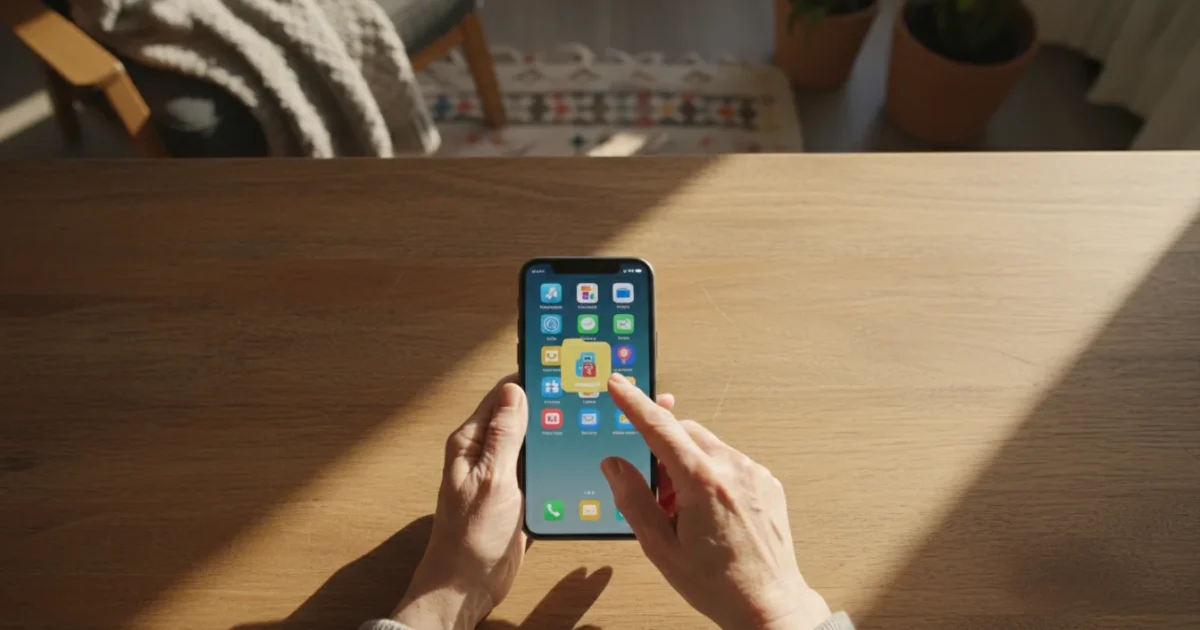
Creating App Folders: Step-by-Step
Creating app folders involves a similar basic action on both iPhones and Android phones: you touch and hold an app, then drag it on top of another app. The device then automatically creates a new folder for those two apps. The main difference lies in how you initiate the “move” action.
Creating Folders on iPhone
Follow these steps to create your first app folder on an iPhone:
- Find an App to Move: Look for an app icon you want to put into a folder. For example, find your “Photos” app.
- Long Press the App: Gently touch and hold your finger down on the “Photos” app icon. Keep holding it down.
- Wait for Wiggle Mode: After a moment, all the app icons on your screen will start to wiggle slightly, and a small “X” might appear in the corner of each app. This means you are in “edit mode.” You can now move or delete apps.
- Drag One App onto Another: While the apps are wiggling, tap and hold the “Photos” app icon again, then drag your finger across the screen and place it directly on top of another app icon, for example, your “Camera” app.
- Release Your Finger: Lift your finger. Your iPhone automatically creates a new folder containing both the “Photos” and “Camera” apps. You will see a small box appear around these two apps, with a suggested name for the folder.
- Name Your Folder: Tap inside the box that contains the suggested folder name, usually at the top of the new folder. A keyboard appears. Delete the suggested name by tapping the backspace key (it looks like a left-facing arrow with an “X” or “delete” on it). Then, type a new, descriptive name, such as “Camera & Photos” or “Memories.”
- Save the Name: Tap the “Done” button on your keyboard, or tap anywhere outside the folder on the screen.
- Exit Wiggle Mode: To stop the apps from wiggling, tap the “Done” button if it appears at the top right of your screen, or swipe up from the bottom of your screen (if your phone does not have a Home button), or press your phone’s Home button once (if your phone has one, located below the screen).
Congratulations, you just created your first app folder on an iPhone! You can now see this new folder on your home screen.

Creating Folders on Android
Here is how to create your first app folder on an Android phone or tablet:
- Find an App to Move: Choose an app icon you wish to put into a folder. For example, locate your “Messages” app.
- Long Press the App: Gently touch and hold your finger down on the “Messages” app icon. Keep holding it down.
- Drag One App onto Another: Without lifting your finger, drag the “Messages” app icon across your screen and place it directly on top of another app icon, such as your “Phone” app (the one you use for calls).
- Release Your Finger: Lift your finger. Your Android phone automatically creates a new folder. You will see a small box appear, showing both the “Messages” and “Phone” apps inside.
- Name Your Folder: Tap the area that says “Unnamed Folder” or “Folder Name” at the top of the new folder. A keyboard appears. Type a new, clear name for your folder, such as “Communication” or “Talk & Text.”
- Save the Name: Tap the “Done” button on your keyboard, or tap anywhere outside the folder on the screen. Sometimes, just backing out of the folder view will save the name automatically.
You have successfully created an app folder on your Android device. This new folder now appears on your home screen.

Adding and Removing Apps from Folders
Once you have a folder, you will likely want to add more apps to it or remove apps you no longer want there. The process is straightforward on both platforms.
Managing Folders on iPhone
Adding Apps to an Existing Folder:
- Enter Wiggle Mode: Long press any app icon on your home screen until all apps begin to wiggle.
- Drag and Drop: Find an app you want to add to a folder. Tap and hold that app icon, then drag it over the top of the folder you created.
- Release: Lift your finger. The app now sits inside the folder.
- Exit Wiggle Mode: Tap “Done” at the top right or swipe up from the bottom of your screen (for phones without a Home button), or press the Home button once (for phones with a Home button).
Removing Apps from a Folder:
- Enter Wiggle Mode: Long press any app icon on your home screen until all apps begin to wiggle.
- Open the Folder: Tap the folder from which you want to remove an app. The folder opens, showing its contents.
- Drag Out the App: Tap and hold the app icon you wish to remove from the folder. Drag it outside the folder’s boundaries and onto an empty space on your home screen.
- Release: Lift your finger. The app now sits outside the folder as an individual icon.
- Exit Wiggle Mode: Tap “Done” at the top right or swipe up from the bottom of your screen (for phones without a Home button), or press the Home button once (for phones with a Home button).

Managing Folders on Android
Adding Apps to an Existing Folder:
- Long Press the App: Find an app you want to add to a folder. Tap and hold that app icon until it becomes movable.
- Drag and Drop: Drag your finger holding the app icon directly over the folder you want to add it to.
- Release: Lift your finger. The app now moves into the folder.
Removing Apps from a Folder:
- Open the Folder: Tap the folder you want to adjust. The folder expands, showing its contents.
- Long Press the App: Tap and hold the app icon you wish to remove from the folder.
- Drag Out the App: Without lifting your finger, drag the app icon outside the folder and onto an empty space on your home screen.
- Release: Lift your finger. The app now appears as an individual icon on your home screen.

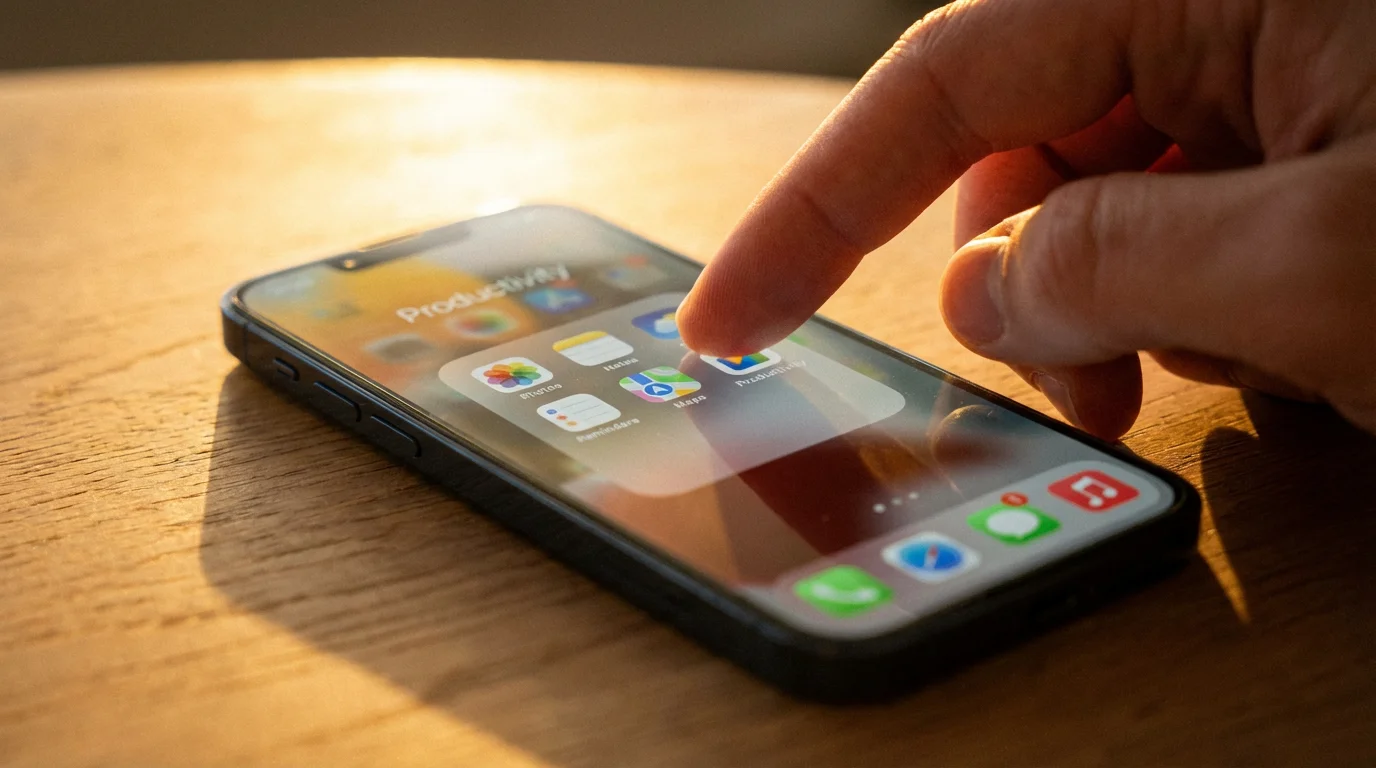
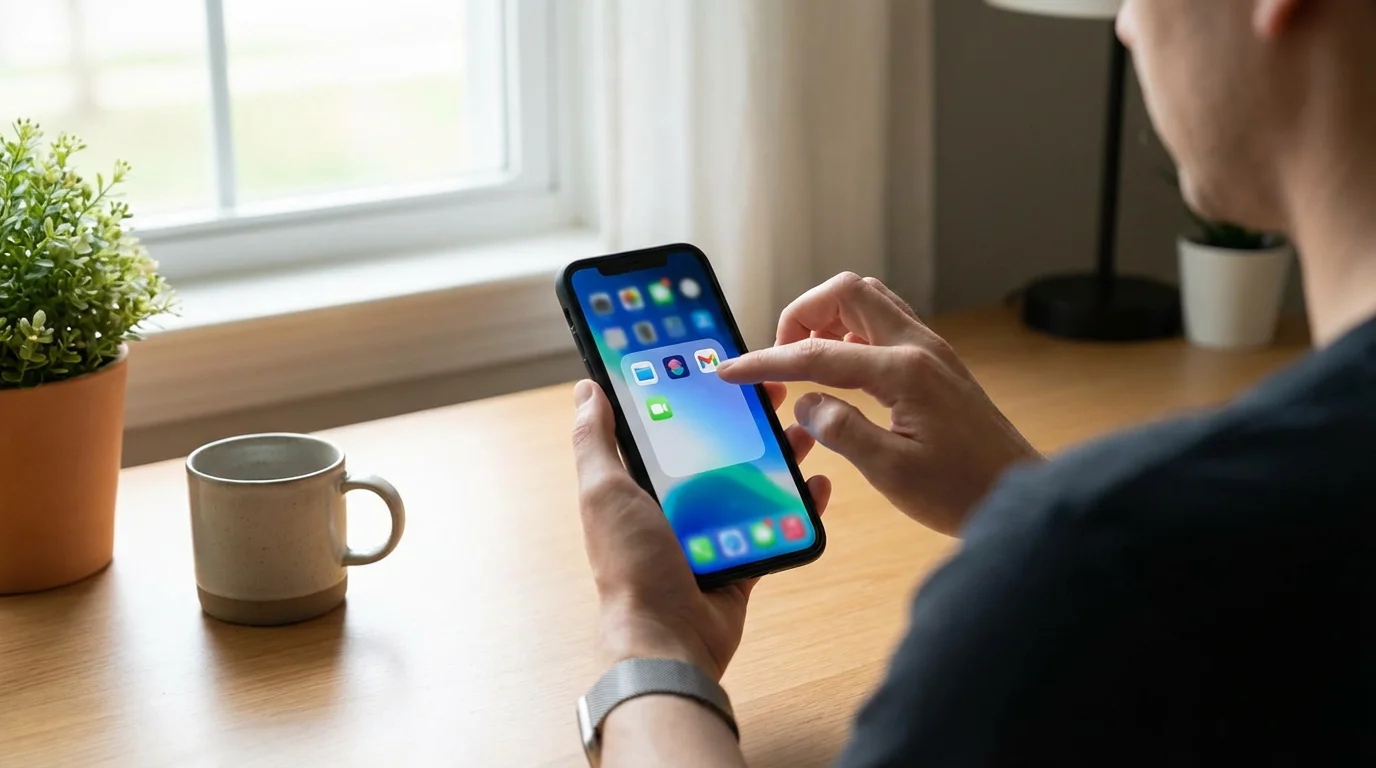
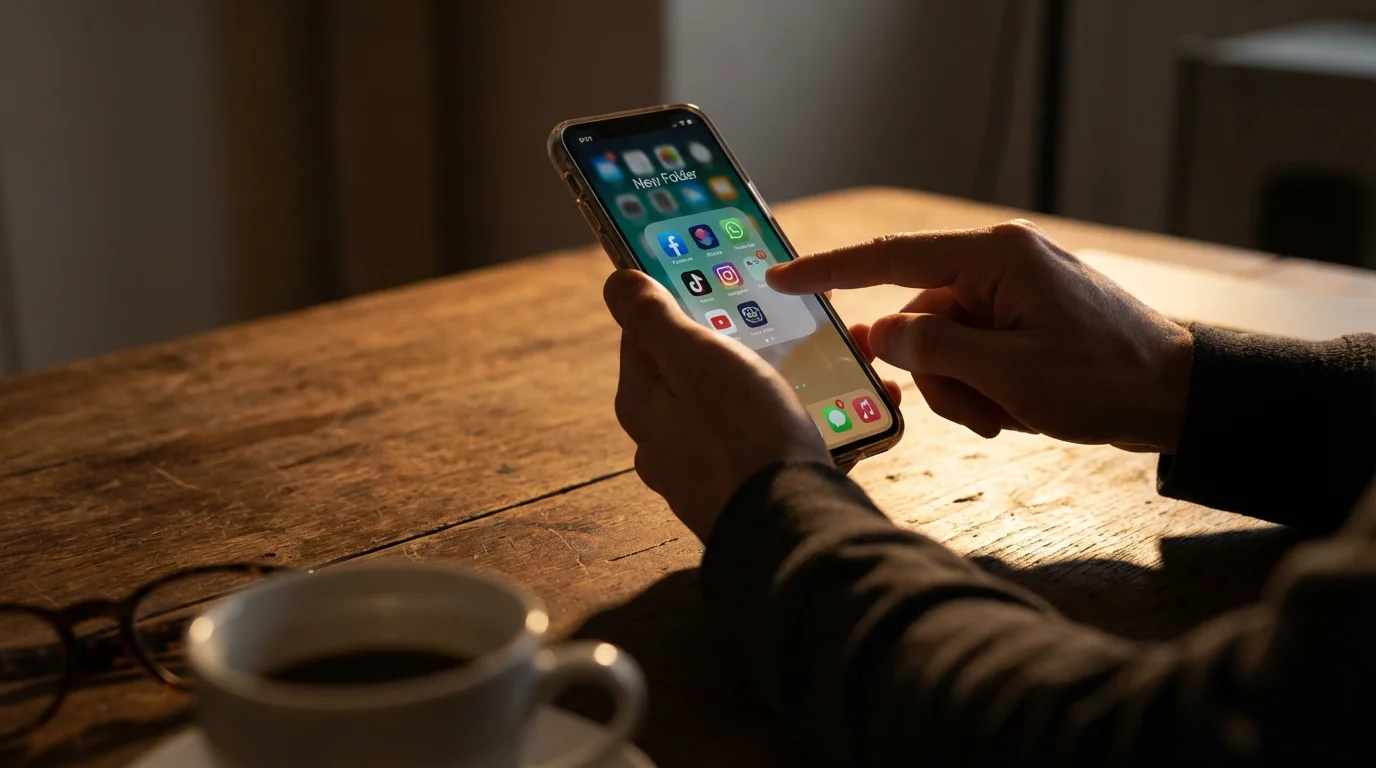
Smart Strategies for Organizing Your Folders
Effective phone organization goes beyond simply creating app folders. Thoughtful grouping helps you maximize their benefits. Here are some popular and practical strategies for naming and categorizing your folders:
- By Function or Purpose: This is the most common and often the most helpful method.
- Communication: “Messages,” “Phone,” “Email,” “WhatsApp.”
- Social: “Facebook,” “Instagram,” “Messenger,” “X” (formerly Twitter).
- Photos & Video: “Camera,” “Photos,” “Google Photos,” “Video Editor.”
- Utilities: “Calculator,” “Clock,” “Weather,” “Flashlight.”
- Finances: “Banking App,” “Credit Card App,” “Budget App.”
- News: “CNN,” “New York Times,” “Local News App.”
- Travel: “Maps,” “Airline Apps,” “Hotel Apps,” “Ride Share.”
- Entertainment: “Netflix,” “YouTube,” “Music App,” “Games.”
Using clear, descriptive names helps you remember what is inside each folder.
- By Color (Visual Preference): Some users prefer to group apps by the dominant color of their icons. For example, a folder named “Blue Apps” might contain Safari, Facebook, and a blue weather app. This is less about function and more about visual appeal.
- By Frequency of Use: Keep your most frequently used apps directly on your home screen, outside of folders. Apps you use occasionally can go into folders on a second or third home screen. This strategy ensures your most important tools are always one tap away.
- Alphabetical Order (within folders): While your phone does not automatically sort apps within folders alphabetically, you can manually drag and arrange them inside a folder once it is open. This adds another layer of neatness.
Experiment with different strategies to find what works best for your personal usage. The goal is to make your phone feel intuitive and easy for you to navigate.
Renaming and Deleting Folders
Your needs might change, or you might simply want a better name for a folder. Renaming and deleting folders are easy to do.

Renaming a Folder:
On iPhone:
- Enter Wiggle Mode: Long press any app icon until all apps start wiggling.
- Open the Folder: Tap the folder you want to rename.
- Tap the Name: Tap the current name of the folder at the top of the open folder. The keyboard appears.
- Edit Name: Delete the old name and type your new name.
- Save Name: Tap the “Done” button on the keyboard or tap an empty space outside the folder.
- Exit Wiggle Mode: Tap “Done” at the top right or swipe up from the bottom of your screen, or press your Home button.
On Android:
- Open the Folder: Tap the folder you wish to rename.
- Tap the Name: Tap the current name of the folder (or “Unnamed Folder”) at the top of the open folder. The keyboard appears.
- Edit Name: Delete the old name and type your new name.
- Save Name: Tap “Done” on your keyboard or tap an empty area outside the folder. The name updates immediately.

Deleting a Folder:
When you delete a folder, the apps inside it do not disappear from your phone. They simply return to your home screen as individual app icons.
On iPhone:
- Enter Wiggle Mode: Long press any app icon until all apps start wiggling.
- Open the Folder: Tap the folder you want to delete.
- Drag Apps Out: Tap and drag each app icon out of the folder and onto an empty spot on your home screen. Continue until the folder is empty.
- Folder Disappears: Once the folder is empty, it automatically disappears from your screen.
- Exit Wiggle Mode: Tap “Done” at the top right or swipe up from the bottom of your screen, or press your Home button.
Alternatively, if you are simply trying to delete the apps within the folder, you can tap the small “X” that appears on each app icon when in wiggle mode. However, this action deletes the app from your phone entirely, not just from the folder.
On Android:
- Open the Folder: Tap the folder you want to delete.
- Drag Apps Out: Tap and drag each app icon out of the folder and onto an empty spot on your home screen. Do this for every app in the folder.
- Folder Disappears: Once the folder has no apps left inside, it automatically disappears from your screen.
You cannot simply “delete” an empty folder on Android; it vanishes when empty. If you want to delete the apps themselves, long press an app icon and drag it to the “Uninstall” option that usually appears at the top of the screen.

What to Do If Something Goes Wrong
It is natural to encounter small bumps in the road when learning something new. If you find yourself stuck, do not worry. Try these troubleshooting tips:
- Restart Your Phone: This often fixes minor glitches. Turn your phone completely off, wait about 30 seconds, and then turn it back on. This refreshes everything.
- Try Again Slowly: Sometimes, rushing through the steps can lead to mistakes. Go back to the instructions and try each tap and drag carefully.
- Check for Updates: Ensure your phone’s software is up to date. Sometimes, older software versions behave differently. You can usually find software update options in your phone’s “Settings” menu (look for a gear icon). For detailed steps, visit Apple Support for iPhones or Google Support for Android devices.
- Ask for Help: Do not hesitate to ask a tech-savvy family member or a trusted friend for assistance. You can also visit your local Apple Store (for iPhones) or your phone carrier’s store (for both iPhone and Android devices). The staff there are usually happy to help. Online resources like GCFGlobal — Technology Tutorials offer excellent free guides for a wide range of tech topics.
Learning new technology takes patience and practice. Every expert started as a beginner. Give yourself grace, and celebrate each small success along the way.

Quick Reference Checklist
Here is a quick summary of the main steps to organize apps into folders:
- To Create a Folder:
- iPhone: Long press an app until apps wiggle. Tap and hold an app, drag it onto another app, then release.
- Android: Long press an app. Drag it directly onto another app, then release.
- To Name a Folder:
- Tap the folder to open it. Tap its current name, type your new name, then save.
- To Add an App to a Folder:
- Long press the app you want to move. Drag it over the folder, then release.
- To Remove an App from a Folder:
- Open the folder. Long press the app you want to remove. Drag it outside the folder onto your home screen, then release.
- To Delete a Folder:
- Remove all apps from the folder. The empty folder automatically disappears.
Frequently Asked Questions
Q: Will organizing apps into folders delete any of my apps?
A: No, creating folders or moving apps into them does not delete any apps from your phone. It simply changes where their icons appear on your home screen. The apps remain fully installed and accessible.
Q: Can I put a folder inside another folder?
A: Most smartphones do not allow you to put a folder directly inside another folder. This keeps your organization simpler and prevents your home screen from becoming too complex or difficult to navigate.
Q: What if I accidentally drag an app to the wrong place?
A: Do not worry if you accidentally drag an app to the wrong spot. You can always move it back to its original location, or into a different folder, by following the same drag-and-drop steps outlined in this guide. Nothing is permanent; you can always rearrange things.
Q: How many apps can I put in one folder?
A: Most phones allow you to put many apps in a single folder. While the exact number can vary by device and software, you typically have enough space for dozens of apps. The folder might display a few apps on its “cover” and require you to swipe through its contents if it holds many applications.
Q: My apps started wiggling on iPhone, and now I cannot stop them. What do I do?
A: If your iPhone apps are wiggling, you are in “edit mode.” To stop them, tap the “Done” button that often appears at the top right of your screen. If your iPhone has a physical Home button below the screen, press it once. If your iPhone does not have a Home button (newer models), swipe up gently from the very bottom of the screen. This action exits edit mode and stops the wiggling.
Taking Control of Your Digital Space
You now possess the knowledge and skills to transform your cluttered phone into an organized, efficient tool. Creating app folders is a powerful way to declutter phone home screen space, making your device easier and more enjoyable to use. By taking control of your phone organization, you empower yourself to navigate your digital world with greater ease and confidence.
Practice these steps, create folders that make sense for you, and enjoy the newfound clarity on your smartphone or tablet. Your organized phone is waiting.
Disclaimer: This article is for informational purposes only. Screens and menus may look slightly different depending on your device model and software version. When in doubt, visit your device’s official support website or ask a trusted family member for help.


Leave a Reply