

Do you have a lifetime of cherished photographs, from old family albums to recent phone snapshots, scattered across various devices and dusty boxes? Many people feel overwhelmed by the thought of organizing their precious memories in today’s digital world. Fortunately, tools exist to help you manage your photo collection with ease. One excellent solution is Google Photos, a powerful service designed to store, organize, and share your pictures securely.
To stay even more organized, you can use Google Calendar to track special family events alongside your photos.
If you are new to photography, you can also read our guide on taking and sharing pictures with your phone first.
This guide will walk you through everything you need to know about Google Photos. You will learn how to get the app, which is a program you can download and use on your phone, tablet, or computer. We will cover how to set it up, back up your photos, sort them into albums, and even share them with loved ones. Imagine finding any photo instantly, reliving moments, and knowing your visual history is safe. Let’s make that vision a reality together.
Table of Contents
- What Google Photos Does
- Downloading and Installing Google Photos
- Setting Up Your Google Photos Account and Backup
- Understanding Photo Backup and Storage
- Organizing Your Photos with Albums and Search
- Editing and Sharing Your Memories
- Tips for Getting the Most Out of Google Photos
- Common Questions and Problems
- Frequently Asked Questions
What Google Photos Does
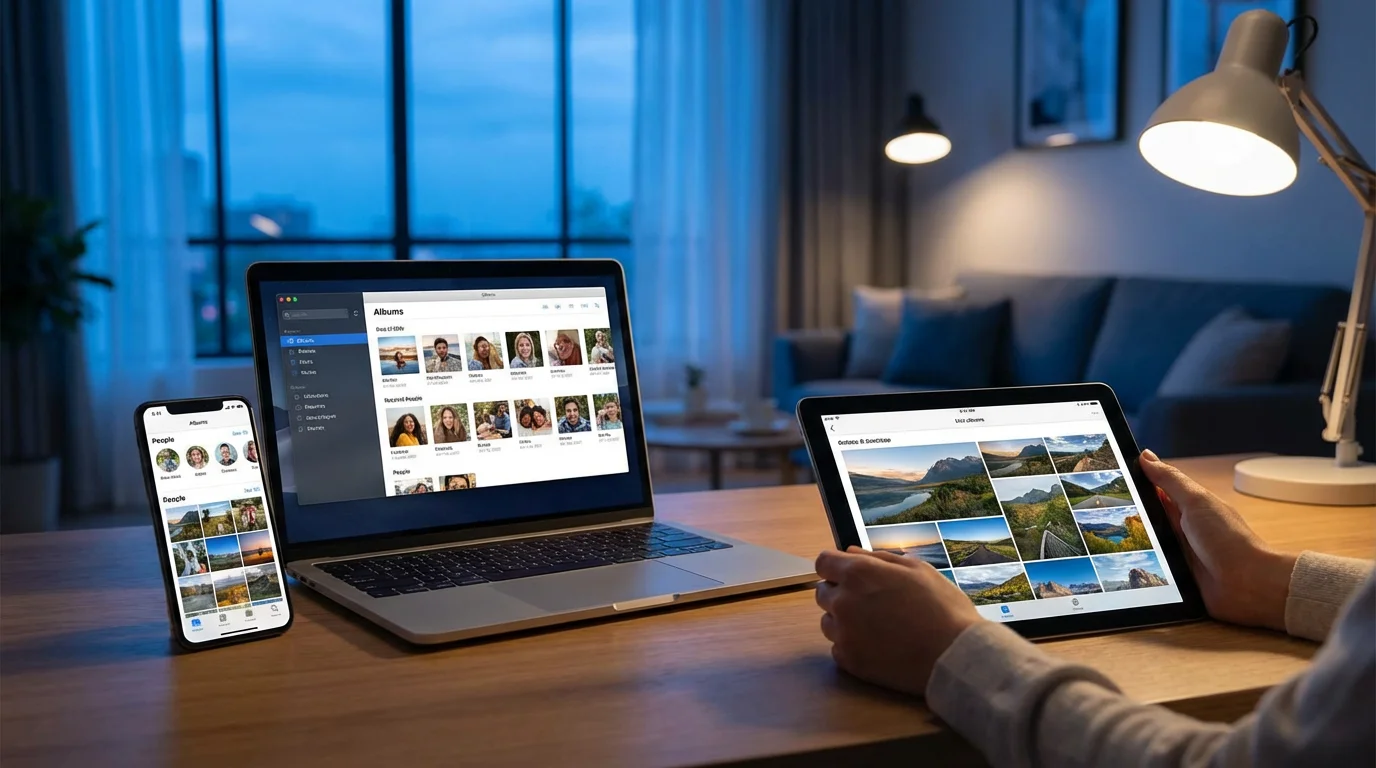
Google Photos acts as your personal digital photo album and archive. It stores your pictures and videos safely online, in what we call “cloud storage.” Think of cloud storage as a secure, virtual locker in the sky, accessible from any of your devices with an internet connection. This means your photos are not stuck on just one phone or computer, where they could be lost if the device breaks. Instead, they are backed up, which means a copy lives safely online.
If you prefer visual learning, you can also use YouTube to learn new things by searching for step-by-step photography tutorials.
Once you understand the basics, you may also want to learn how to see family photos on a shared album that others have created.
Here are the main benefits you gain from using Google Photos:
- Automatic Backup: Once you set it up, Google Photos can automatically save copies of your new photos and videos from your phone or tablet to your online account. This provides a peace of mind, knowing your memories are protected even if your device is lost or damaged.
- Easy Organization: Google Photos uses clever technology to recognize faces, places, and even objects in your photos. This helps you find specific pictures quickly without endless scrolling. You can also create your own albums, which are collections of photos you put together yourself, making organization simple.
- Photo Editing: The app includes easy-to-use editing tools. You can crop pictures, adjust colors, and apply filters to make your photos look their best, all within the app.
- Simple Sharing: Share individual photos or entire albums with family and friends through a link, email, or other messaging apps. It is a quick and easy way to keep everyone connected to your shared memories.
- Free Storage (Up to a Limit): Every Google Account comes with 15 gigabytes (GB) of free storage. This storage is shared across Google Photos, Gmail, and Google Drive. For many people, this free amount is enough for thousands of photos. If you need more space, you can purchase additional storage.
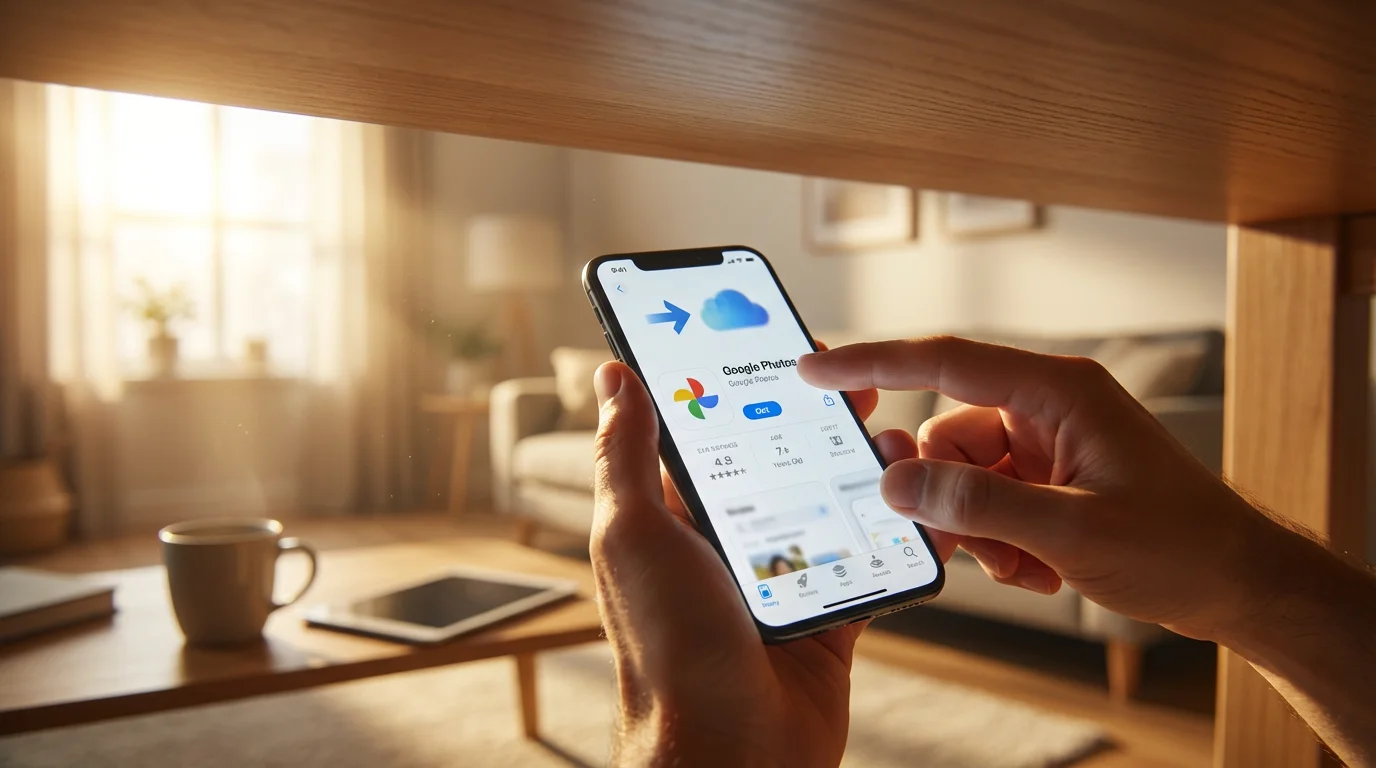
Downloading and Installing Google Photos
Getting Google Photos onto your device is straightforward. You will download the app, which is a specific program, and then install it, meaning you set it up so it is ready for use. We will cover both phones and tablets, and then explain how to use it on your computer.
Understanding how to save and find files on your computer will also help you manage your digital memories more efficiently.
To keep your screen tidy, you can learn how to put your apps into folders after you finish installing Google Photos.
On Your Phone or Tablet (Apple or Android)
Whether you have an Apple iPhone or iPad, or an Android phone or tablet, the process is very similar:
- Find Your App Store:
- For Apple devices (iPhone, iPad): Look for an icon that looks like a blue square with a white “A” in the middle. This is the “App Store.” Tap it.
- For Android devices (Samsung, Google Pixel, LG, etc.): Look for an icon that looks like a colorful triangle. This is the “Google Play Store” or just “Play Store.” Tap it.
- Search for Google Photos:
- Once in the app store, you will see a “Search” bar or a magnifying glass icon. Tap on it.
- Type “Google Photos” into the search bar.
- Tap the search button or “Enter” on your keyboard.
- Select and Download the App:
- You will see a list of results. Look for the official “Google Photos” app, which usually has a colorful pinwheel icon.
- Tap on the app. You will see an “Install,” “Get,” or cloud-shaped icon with a down arrow.
- Tap this button. Your device will now download the app, which means it gets the app from the app store and puts it on your device. It will then automatically install it. This process might take a minute or two, depending on your internet speed.
- Open the App: Once the download and installation are complete, the button will change to “Open.” You can tap “Open” to launch the app immediately, or find the new Google Photos icon on your device’s home screen or in your app list and tap it there.
Finding apps in the app store is a skill that helps you use many different programs. Practice this step, and you will become more comfortable exploring new apps for your interests and needs.
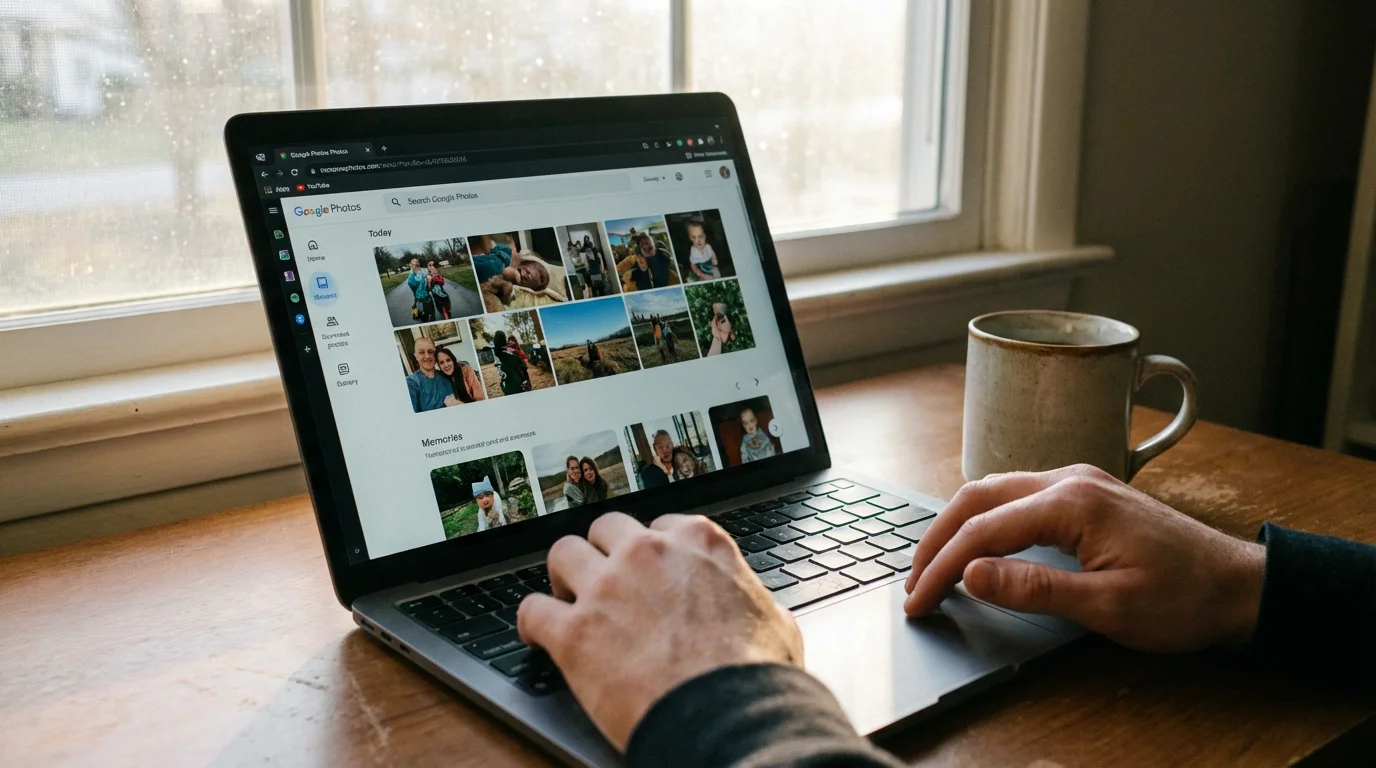
Using Google Photos on Your Computer
You do not need to download an “app” in the same way for your computer. Google Photos works directly through your web browser, such as Chrome, Edge, Safari, or Firefox.
- Open Your Web Browser: Click on the icon for your preferred internet browser on your computer.
- Go to the Google Photos Website: In the address bar at the top of the browser window, type
photos.google.comand press Enter. - Sign In: The website will prompt you to sign in with your Google Account. If you are already signed into other Google services like Gmail, you might be signed in automatically. If not, enter your Google email address and password.
To automatically backup photos from your computer, Google recommends using the Google Drive for desktop program. This program can sync, meaning information on different devices matches automatically, folders you choose from your computer to your Google Drive, including your photo folders, which then appear in Google Photos.
- Download Google Drive for Desktop: Visit the official Google Drive download page by searching “Google Drive for desktop” or going to
https://www.google.com/drive/download/. - Install the Program: Follow the on-screen instructions to install the program on your computer.
- Set Up Backup: Once installed, open the Google Drive for desktop program. You will find options to choose which folders on your computer you want to backup. Select your “Pictures” folder or any other folder where you store photos. Make sure you select the option to “Back up to Google Photos.”
This method ensures your computer photos are also safely stored and accessible through Google Photos, just like your phone pictures.
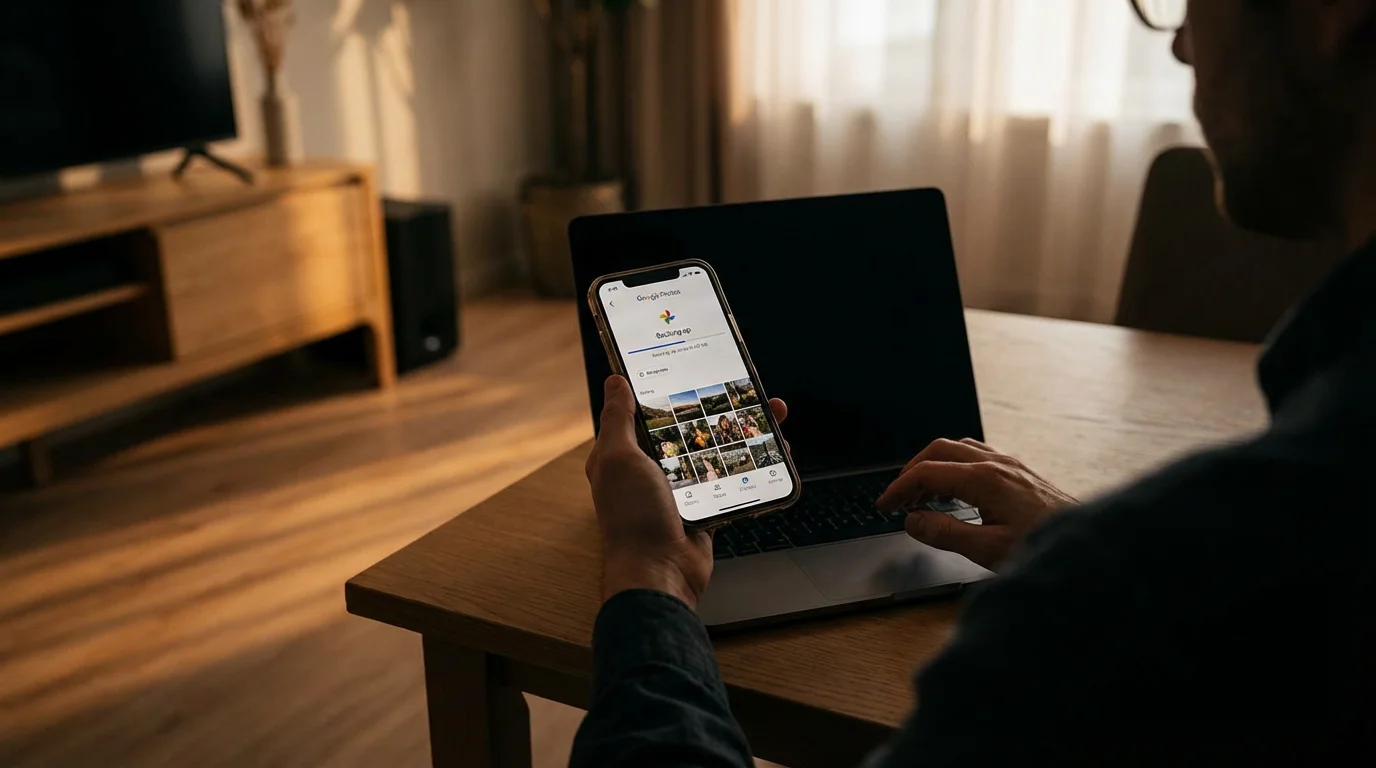
Setting Up Your Google Photos Account and Backup
After you download and open Google Photos on your phone or tablet, the app will guide you through the initial setup. This is where you connect the app to your Google account, which is your personal login with a username and password.
- Sign In with Your Google Account:
- When you first open the app, it will likely ask you to sign in.
- Choose the Google Account you want to use for your photos. If you have multiple accounts on your device, select the correct one. If you do not have a Google Account, the app will guide you to create one. You need a Google Account to use Google Photos.
- Turn On Backup and Sync:
- Google Photos will then ask if you want to turn on “Backup and sync.” This is the most important step!
- Tap “Turn on backup” or “Yes.” This setting tells Google Photos to automatically save copies of your photos and videos to your Google Account online.
- You might be asked to confirm your storage quality. For most users, “Storage saver” (formerly “High quality”) is an excellent choice. It compresses photos slightly to save space but maintains excellent visual quality, often without counting against your free 15 GB storage limit for older uploads. However, as of June 1, 2021, all new photos and videos backed up in “Storage saver” quality count towards your 15 GB limit. “Original quality” also counts against your limit and uses more space but keeps your photos exactly as they were taken. We recommend “Storage saver” if you are concerned about space and do not need professional-grade photo resolution.
- Grant Permissions: The app will ask for permission to access your device’s photos and videos. You must grant this permission for Google Photos to work correctly and backup your pictures. Tap “Allow” or “Grant Access.”
Once you complete these steps, Google Photos begins uploading your existing photos and videos from your device to your Google Account. This initial upload can take some time, especially if you have many pictures, so make sure your device is connected to Wi-Fi and charging.
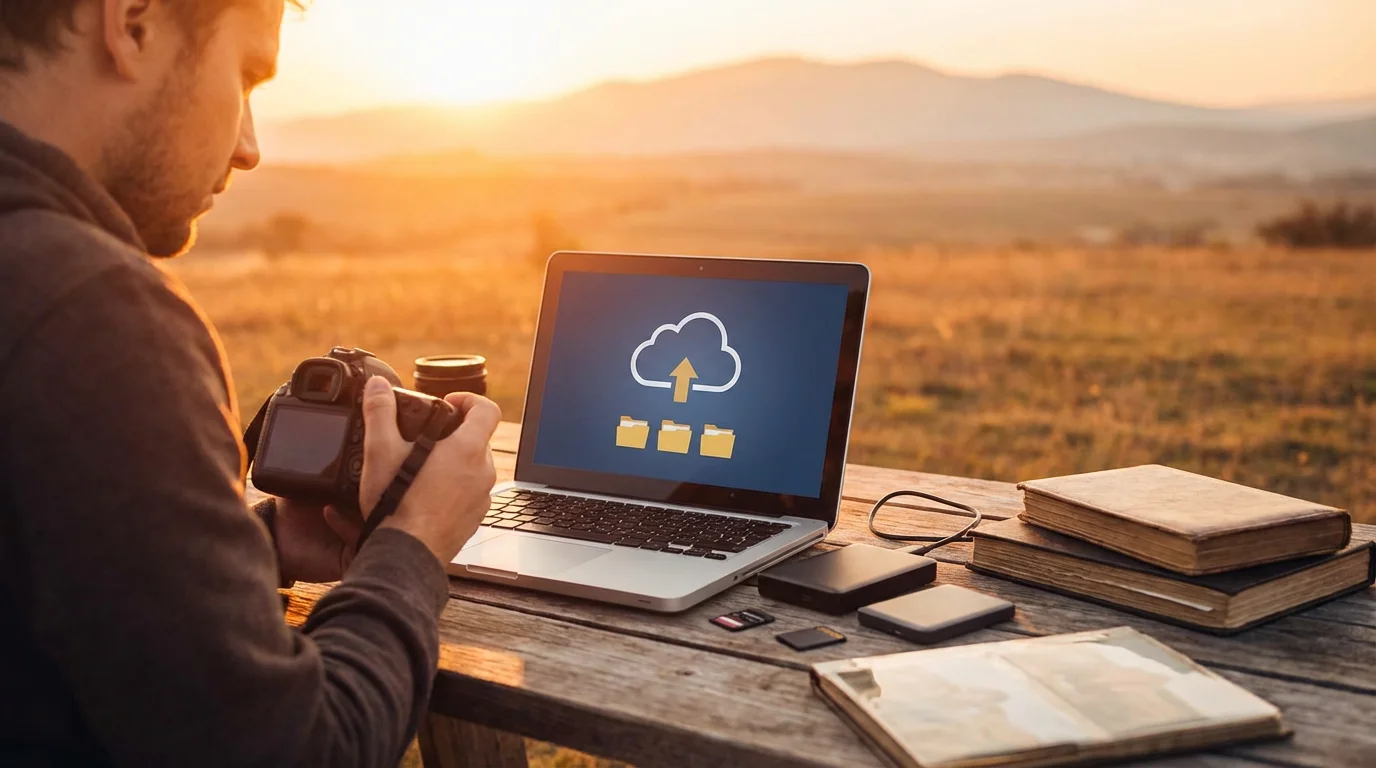
Understanding Photo Backup and Storage
Understanding how Google Photos handles your pictures helps you manage your collection effectively. When you enable “Backup and sync,” Google Photos performs a crucial task: it creates a duplicate of your photos and stores them safely in your Google Account’s cloud storage.
To keep your device running smoothly as you save more memories, it is helpful to know how to free up storage space on your smartphone.
If your phone is getting full, you can follow our tips to free up storage space on your smartphone while keeping your photos safe in the cloud.
- Cloud Storage: This means your photos are saved on Google’s powerful servers, not just on your physical device. If you lose your phone, your photos are still safe and accessible from another phone, tablet, or computer simply by signing into your Google Account.
- Storage Limits: Every Google Account comes with 15 gigabytes (GB) of free storage. This storage is shared across Google Photos, Gmail, and Google Drive.
- For context, 15 GB can hold thousands of high-quality photos, depending on their size. For example, if an average photo is 3-5 MB, 15 GB could store 3,000 to 5,000 photos.
- If you find you are nearing your limit or need more space, Google offers options to upgrade your storage plan, called Google One. These paid plans start at a reasonable monthly fee for 100 GB, providing ample space for even very large photo collections. You can check your current storage usage at
one.google.com/storage.
- Freeing Up Space on Your Device: One of the best features of Google Photos is its ability to help you free up space on your phone or tablet. Once your photos are safely backed up to the cloud, the app can delete the copies from your device’s local storage without removing them from Google Photos online.
To free up space on your device:
- Open the Google Photos app.
- Tap your profile picture or initial in the top right corner.
- Tap “Free up device storage.”
- Google Photos will show you how much space it can clear by removing backed-up photos from your device.
- Tap “Free up X GB” or “Remove X items.” Your photos will remain safely in Google Photos online.
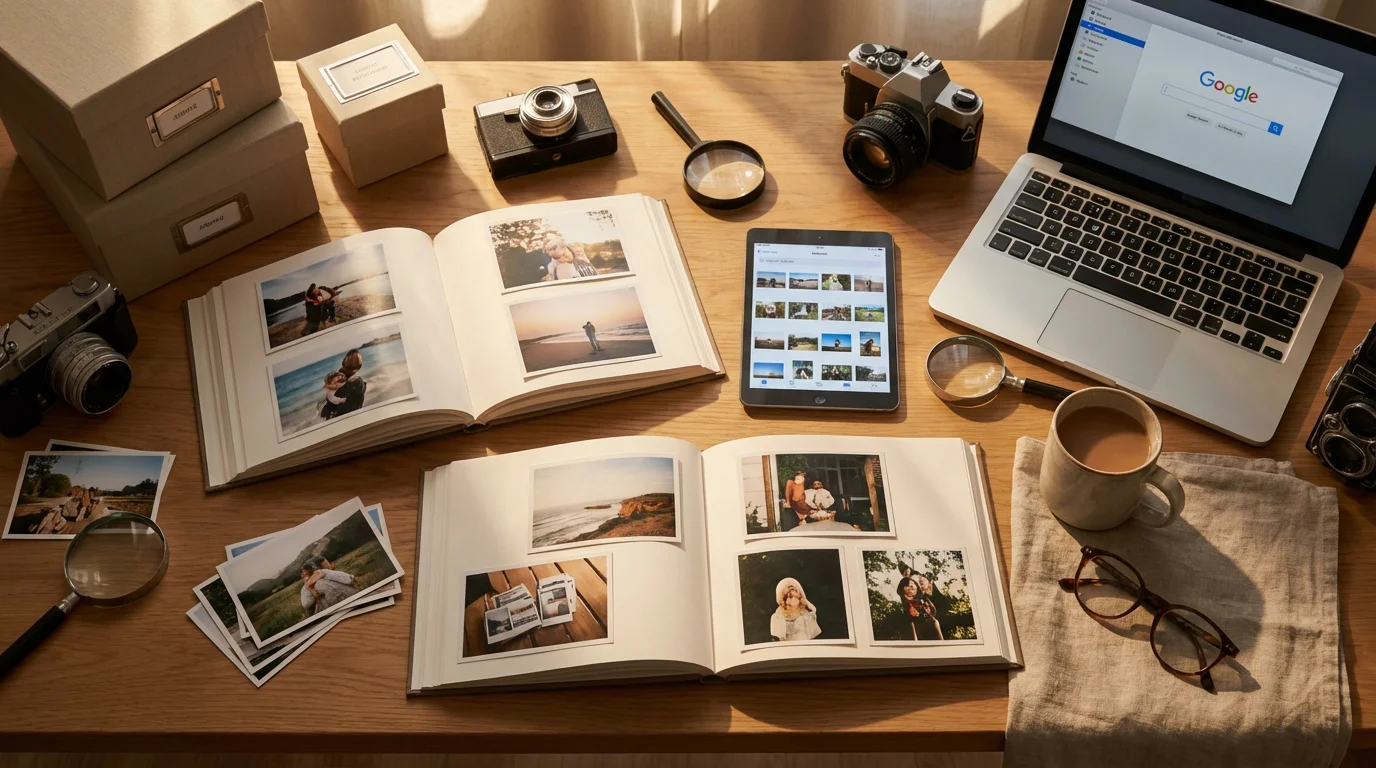
Organizing Your Photos with Albums and Search
Finding a specific photo among thousands can feel like searching for a needle in a haystack. Google Photos provides powerful tools to make photo organization and retrieval simple.
Once your albums are ready, you can explore several ways how to share photos with family members easily to keep your loved ones updated.

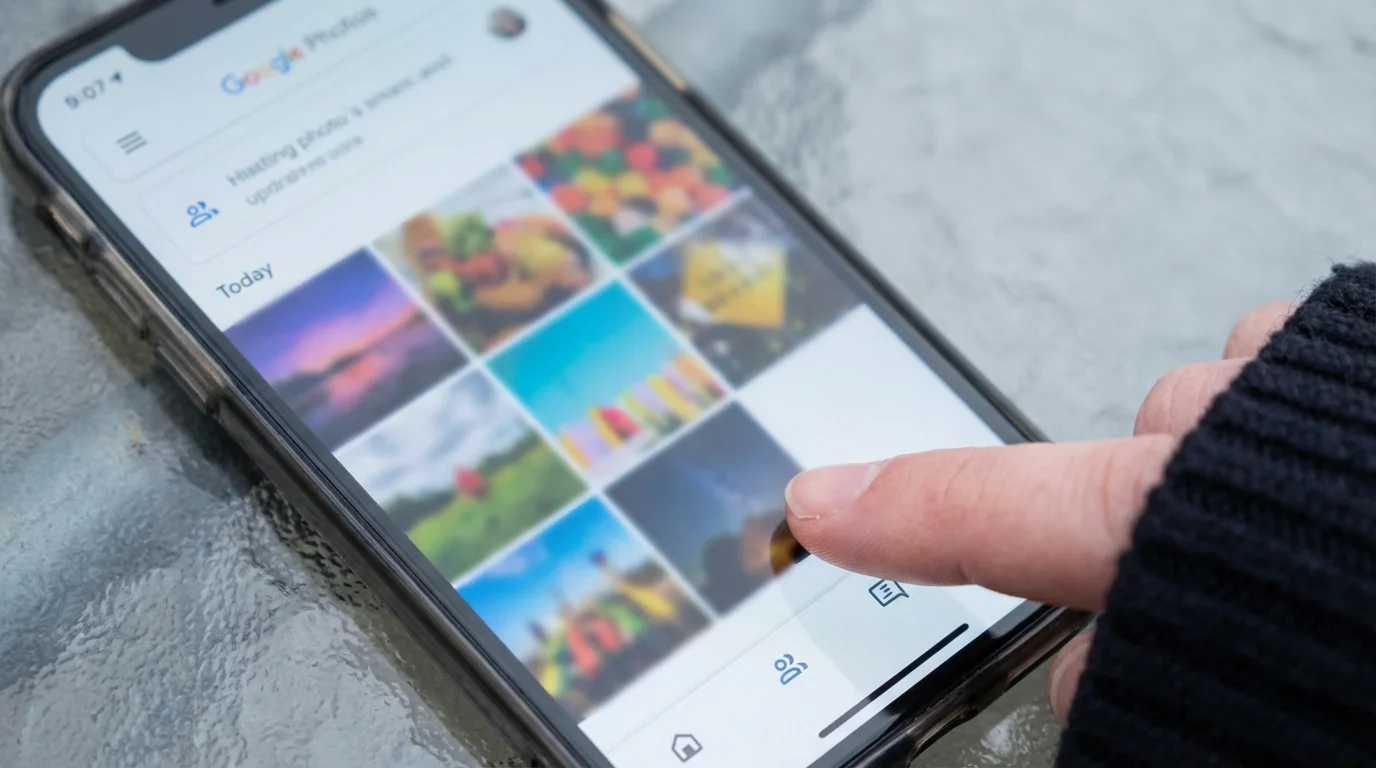
Using Search to Find Photos
Google Photos’ search function is remarkably intelligent. It uses advanced technology to identify details in your pictures.
- Tap the Search Tab: In the Google Photos app, you will find a “Search” tab at the bottom of the screen (it looks like a magnifying glass). On the computer website, the search bar is at the top.
- Type What You Are Looking For:
- People: If you have photos of specific family members, you can often type their names (if you have tagged them) or simply “Dad,” “Grandma,” or “children.” Google Photos can group faces together, which you can then label.
- Places: Type “beach,” “mountains,” “Paris,” or the name of a restaurant. If your photos have location information (which most modern phones add automatically), Google Photos can find them.
- Things: Search for “dog,” “cat,” “flower,” “car,” “sunset,” “food,” “birthday cake,” or even “documents.” The app is surprisingly good at recognizing a wide variety of objects.
- Dates: Type “2023,” “Summer 2022,” or “July 4th” to see photos from specific times.
The search feature helps you rediscover memories you might have forgotten, making your photo collection much more accessible.

Creating Albums for Better Organization
While search is powerful, creating your own albums provides a custom way to group photos. An album is like a digital scrapbook, letting you gather related pictures into one place.
To create a new album on your phone or tablet:
- Open Google Photos: Launch the app.
- Go to the Library Tab: Tap on the “Library” tab at the bottom of the screen.
- Find “Albums”: Under the “Photos on device” or “Utilities” section, you will see an “Albums” option. Tap on it.
- Create a New Album: Tap “New album” (it often has a “+” icon).
- Give Your Album a Title: Type a meaningful name, such as “Grandchildren’s Visits,” “Summer Vacation 2023,” or “Family Reunion.”
- Add Photos: Tap “Select photos” or the “+” icon to start adding pictures. You can scroll through your entire photo library and tap on each photo you want to include in this album.
- Confirm: After selecting all desired photos, tap “Add” or “Done.” Your new album is now created and populated.
On your computer:
- Go to photos.google.com: Open your web browser and navigate to the Google Photos website.
- Click “Albums”: In the left-hand menu, click on “Albums.”
- Create a New Album: Click “Create album.”
- Add a Title: Enter a title for your album.
- Add Photos: Click “Add photos” and select the pictures you want from your library.
- Confirm: Click the checkmark or “Done” to finish.
You can also quickly create an album from a selection of photos you are already viewing. Just select multiple photos, then tap the “+” icon (on mobile) or the “three dots” menu (on computer) and choose “Album.”
Editing and Sharing Your Memories
Google Photos does not just store your pictures; it also helps you enhance and share them. The built-in editing tools are simple enough for anyone to use, and sharing is incredibly convenient.
After your photos are safe and edited, a wonderful way to enjoy them is by setting up a digital photo frame to display your favorites at home.
Basic Photo Editing
Sometimes a photo needs a little adjustment to look its best. Google Photos offers user-friendly editing features.
To edit a photo:
- Open a Photo: Tap on any photo in your Google Photos library to view it full screen.
- Tap the Edit Icon: Look for an icon that resembles three horizontal lines with circles or a slider bar. Tap it.
- Explore Editing Options:
- Suggestions: Google Photos often provides automatic “Suggestions” for improvements, such as “Enhance” or “Warm.” You can apply these with one tap.
- Tools: Tap on “Tools” for more options like “Adjust” (for brightness, contrast, color), “Crop” (to cut out unwanted parts), and “Rotate.”
- Filters: Tap on “Filters” to apply different styles to your photo. Scroll through the options and tap one to see how it looks.
- Make Adjustments: For tools like “Adjust,” you will see a slider. Drag your finger left or right to increase or decrease the effect.
- Save Changes: Once you are happy with your edits, tap “Done” or “Save copy.” Saving a copy keeps your original photo untouched, allowing you to revert if you change your mind.
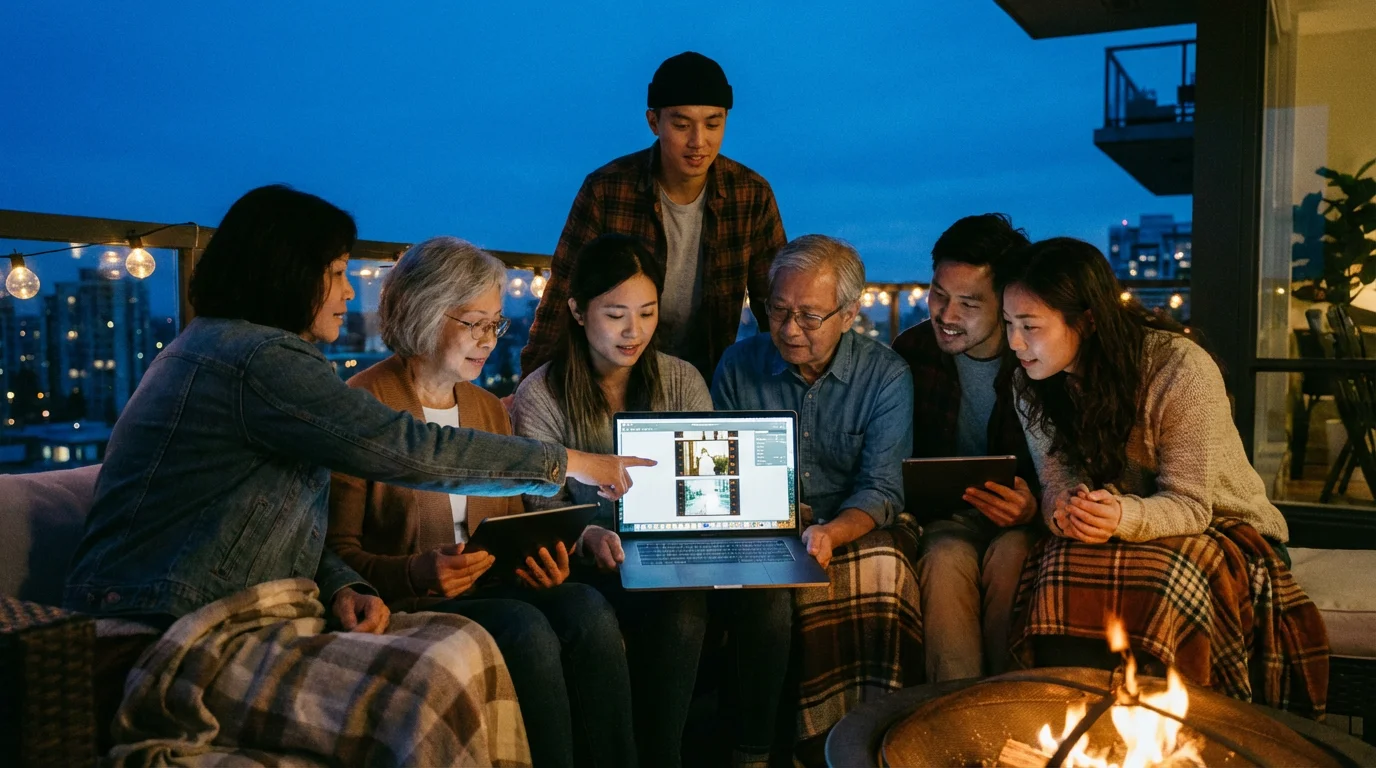
Sharing Photos and Albums
Sharing your memories with family and friends is one of the most rewarding aspects of digital photography. Google Photos makes it simple to share individual pictures or entire albums.
To share an individual photo:
- Open the Photo: Tap on the photo you wish to share.
- Tap the Share Icon: Look for an icon that typically looks like an arrow pointing up from a box (on Apple) or a “less than” sign with dots (on Android).
- Choose How to Share:
- Send in Google Photos: You can send the photo directly to other Google Photos users.
- Share to an App: Select a messaging app like WhatsApp or a social media app if you have them installed.
- Create Link: Tap “Create link.” This generates a unique web address that you can copy and paste into an email or text message. Anyone with the link can view the photo.
To share an entire album:
- Go to the Album: Open the Google Photos app, go to the “Library” tab, and then tap on the album you want to share.
- Tap the Share Icon: Just like with individual photos, tap the share icon.
- Choose Sharing Options: You will typically see options to “Share album.” You can then invite specific people via their email addresses or generate a shareable link.
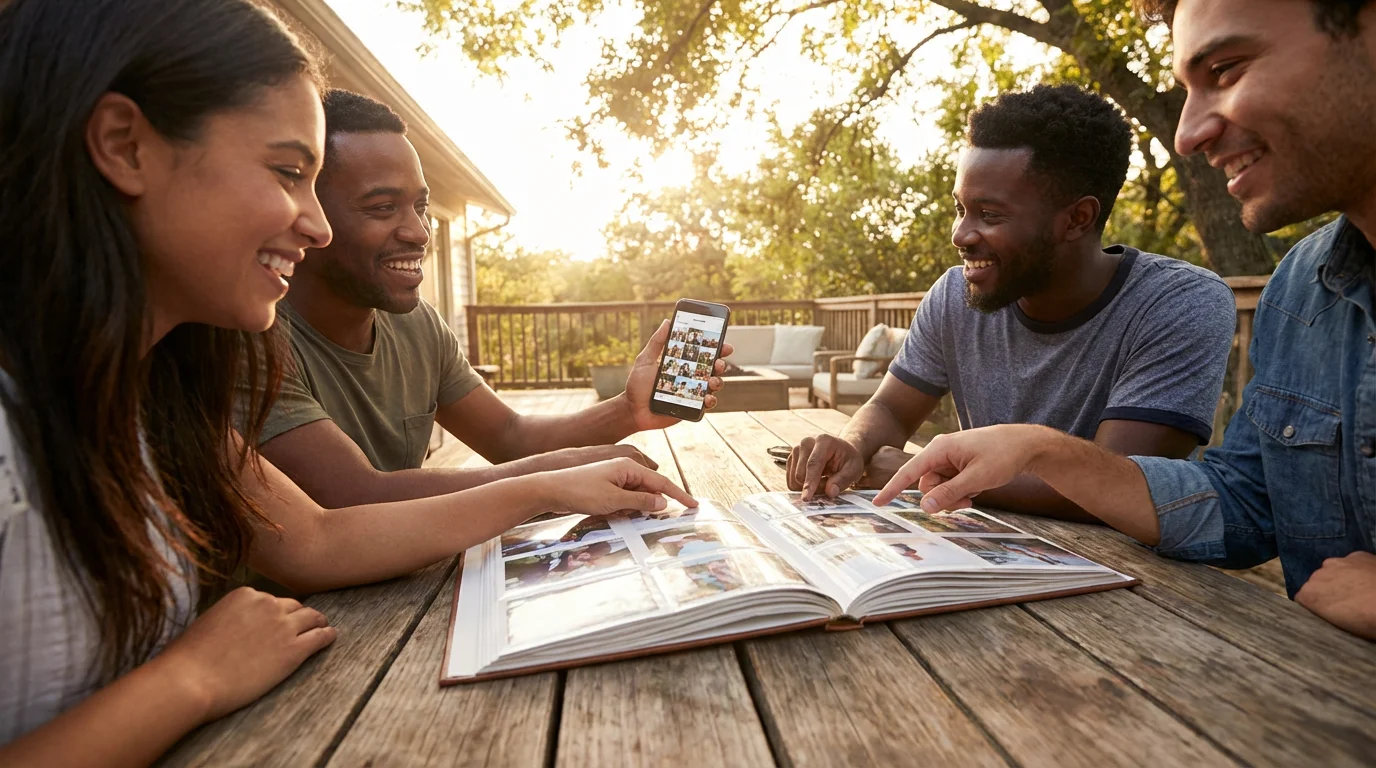
Sharing an album is perfect for family vacations or events, as everyone can see all the pictures in one organized place. You can also allow others to add their own photos to a shared album, creating a collaborative memory book.
Tips for Getting the Most Out of Google Photos
To truly master Google Photos and ensure it serves your needs, consider these additional tips:
- Regularly Check Backup Status: Open the Google Photos app occasionally and check your profile icon in the top right corner. A spinning arrow or a message indicating “Backing up X items” means it is working. If it says “Backup complete” or “Waiting for Wi-Fi,” you know its status. Ensure backup is always on.
- Review Shared Library with a Partner: If you and a spouse or partner both use Google Photos, consider setting up a “Shared library.” This allows you to automatically share photos of certain people or from specific dates with each other, creating a combined photo collection. You can find this option under your profile icon, then “Photo settings,” and “Partner sharing.”
- Utilize Locked Folder for Private Photos: Google Photos includes a “Locked Folder” feature. You can move sensitive photos and videos here to keep them safe from casual viewing. These items will not appear in your main photo grid, search results, or shared albums. To use it, go to “Library,” then “Utilities,” and find “Locked Folder.” You will need to set up a screen lock or fingerprint to access it.
- Create Photo Books and Prints: Google Photos integrates with printing services. You can easily select photos from your library to create custom photo books, canvas prints, or individual prints directly through the app. This is a lovely way to turn your digital memories into tangible keepsakes. Look for “Photo books” or “Print store” in the “Library” or “Utilities” section.
- Explore Assistant Suggestions: Google Photos’ “Assistant” feature (often found as a tab at the bottom of the app) intelligently creates collages, animations, and memories from your photos. It often resurfaces photos from years ago on the same date, providing delightful surprises and easy ways to share past events.
- Keep Your App Updated: Software developers regularly release updates, which are newer versions of an app, usually free. These updates often bring new features, improvements, and important security fixes. Make sure your Google Photos app is always up-to-date. You can typically set your phone to update apps automatically through your device’s settings or manually check for updates in your app store.

Common Questions and Problems
Even with clear instructions, you might encounter a few hiccups or have additional questions. Here are some common concerns:
- My photos are not backing up:
- Check Wi-Fi: Ensure your device is connected to a strong Wi-Fi network. Google Photos often waits for Wi-Fi to save mobile data.
- Charging: Sometimes, backup pauses if your battery is low. Plug in your device.
- App Open: Keep the Google Photos app open for a while, especially for the initial backup.
- Permissions: Double-check that Google Photos has permission to access your device’s photos in your phone’s main settings.
- Storage Full: Verify you have not exceeded your 15 GB free storage limit by checking
one.google.com/storage.
- I accidentally deleted a photo:
- If you delete a photo from Google Photos, it goes into a “Trash” or “Bin” folder for 30 or 60 days before being permanently removed.
- Go to “Library” tab, then “Trash” or “Bin.” You can restore photos from there within the time limit.
- My old physical photos are not in Google Photos:
- Google Photos only backs up digital photos from your phone, tablet, or computer.
- To get physical photos into Google Photos, you need to digitize them. You can use a dedicated photo scanner or use a scanning app on your phone, like Google’s own PhotoScan app, which helps reduce glare.
- I cannot find the “Storage saver” option:
- Google has updated its naming. “Storage saver” is now the default setting for new accounts and devices. If you previously had “High quality,” it effectively became “Storage saver.” You can check and adjust your upload quality settings under your profile picture > “Photo settings” > “Backup” > “Upload size.”
Frequently Asked Questions
Here are answers to some common questions you might have about Google Photos.
Is Google Photos safe for my pictures?
Yes, Google Photos uses industry-standard security measures to protect your pictures. Your photos are stored on Google’s secure servers, encrypted during transfer and while at rest. Your privacy settings within Google Photos also give you control over who can see your photos. You can choose to keep everything private or share only with specific people you trust. Google is a large company with significant resources dedicated to security, providing a robust environment for your data.
Do I have to pay to use Google Photos?
You do not have to pay to start using Google Photos. Every Google Account comes with 15 gigabytes (GB) of free storage. This free storage is shared across Google Photos, Gmail, and Google Drive. For many people, this amount is sufficient for thousands of photos. If you need more storage, Google offers paid subscription plans through Google One, which provide additional space starting at a reasonable monthly fee. You only pay if your photo collection grows beyond the free 15 GB limit and you choose to upgrade.
What happens if I run out of storage space?
If you reach your 15 GB free storage limit, Google Photos will stop backing up new photos and videos. You will receive notifications, which are alerts or messages from an app, informing you that your storage is full. At this point, you have a few options: you can either purchase more storage through a Google One subscription, or you can go through your Google Photos library and delete unwanted photos or large videos to free up space. You can also download your existing photos to a computer or external hard drive and then delete them from Google Photos to reclaim space.
Can I use Google Photos on my computer?
Absolutely, you can use Google Photos on your computer. You access it through any web browser by going to photos.google.com and signing in with your Google Account. This website provides the full functionality of Google Photos, allowing you to view, organize, edit, and share your pictures from your computer. If you want to automatically back up photos from your computer, you can install the “Google Drive for desktop” program, which allows you to sync chosen folders, including your photo folders, to Google Photos.
Embracing digital photo management with Google Photos empowers you to take control of your memories. You can store your photos safely, find them quickly, enhance them easily, and share them widely. This platform helps you preserve your precious moments for years to come, making your journey with technology both rewarding and enjoyable.
Disclaimer: This article is for informational purposes only. App interfaces change frequently with updates, so screens may look slightly different from what’s described. Always download apps from official app stores (Apple App Store or Google Play Store) to ensure safety.


Leave a Reply