
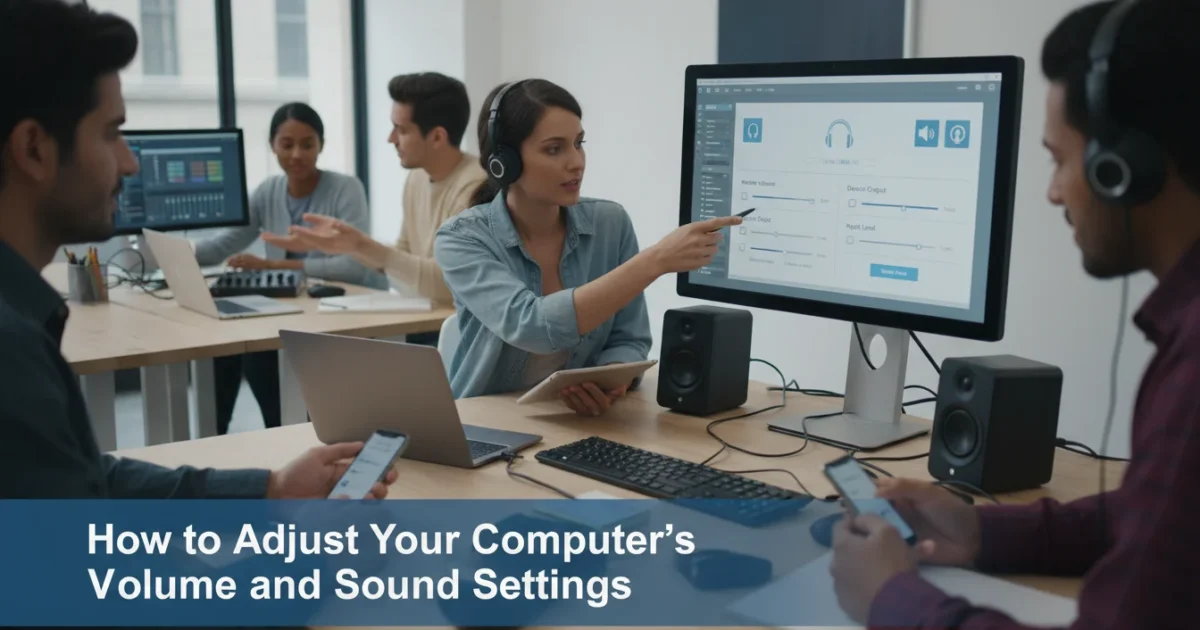
Controlling your computer’s sound can feel like navigating a complex maze, especially with new operating systems and different devices. Whether you are listening to music, watching a video, participating in a video call with family, or simply need your computer to be quieter, knowing how to adjust the volume and manage sound settings is a fundamental skill. This guide empowers you to take full control of your computer’s audio, ensuring you hear exactly what you need, at the right level, every time.
Before diving into audio controls, it is a good idea to ensure you know how to turn on and shut down your computer safely to protect your operating system.
Many people find modern interfaces confusing, particularly if they learned on older systems. You might wonder where the volume slider went, or why sound only comes out of one speaker. This article breaks down the process for Windows, macOS, and Chrome OS, offering practical, step-by-step instructions. You will learn to quickly change your computer volume, manage output devices like headphones and speakers, and troubleshoot common audio issues. With clear explanations and concrete examples, you will build confidence in managing your computer’s audio controls.
Table of Contents
- Understanding Your Computer’s Sound Basics
- Quick Volume Adjustments: The Easiest Way to Change Computer Volume
- Mastering Your Computer’s Main Sound Settings
- Connecting and Managing Audio Devices
- Testing Your Sound Settings
- Solving Common Sound Problems
- When to Seek Further Assistance
- Frequently Asked Questions
Understanding Your Computer’s Sound Basics
Before diving into specific settings, let us clarify a few core concepts about how your computer handles sound. Your computer manages two main types of audio: output and input.
Ensuring your device is healthy also means knowing how to keep your computer safe from viruses and malware.

Sound Output: What You Hear
Sound output refers to any sound coming out of your computer. This includes music, video soundtracks, system alerts, and voices from video calls. Your computer can send these sounds to various devices:
- Internal Speakers: Most laptops and some desktop monitors have speakers built in.
- External Speakers: Separate speaker units that connect to your computer, often offering better sound quality.
- Headphones or Earbuds: Devices you wear on or in your ears for private listening. These can be wired, connecting with a cable, or wireless, connecting via Bluetooth.
Your computer can only send sound to one primary output device at a time. If you plug in headphones, your computer might automatically switch from its internal speakers to the headphones. Knowing which device is active helps you understand why you might not be hearing anything.

Sound Input: What Your Computer Hears
Sound input refers to any sound going into your computer. This is usually your voice, used for video calls, recording messages, or dictation. Input devices include:
- Internal Microphone: Most laptops and many webcams have a microphone built in.
- External Microphone: A separate microphone unit, often connected via USB or an audio jack.
- Headset Microphone: Many headphones come with an attached microphone, forming a “headset.”
For video calls, both output, hearing others, and input, others hearing you, devices must work correctly. Problems with sound often involve an incorrect device selection for either output or input.
Think of your computer’s sound system like a stereo receiver. You choose which speakers to play music through, output, and which microphone to record your voice with, input. Your computer has digital versions of these controls.

Quick Volume Adjustments: The Easiest Way to Change Computer Volume
The fastest way to adjust your computer volume is often through a simple slider or keyboard shortcut. These methods allow you to increase or decrease the overall sound level without diving deep into settings. Let us look at how you can do this across different operating systems.
Just as you customize your sound, you can also learn how to make your computer screen easier to read to reduce eye strain.
On Windows 10 and Windows 11 PCs
Using the Taskbar Icon
Your Windows PC has a handy volume control icon right on the taskbar, the bar at the bottom of the screen. This is one of the quickest ways to change computer volume.
- Locate the Speaker Icon: Look in the bottom right corner of your screen, near the clock. You should see a small speaker icon. If you do not see it, it might be hidden. Press the small upward arrow, called the “Show hidden icons” arrow, to reveal more icons.
- Click the Speaker Icon: Press the left mouse button once on the speaker icon.
- Adjust the Slider: A small pop-up window appears. This window shows a horizontal slider bar with a speaker icon on one end and a percentage or number indicating the current volume level. Press and hold down the left mouse button on the slider knob, then move your mouse left to decrease the volume or right to increase it.
- Mute/Unmute: Next to the slider, you might see a small speaker icon. If there is a line through it, your sound is muted. Press the left mouse button once on this icon to toggle mute on or off.
- Change Output Device (Windows 11): In Windows 11, this pop-up also allows you to quickly switch between connected audio devices. Above the volume slider, you might see the name of your current output device, for example, “Speakers (Realtek Audio).” Press the left mouse button once on this name to reveal a list of other connected speakers or headphones. You can then press the left mouse button once on the device you wish to use.
What You’ll See On Screen (Windows 10/11): A small vertical panel appears above the speaker icon on the taskbar. It displays a volume slider and potentially a dropdown menu for selecting different audio outputs.
Using Keyboard Shortcuts
Most laptops and many external keyboards have dedicated volume buttons. These are incredibly convenient for quick adjustments.
- Look for Speaker Icons: Examine your keyboard, usually along the top row, F1 through F12 keys. You will often find keys with speaker symbols: one for muting, one for decreasing volume, and one for increasing volume.
- Press the Keys: You may need to press and hold the Fn (Function) key, typically found near the bottom left of your keyboard, while pressing the speaker symbol key. Some keyboards allow you to press these keys directly. Experiment to see how yours works.
On macOS (Mac Computers)
Using the Menu Bar Icon
Mac computers also feature a quick volume control in the menu bar, the bar at the top of the screen.
- Locate the Volume Icon: Look in the top right corner of your screen. You will see a speaker icon.
- Click the Volume Icon: Press the left mouse button once on the speaker icon.
- Adjust the Slider: A small slider appears. Press and hold down the left mouse button once on the slider knob, then drag your mouse left or right to adjust the volume.
- Mute/Unmute: Some macOS versions offer a “Mute” checkbox within this pop-up, or you can drag the slider all the way to the left.
- Change Output Device (Optional): To quickly select a different output device, like headphones or external speakers, press and hold the Option key on your keyboard, then press the left mouse button once on the speaker icon in the menu bar. This reveals a list of available sound input and output devices. Press the left mouse button once on your desired output device.
What You’ll See On Screen (macOS): A small dropdown menu shows a horizontal volume slider and, if you hold Option, a list of input and output devices.
Using Keyboard Shortcuts
Mac keyboards also have dedicated keys for sound control.
- Look for Speaker Icons: Find the keys with speaker symbols on your keyboard, usually in the top row. One key will have an “X” through a speaker, mute, one will have a speaker with a small wave, volume down, and another will have a speaker with a larger wave, volume up.
- Press the Keys: Simply press these keys to adjust the volume. You typically do not need to hold down the Fn key on a Mac for these media control keys unless you have changed your keyboard settings.

On Chrome OS (Chromebooks)
Using the Shelf Icons
Chromebooks use the shelf, the bar at the bottom of the screen, for quick settings, similar to the Windows taskbar.
- Locate the Quick Settings Panel: In the bottom right corner of your screen, press the left mouse button once on the area where you see the time, battery indicator, and Wi-Fi symbol. This opens the Quick Settings panel.
- Adjust the Volume Slider: Inside the Quick Settings panel, you will find a volume slider. Press and hold down the left mouse button once on the slider knob, then drag your mouse left or right to adjust the sound.
- Mute/Unmute: Next to the slider, you might see a speaker icon. Press the left mouse button once on this icon to mute or unmute your Chromebook.
- Change Output Device: Below the volume slider, you will see an icon that looks like a small arrow pointing right, next to the name of your current audio output device. Press the left mouse button once on this arrow to see a list of connected devices, like headphones or external speakers. Press the left mouse button once on the device you want to use.
What You’ll See On Screen (Chrome OS): A panel pops up from the bottom right, showing various settings including a volume slider and audio device selector.
Using Keyboard Shortcuts
Chromebook keyboards also have dedicated volume keys.
- Look for Speaker Icons: These keys are usually found in the top row of your keyboard. They often have symbols for volume down, volume up, and mute.
- Press the Keys: Simply press these keys to control your Chromebook’s volume. You typically do not need to hold down a function key.
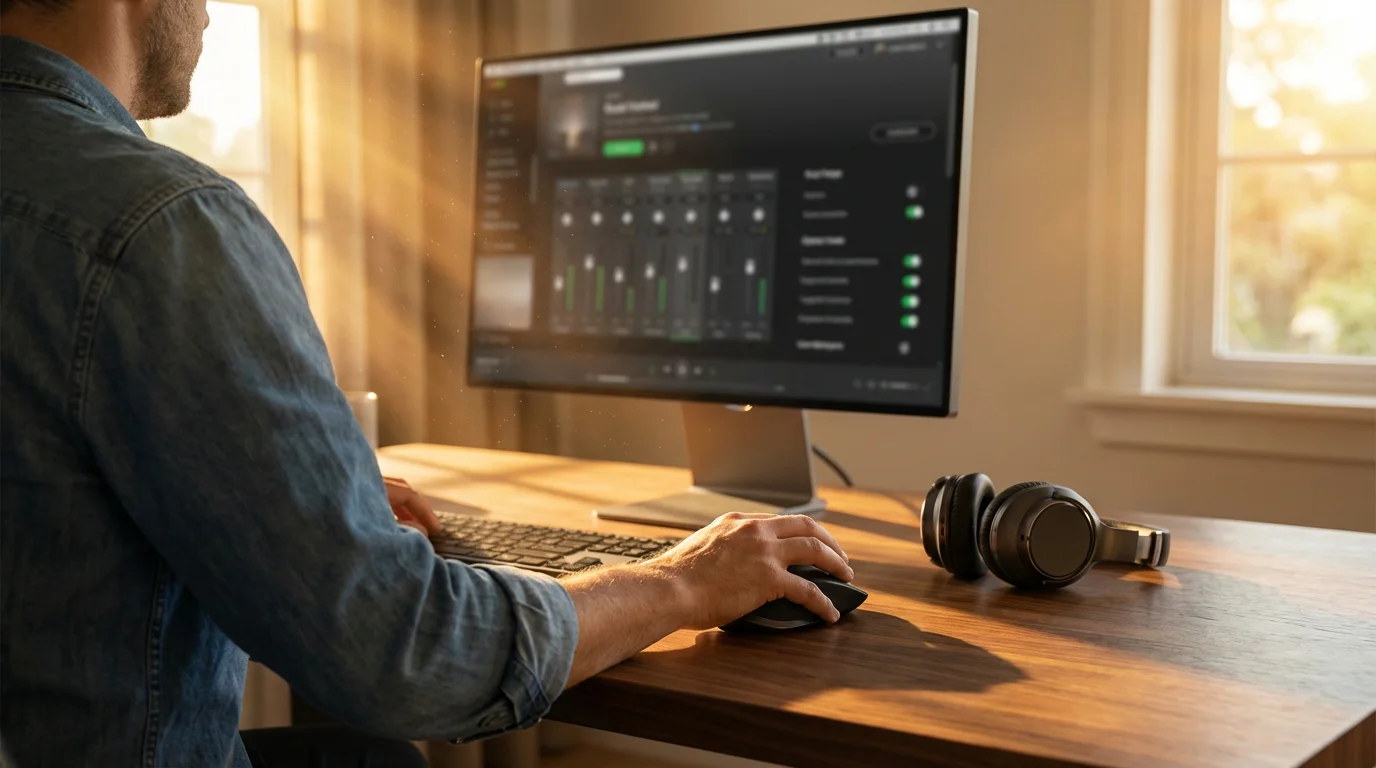
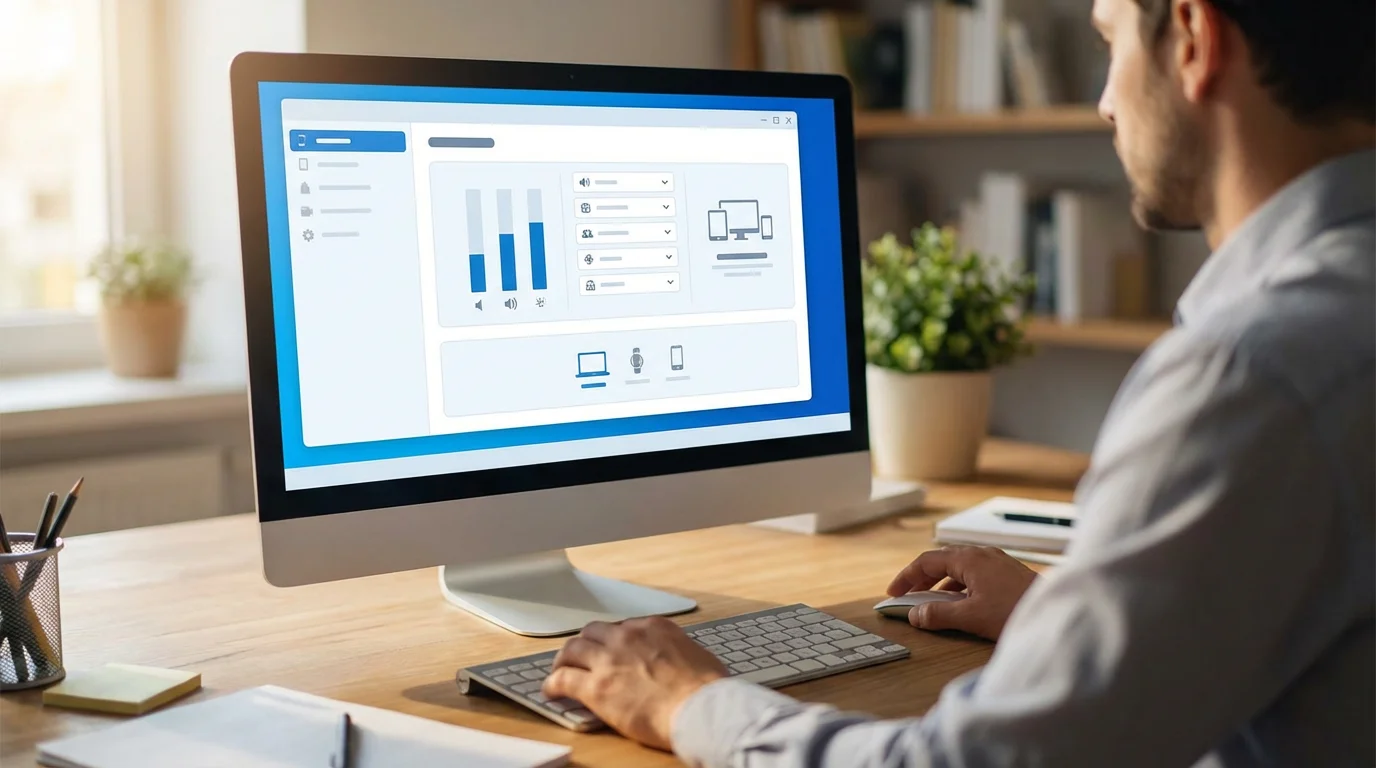
Mastering Your Computer’s Main Sound Settings
While the quick adjustments are helpful, the main sound settings panels give you more control. Here you can select specific output and input devices, adjust their individual volumes, and manage other advanced audio preferences. Taking the time to explore these settings offers greater precision over your computer’s audio experience.
On Windows 10 and Windows 11 PCs
Windows offers a comprehensive “Sound settings” area where you can manage all aspects of your audio.
- Open Sound Settings:
- Windows 10: Press the left mouse button once on the Start button, the Windows logo in the bottom left corner of your screen, then press the left mouse button once on Settings, the gear icon. In the Settings window, press the left mouse button once on System, then press the left mouse button once on Sound in the left-hand menu.
- Windows 11: Press the left mouse button once on the Start button, then press the left mouse button once on Settings. In the Settings window, ensure System is selected in the left-hand menu, then press the left mouse button once on Sound in the right-hand panel.
Alternatively, for both Windows 10 and 11, you can right-click, press the right mouse button once, on the speaker icon in the taskbar and press the left mouse button once on “Sound settings.”
- Choose Your Output Device: Under the “Output” section, Windows 11, or “Choose your output device,” Windows 10, you will see a dropdown menu. Press the left mouse button once on this menu to see a list of all connected sound output devices. Press the left mouse button once on the device you want to use, for example, “Speakers,” “Headphones,” or “External Monitor.”
- Adjust Master Volume: Below the output device selection, you will find a master volume slider. Use this to set the overall volume for the selected output device.
- Choose Your Input Device (Microphone): Scroll down to the “Input” section. Similar to output, you will see a dropdown menu. Press the left mouse button once on this menu to select your desired microphone, for example, “Microphone Array,” “Headset Microphone,” or “External Mic.”
- Adjust Input Volume: Below the input device selection, you will find an input volume, or “microphone volume,” slider. Speak into your microphone and watch the “Test your microphone” bar to see if your voice registers. Adjust the slider until the bar moves clearly when you speak, but does not consistently hit the very end, which indicates distortion.
- Per-App Volume (Windows 10/11):
- Windows 10: Scroll down and press the left mouse button once on “App volume and device preferences.” Here, you can adjust the volume for individual applications, like a web browser or music player, separately from the master volume. You can also assign specific apps to output sound through different devices.
- Windows 11: Scroll down to “Advanced” and press the left mouse button once on “Volume mixer.” This provides similar controls, allowing you to set separate volumes for different applications and even choose their output device individually.
What You’ll See On Screen (Windows): The Sound settings window presents a clear layout with sections for output and input. Dropdown menus list available devices, and sliders allow precise volume control. In Windows 11, the “Volume mixer” opens a separate panel for per-app control.
On macOS (Mac Computers)
Mac computers manage sound through “System Settings,” macOS Ventura and later, or “System Preferences,” older macOS versions.
- Open Sound Settings:
- macOS Ventura or newer: Press the left mouse button once on the Apple menu, the apple icon in the top left corner of your screen, then press the left mouse button once on System Settings. In the sidebar, scroll down and press the left mouse button once on Sound.
- Older macOS versions: Press the left mouse button once on the Apple menu, then press the left mouse button once on System Preferences, then press the left mouse button once on Sound.
Alternatively, you can press the left mouse button once on the Finder icon, the smiling face in your dock, the bar of icons at the bottom of the screen, then press the left mouse button once on Applications, then press the left mouse button once on System Settings, or System Preferences, and finally press the left mouse button once on Sound.
- Output Tab: In the Sound window, press the left mouse button once on the Output tab. This tab lists all available sound output devices connected to your Mac.
- Select Your Output Device: Press the left mouse button once on the name of the device you wish to use, for example, “Internal Speakers,” “Headphones,” or an external display with speakers. A blue highlight appears next to the selected device.
- Adjust Output Volume: At the bottom of the Output tab, you will find an “Output volume” slider. Drag this slider left or right to adjust the overall volume for the selected device. You can also press the left mouse button once on the “Mute” checkbox to silence your Mac.
- Balance (Optional): Below the volume slider, you might see a “Balance” slider. This allows you to adjust the volume between the left and right speakers. For most uses, keep this in the center.
- Input Tab (Microphone): Press the left mouse button once on the Input tab. This tab lists all available microphones.
- Select Your Input Device: Press the left mouse button once on the name of the microphone you want to use.
- Adjust Input Volume: Drag the “Input volume” slider left or right. As you speak, watch the “Input level” meter. Adjust the slider so the meter responds clearly to your voice without constantly hitting the very end, which indicates the sound might be too loud and distorted.
What You’ll See On Screen (macOS): The Sound settings panel has distinct tabs for Output and Input. Each tab displays a list of devices, a volume slider, and a visual meter for input levels, providing clear feedback.
On Chrome OS (Chromebooks)
Chromebooks keep their sound settings fairly straightforward, primarily accessed through the Quick Settings panel and the main Settings app.
- Open Settings: Press the left mouse button once on the Launcher icon, the circle in the bottom left corner of your screen, then press the left mouse button once on the Settings icon, the gear symbol.
- Navigate to Device Settings: In the Settings window, press the left mouse button once on Device in the left-hand menu.
- Open Sound Settings: Press the left mouse button once on Sound in the right-hand panel.
- Manage Output Devices: Under the “Output” section, you will see a list of connected speakers and headphones. The currently active device has a checkmark next to it. Press the left mouse button once on a different device to switch to it.
- Adjust Output Volume: For each output device, you will see a volume slider. Adjust this slider to set the volume for that specific device.
- Manage Input Devices (Microphone): Under the “Input” section, you will see a list of available microphones. Press the left mouse button once on the microphone you wish to use.
- Adjust Input Volume: A volume slider appears for the selected microphone. As you speak, observe the “Input level” meter or bar. Adjust the slider until the meter responds well to your voice without going into the red, indicating it is too loud.
What You’ll See On Screen (Chrome OS): The Sound section within the main Settings app provides a clean list of output and input devices, each with its own volume slider and a visual indicator for microphone input levels.
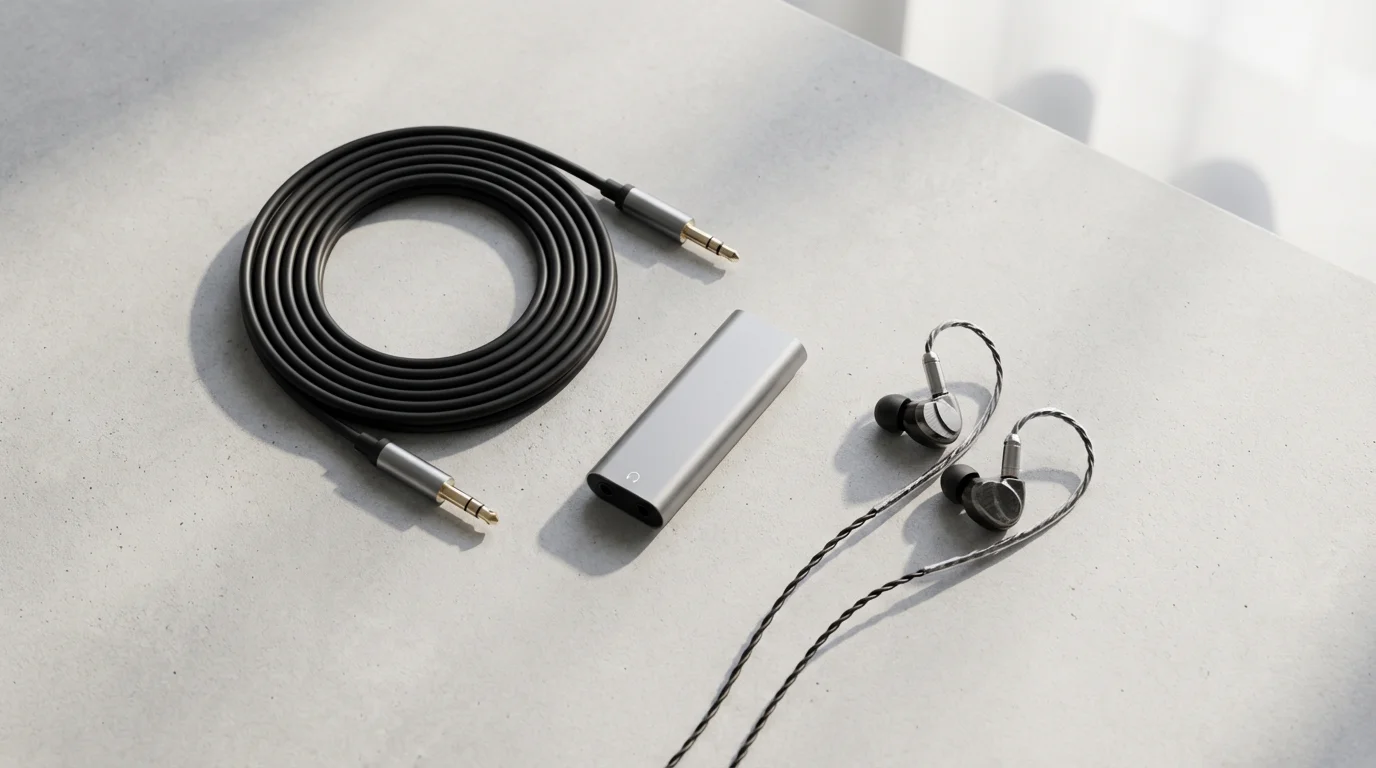
Connecting and Managing Audio Devices
Your computer can connect to many different audio devices, from simple wired headphones to complex wireless speaker systems. Understanding how to connect and switch between these devices expands your audio possibilities.
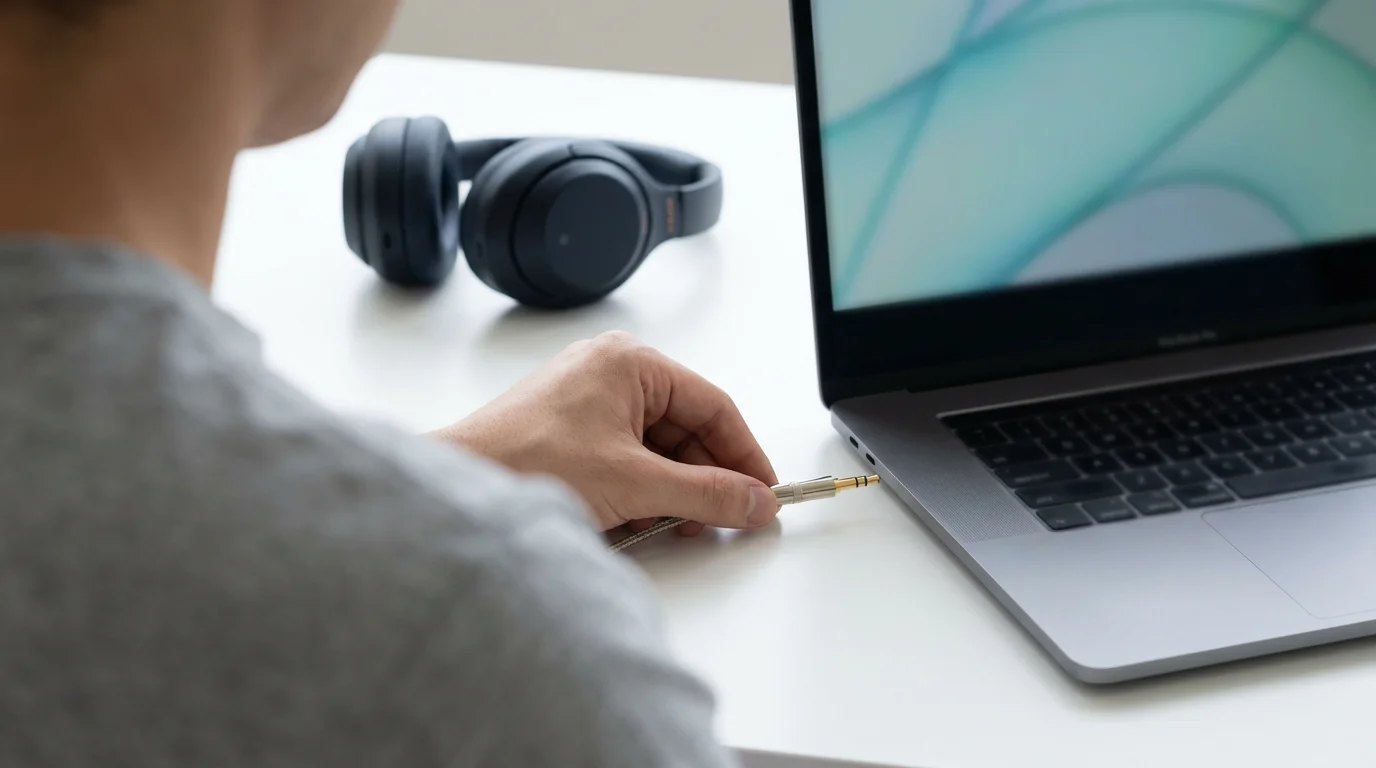
Wired Headphones and Speakers
Connecting wired devices is generally straightforward:
- Locate the Audio Jack: Most computers have one or more small, round audio jacks, ports, on the side, front, or back. These are typically green for audio output, speakers/headphones, and pink for microphone input, though newer computers often have a single combined jack with a headphone icon.
- Plug In: Carefully insert the audio plug from your headphones or speakers into the appropriate jack. Ensure it goes all the way in.
- Automatic Detection: Many operating systems automatically detect when you plug in a new device and switch audio to it. If not, follow the steps in the “Mastering Your Computer’s Main Sound Settings” section to select the newly connected device as your output, or input, device.

Bluetooth Headphones and Speakers (Wireless)
Bluetooth devices connect wirelessly, offering convenience but requiring a pairing process.
On Windows 10 and Windows 11 PCs
- Turn on Bluetooth on Your Device: First, make sure your Bluetooth headphones or speakers are charged and in “pairing mode.” This usually involves pressing and holding a button on the device until an indicator light flashes. Consult your device’s manual for specific instructions.
- Enable Bluetooth on Your PC:
- Windows 10: Press the left mouse button once on the Start button, then Settings, then Devices, then Bluetooth & other devices. Ensure the “Bluetooth” toggle is set to “On.”
- Windows 11: Press the left mouse button once on the Start button, then Settings, then Bluetooth & devices. Ensure the “Bluetooth” toggle is set to “On.”
- Add a Device: In the Bluetooth settings, press the left mouse button once on “Add Bluetooth or other device,” Windows 10, or “Add device,” Windows 11, then press the left mouse button once on “Bluetooth.”
- Select Your Device: Your computer will search for nearby Bluetooth devices. When your headphones or speakers appear in the list, press the left mouse button once on their name to pair them. You might see a confirmation message on screen.
- Select as Output: Once paired, follow the steps in “Quick Volume Adjustments” or “Mastering Your Computer’s Main Sound Settings” to select your new Bluetooth device as the audio output.
On macOS (Mac Computers)
- Turn on Bluetooth on Your Device: Put your Bluetooth headphones or speakers into pairing mode.
- Enable Bluetooth on Your Mac:
- macOS Ventura or newer: Press the left mouse button once on the Apple menu, then System Settings. In the sidebar, press the left mouse button once on Bluetooth. Ensure the Bluetooth toggle is “On.”
- Older macOS versions: Press the left mouse button once on the Apple menu, then System Preferences, then press the left mouse button once on Bluetooth. Ensure Bluetooth is “On.”
You can also press the left mouse button once on the Control Center icon, two overlapping rectangles, in the menu bar and press the left mouse button once on the Bluetooth module to toggle it on or off.
- Pair Your Device: Your Mac will display a list of nearby Bluetooth devices. When your headphones or speakers appear, press the left mouse button once on Connect next to their name.
- Select as Output: After pairing, your Mac usually switches to the new device automatically. If not, use the steps from “Quick Volume Adjustments,” holding Option key, or “Mastering Your Computer’s Main Sound Settings” to select it.
On Chrome OS (Chromebooks)
- Turn on Bluetooth on Your Device: Put your Bluetooth headphones or speakers into pairing mode.
- Enable Bluetooth on Your Chromebook: Press the left mouse button once on the Quick Settings panel, time/battery area in bottom right. Press the left mouse button once on the Bluetooth icon to turn it on, it will turn blue.
- Pair Your Device: In the Quick Settings panel, press the left mouse button once on the small arrow next to “Bluetooth.” This opens the full Bluetooth settings. Your Chromebook will scan for devices. When your headphones or speakers appear, press the left mouse button once on their name. You might need to confirm the pairing.
- Select as Output: Once paired, return to the Quick Settings panel or the Sound settings within the main Settings app to ensure your Bluetooth device is selected as the audio output.

Testing Your Sound Settings
After adjusting volume or connecting new devices, it is always a good idea to test your sound to ensure everything works as expected. This prevents frustration during important video calls or when trying to relax with music.
- Play a Test Sound: The easiest way to test your sound is to play something you know has audio.
- Open a YouTube video in your web browser.
- Play a song from a music streaming service or a music file saved on your computer.
- Open a sound application like a media player.
Listen carefully to ensure sound comes from the correct device, speakers, headphones, and at the desired volume.
- Test Your Microphone: For input devices, you need a different kind of test.
- Windows: In Sound Settings, under the “Input” section, speak into your microphone and watch the “Test your microphone” bar. It should respond to your voice.
- macOS: In Sound Settings, under the “Input” tab, speak into your microphone and watch the “Input level” meter.
- Chrome OS: In Sound settings, under the “Input” section, speak into your microphone and watch the “Input level” bar.
- Alternatively, start a test call in a video conferencing application, like Zoom or Google Meet, if available, or try recording a short voice memo using a built-in sound recorder application.
Ensure the sound is clear and free of static or distortion.
Solving Common Sound Problems
Even with careful adjustments, you might occasionally encounter sound issues. Many common problems have simple solutions. Do not get discouraged, troubleshooting is a normal part of using technology.
Beyond audio-specific fixes, performing regular computer maintenance can prevent many system glitches that affect sound.

No Sound At All
- Check Mute: Is your computer or device muted? Look for the mute icon, a speaker with an “X” or line through it, on your taskbar, Windows, menu bar, Mac, shelf, Chromebook, or on your physical keyboard. Press it to unmute.
- Volume Level: Is the volume slider set too low? Increase it using the quick adjustments or main sound settings.
- Correct Output Device Selected: Did you plug in headphones or external speakers? Your computer might be sending sound to the wrong device. Go to your main sound settings, as described in “Mastering Your Computer’s Main Sound Settings,” and ensure the correct output device is selected. For example, if you want to hear sound through your headphones, ensure “Headphones” is chosen.
- Application Volume: Is the specific application you are using, for example, YouTube, a game, muted or set to a very low volume? Check its internal volume controls. Windows users can also check the “App volume and device preferences” or “Volume mixer.”
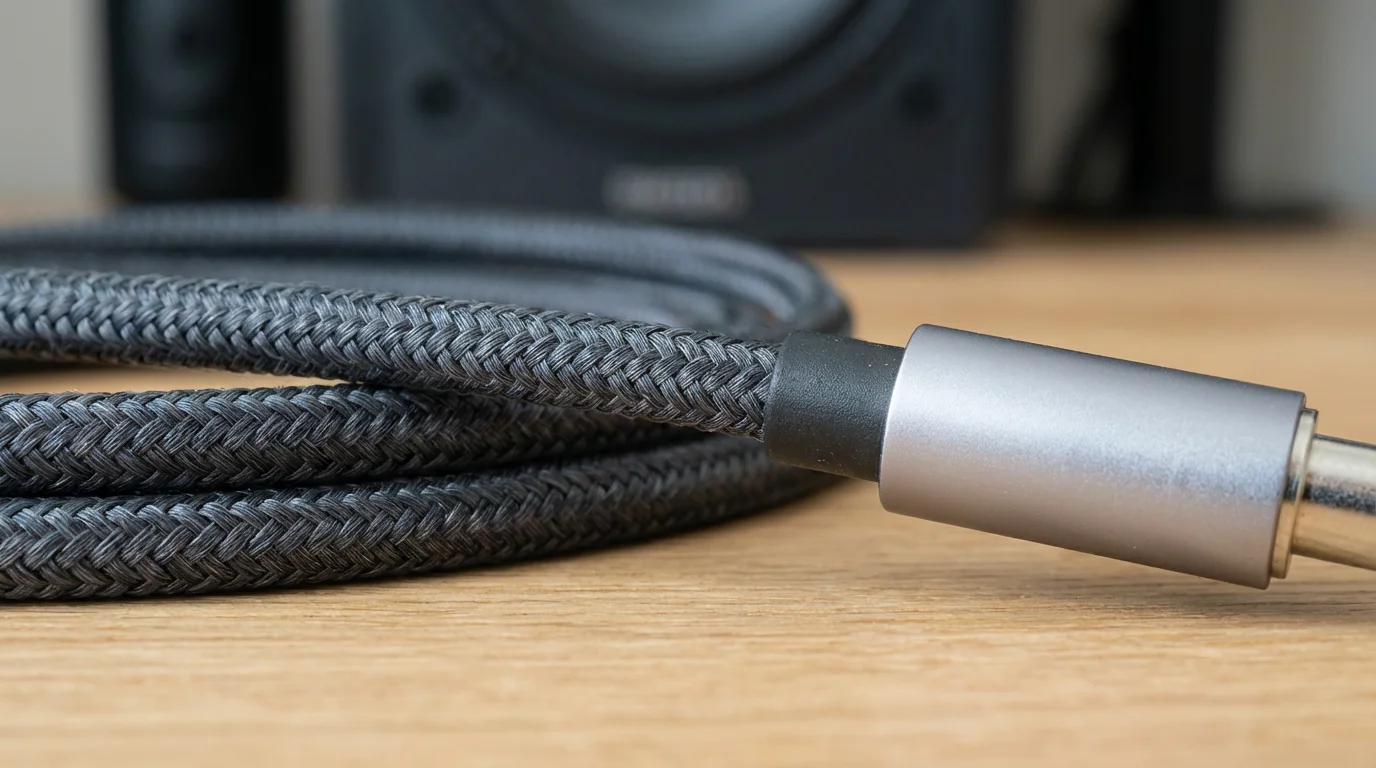
- Cable Connections: If using wired speakers or headphones, ensure the cables are fully and securely plugged into the correct audio jacks on your computer and the device itself.
- Restart Your Computer: Sometimes, a simple restart resolves temporary software glitches. Save your work and restart your computer.

Sound Too Quiet or Too Loud
- Master Volume: Adjust the main computer volume slider in your quick settings or main sound settings.
- Application Volume: If only one application is too quiet or loud, adjust its internal volume control. For Windows users, check the “Volume mixer” for per-app control.
- Device Volume: Many external speakers and headphones have their own physical volume knobs or buttons. Check these as well.
- Speaker Placement: For external speakers, their placement in the room can affect perceived loudness. Avoid placing them inside cabinets or behind objects that block sound.

Distorted or Poor Quality Sound
- Volume Too High: If sound is crackling or distorted, the volume might be set too high, either on your computer or on your external speakers/headphones. Lower both.
- Loose Connections: For wired devices, check if cables are loose or damaged. Try unplugging and re-plugging them.
- Different Device: Try connecting a different pair of headphones or speakers to see if the issue persists. This helps determine if the problem is with your computer or the audio device itself.
- Outdated Drivers (Windows): For Windows PCs, outdated sound drivers can cause issues. While this is a more advanced step, you can often update drivers through Windows Update or by visiting your computer manufacturer’s website. If this sounds too complex, you may want to ask for help.

Microphone Not Working or Too Quiet
- Correct Input Device Selected: In your computer’s main sound settings, under the “Input” section, ensure the correct microphone is selected. If you have a headset, ensure the headset microphone is chosen, not an internal laptop microphone.
- Input Volume: Adjust the microphone’s input volume slider in your sound settings. Speak into the microphone and watch the input level meter to ensure it registers your voice.
- Mute on Device: Many headsets have a physical mute button or switch on the cable or earcup. Ensure it is not muted.
- Application Settings: Some video call applications, like Zoom, Skype, or Google Meet, have their own microphone settings. Ensure the correct microphone is selected within the application itself.
- Permissions (Windows/macOS): Ensure the application has permission to access your microphone.
- Windows: Go to Settings > Privacy & security > Microphone, Windows 11, or Settings > Privacy > Microphone, Windows 10, and ensure apps are allowed to access your microphone.
- macOS: Go to System Settings > Privacy & Security > Microphone and ensure the app you are using has a checkmark next to it.
- Restart: A quick restart can often fix temporary microphone issues.
When troubleshooting, change only one setting at a time. Then, test if the problem is resolved. This helps you pinpoint the exact cause of the issue.
When to Seek Further Assistance
While many sound problems have straightforward solutions, some can be more complex. Do not hesitate to ask for help if you feel overwhelmed or if the problem persists after trying these common fixes. You are not expected to be a computer expert, and it is wise to know when to bring in reinforcements.
- Ask a Trusted Family Member or Friend: If you have a tech-savvy family member or friend, they can often provide hands-on assistance. They might quickly identify a setting you overlooked or help with a tricky connection.
- Consult Official Support Resources: Your computer manufacturer, for example, Dell, HP, Apple, Acer, or operating system provider offers extensive support online. Look for dedicated support websites for Windows, macOS, or Chrome OS to find detailed guides and troubleshooting steps specific to your hardware and software version.
- Consider a Local Computer Repair Shop: If the problem seems to be hardware related, for example, your speakers stopped working after a fall, or a jack seems broken, a professional computer repair shop can diagnose and fix the issue. They have specialized tools and expertise.
- Explore Online Learning Resources: Websites like GCFGlobal — Technology Tutorials offer free, easy-to-understand guides on various computer topics, including audio.
- Utilize Senior-Specific Tech Guides: Resources like Senior Planet from AARP provide technology tips tailored for older adults, often addressing common concerns you might have.
Remember, the goal is to make technology work for you, not the other way around. Seeking help is a smart decision that saves you time and frustration.
Frequently Asked Questions
Here are answers to some common questions about computer volume and sound settings.
For a different way to enjoy high-quality audio, you might enjoy learning to set up an Amazon Echo for voice-controlled music and news.
Q: Why does my computer have sound, but my headphones do not?
A: This usually means your computer is sending audio to the wrong output device. Check your quick volume controls, taskbar for Windows, menu bar for Mac, shelf for Chromebook, or your main sound settings. Ensure your headphones are selected as the active output device. Also, confirm your headphones are securely plugged in or properly paired via Bluetooth.
Q: Can I set different volumes for different apps?
A: Yes, on Windows, you can use the “Volume mixer,” Windows 11, or “App volume and device preferences,” Windows 10, within your main Sound Settings. This allows you to adjust the volume for individual applications like your web browser or a music player, independent of your master volume. macOS and Chrome OS do not typically offer this granular control natively, but some individual applications might have their own volume sliders.
Q: My computer volume goes up and down randomly. What causes this?
A: Random volume fluctuations can have several causes. First, check if there are any sticky keys on your keyboard, especially the volume keys, or if a physical volume knob on external speakers is faulty. Second, some audio enhancements or “equalizer” settings can sometimes cause erratic behavior, try disabling them in your main sound settings. Lastly, outdated audio drivers, Windows PCs, or conflicting software could be the culprit. A restart often helps, but if it persists, you might need to update drivers or seek professional help.
Q: What is the difference between an input device and an output device?
A: An input device sends information into your computer. For sound, this means a microphone, which captures your voice or other sounds. An output device sends information out of your computer. For sound, this includes speakers and headphones, which allow you to hear audio generated by your computer. You use an input device to speak on a call, and an output device to listen to the other person.
Mastering your computer’s volume and sound settings makes a significant difference in your daily computer use. You have gained practical, actionable insights on how to manage your audio, from quick adjustments to detailed configurations across Windows, macOS, and Chrome OS. By understanding where to find controls, how to connect devices, and what to do when problems arise, you now possess the knowledge to ensure your computer’s sound always works exactly as you need it to. Keep practicing these steps, and you will find your confidence in managing computer audio grows with each successful adjustment.
Disclaimer: This article is for informational purposes only. Your computer’s screens may look slightly different depending on your operating system version and settings. When in doubt, consult official support resources or ask someone you trust for help.


Leave a Reply