

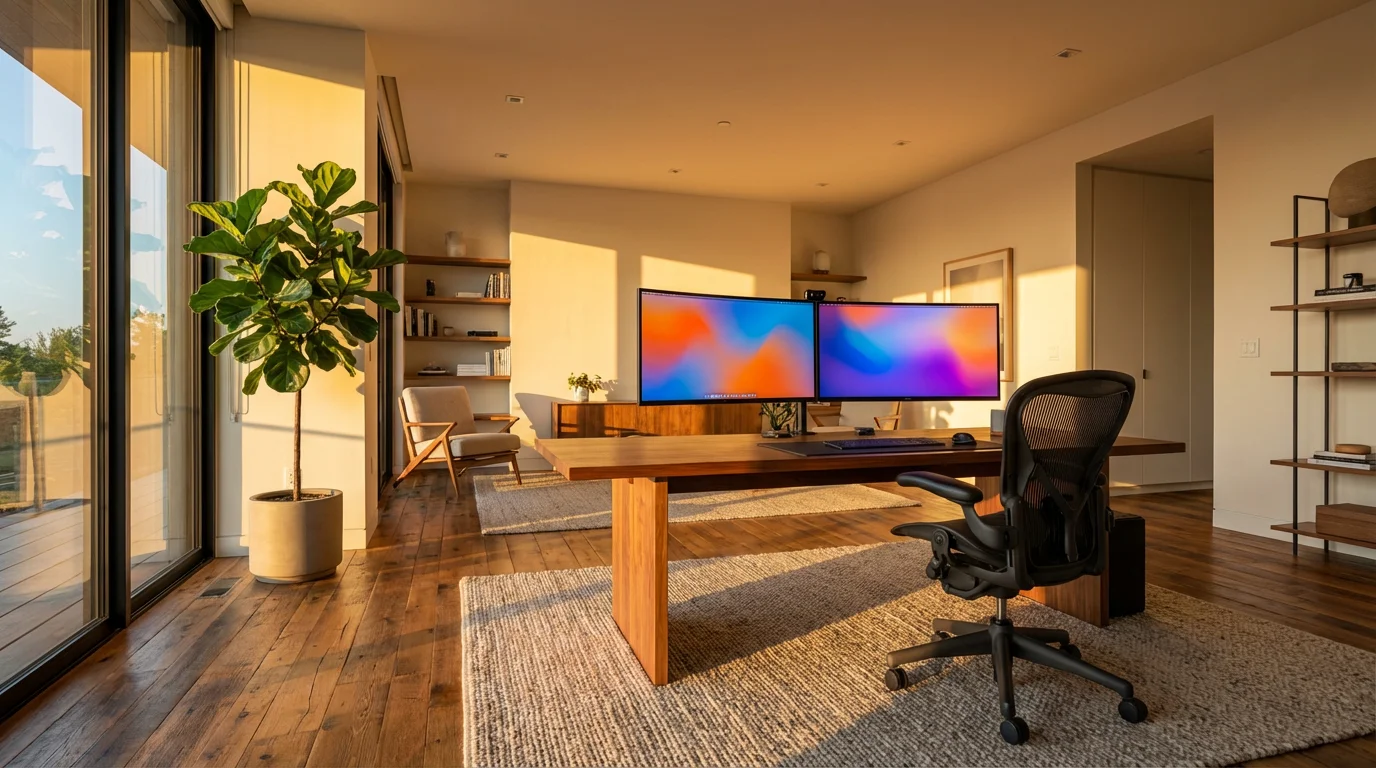
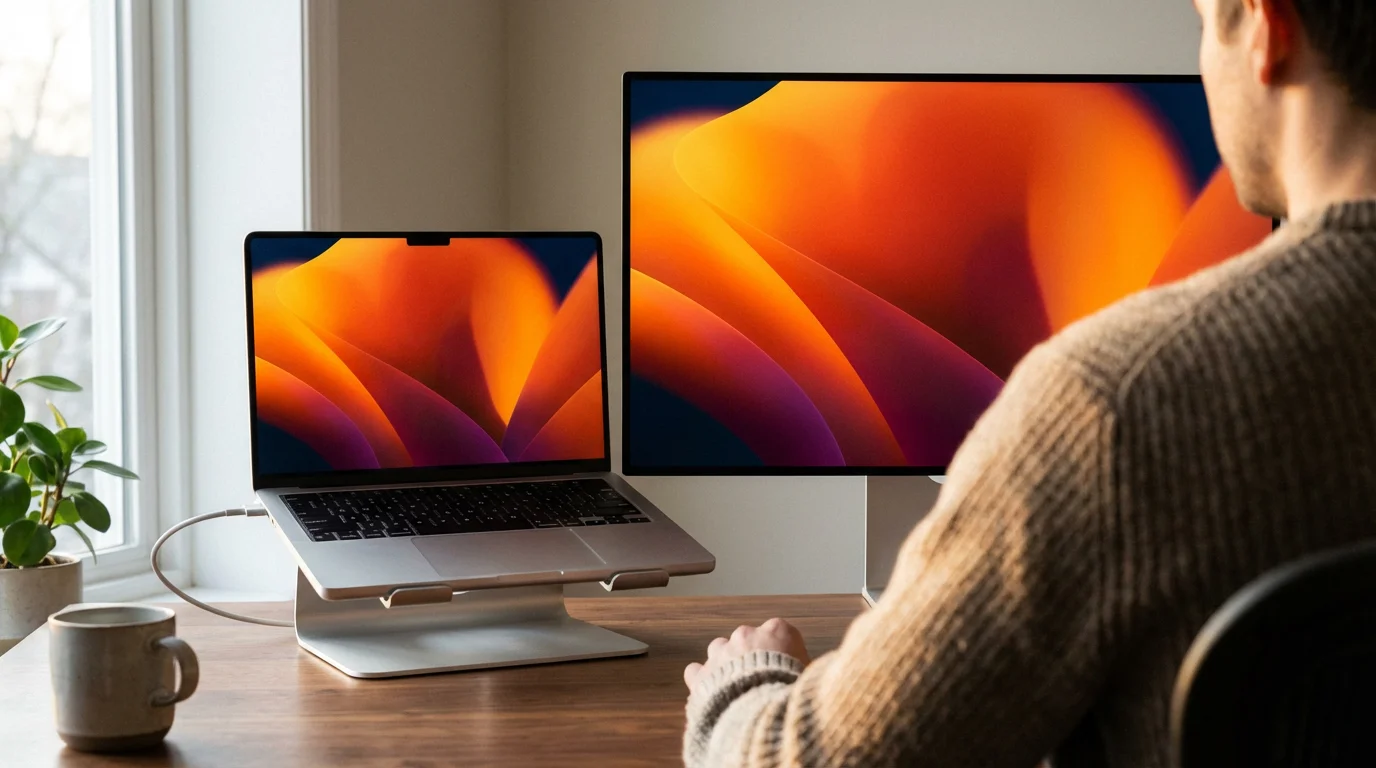
Adding a second monitor to your computer sounds like a complex task, but it is surprisingly simple and offers a significant boost to how you use your computer every day. Many people find themselves switching between different programs and windows constantly. Imagine having your email open on one screen and your web browser or document on another. This setup, often called dual monitors or an extended display, makes your digital life much easier and more organized. This guide will walk you through setting up multiple screens, making the process clear and easy to follow whether you use a Windows PC, a Mac, or a Chromebook.
Just like adding a screen, knowing how to connect your computer to a printer can help round out your home office setup.
You do not need to be a technology expert to accomplish this. We will cover everything from identifying the right cables to adjusting your display settings, providing actionable steps and concrete examples. By the end of this guide, you will understand how to set up a second monitor, transforming your computer experience.
Table of Contents
- Why Use a Second Monitor?
- Before You Connect: Checking Your Ports and Cables
- Physical Connection: Plugging in Your New Monitor
- Setting Up Your Display on Windows
- Setting Up Your Display on macOS
- Setting Up Your Display on Chromebooks
- Troubleshooting Common Monitor Problems
- Frequently Asked Questions
- Taking the Next Step and Finding Support
Why Use a Second Monitor?
Using a second monitor can dramatically improve your computer experience. It gives you more space to work and organize your digital tasks. Think of your computer screen, also known as your desktop, as a physical desk. When you use one monitor, you have a small desk where you constantly shuffle papers to find what you need. A second monitor expands that desk, giving you ample room to spread out your work.
With the extra space, you can comfortably open multiple windows to create and manage folders or organize your digital library.
To navigate between your new screens even faster, you can also use keyboard shortcuts to save time during your daily tasks.
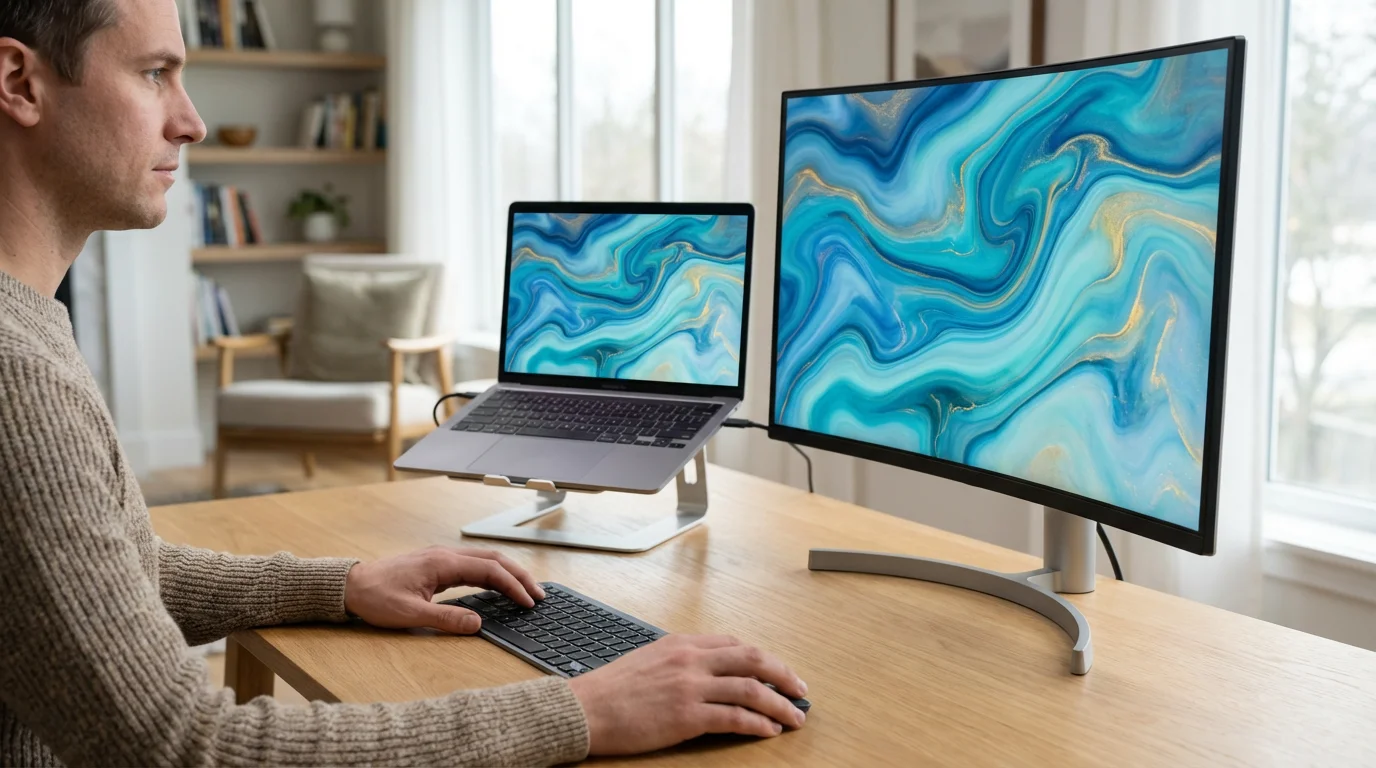
Here are some practical ways a dual screen setup guide can benefit you:
- Easier Multitasking: You can have your email inbox open on one screen and a web browser researching a recipe on the other. This eliminates the need to constantly switch between windows, which saves time and reduces frustration. For instance, you can type a document on one monitor while viewing a reference image or website on the second.
- Better Organization: Keep communication apps like video calls or messages on one screen while focusing on a primary task on the other. This allows you to stay connected without interrupting your main work flow.
- Enhanced Productivity: Many users report feeling more productive with an extended display. A 2021 study by Jon Peddie Research found that using multiple monitors can boost productivity by as much as 42 percent for certain tasks. You spend less time navigating and more time doing.
- Improved Viewing for Photos and Videos: If you enjoy looking at family photos or watching videos, a second screen provides more viewing area. You can display a photo gallery on one monitor while editing specific images on the main screen.
Connecting a second monitor makes your computer more versatile and enjoyable to use. It simplifies your workflow and provides a more comfortable viewing experience.
Before You Connect: Checking Your Ports and Cables
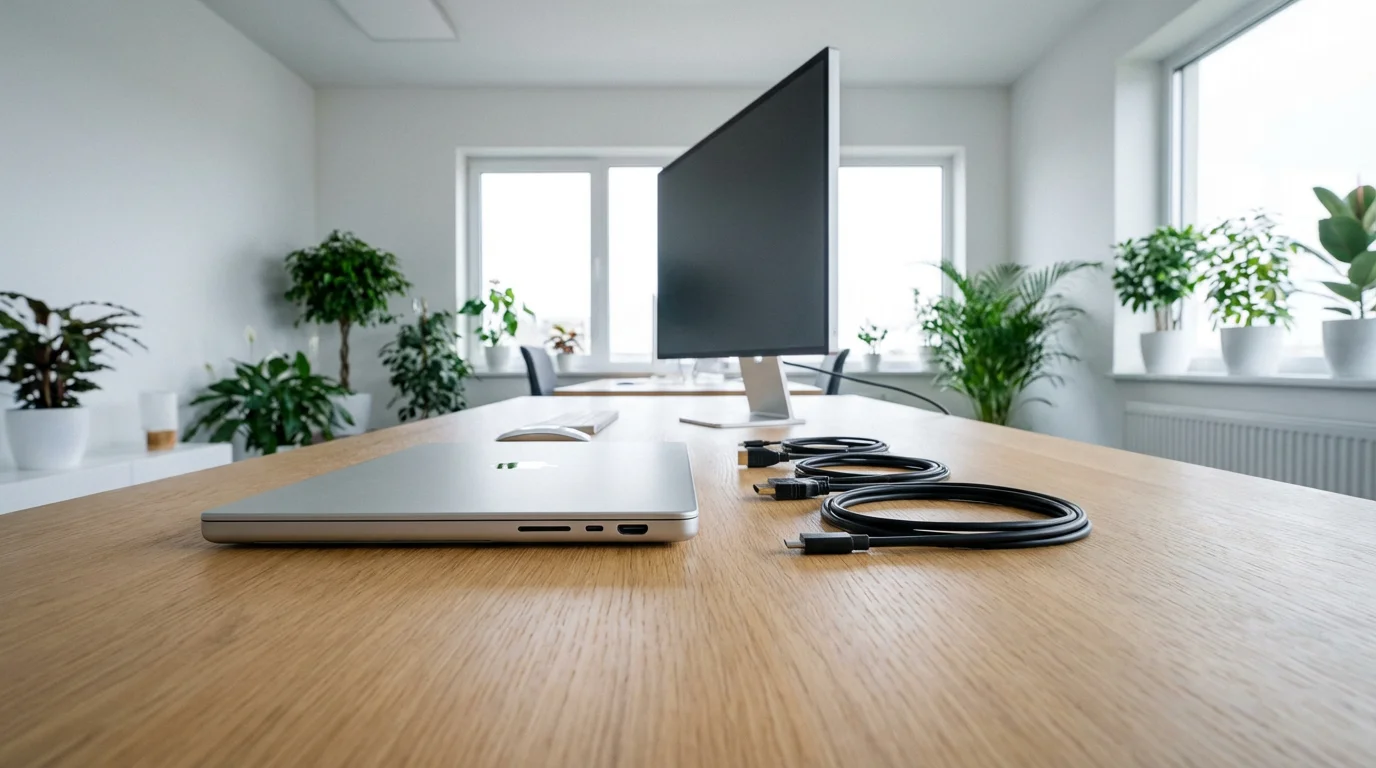
Before you even unbox a new monitor, identify the types of connections your computer supports. Your computer, whether it is a laptop or a desktop, has specific ports, which are slots where you plug in cables. Your new monitor will also have ports. The cables you use must match the ports on both your computer and your monitor.
If you find that your new setup is silent, you may need to adjust your computer’s sound settings to send audio to the correct device.
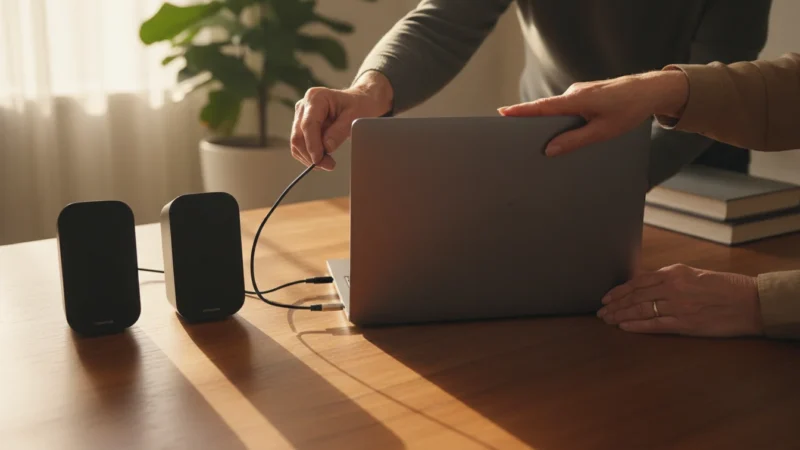
While you are identifying your video ports, you might also consider learning how to connect external speakers to your computer for a complete audio-visual experience.
Look at the back of your desktop computer or the sides of your laptop. You will see various shapes and sizes of ports. Common video ports include:
- HDMI: This is the most common modern port. It looks like a trapezoid with two cut corners. HDMI cables carry both video and audio.
- DisplayPort (DP): Another common digital video port, often found on newer computers and monitors. It looks similar to HDMI but has one corner cut off rather than two.
- USB-C (Thunderbolt or DisplayPort Alternate Mode): Many newer laptops, especially thinner ones, use a versatile USB-C port. This small, oval-shaped port can handle power, data, and video. You might need a special USB-C to HDMI or USB-C to DisplayPort adapter cable if your monitor only has HDMI or DisplayPort.
- DVI: Older digital port, typically white with a rectangular shape and several pins. You might see this on monitors and computers that are a few years old.
- VGA: The oldest common video port, typically blue with a trapezoidal shape and 15 pins. If your computer or monitor has only VGA, consider upgrading as it provides lower quality than digital options.
You can often find which ports your computer has by checking its manual or looking up your computer model online. Knowing this ensures you buy the correct cables for your dual screen setup guide.
Matching Cables:
Once you know your computer’s video ports, check your new monitor. Most monitors sold today include an HDMI cable in the box. If your computer has an HDMI port and your monitor has an HDMI port, then an HDMI cable is all you need. If your computer has DisplayPort and your monitor has DisplayPort, use a DisplayPort cable.
What if they do not match? For example, your laptop has a USB-C port, but your monitor has only an HDMI port. In this case, you need an adapter or a special cable. You would look for a “USB-C to HDMI cable” or a “USB-C to HDMI adapter.” These allow different types of ports to communicate.
- Example 1: Your Windows 10/11 desktop has an HDMI port. Your new monitor also has an HDMI port. Solution: Use an HDMI cable.
- Example 2: Your MacBook Air has only USB-C (Thunderbolt) ports. Your new monitor has an HDMI port. Solution: Buy a USB-C to HDMI cable or adapter.
- Example 3: Your Chromebook has a DisplayPort. Your new monitor has a DisplayPort. Solution: Use a DisplayPort cable.
Taking a moment to confirm these connections prevents frustration and ensures a smooth setup. You can always take a photo of your computer’s ports to a local electronics store for assistance in choosing the right cable.
Physical Connection: Plugging in Your New Monitor
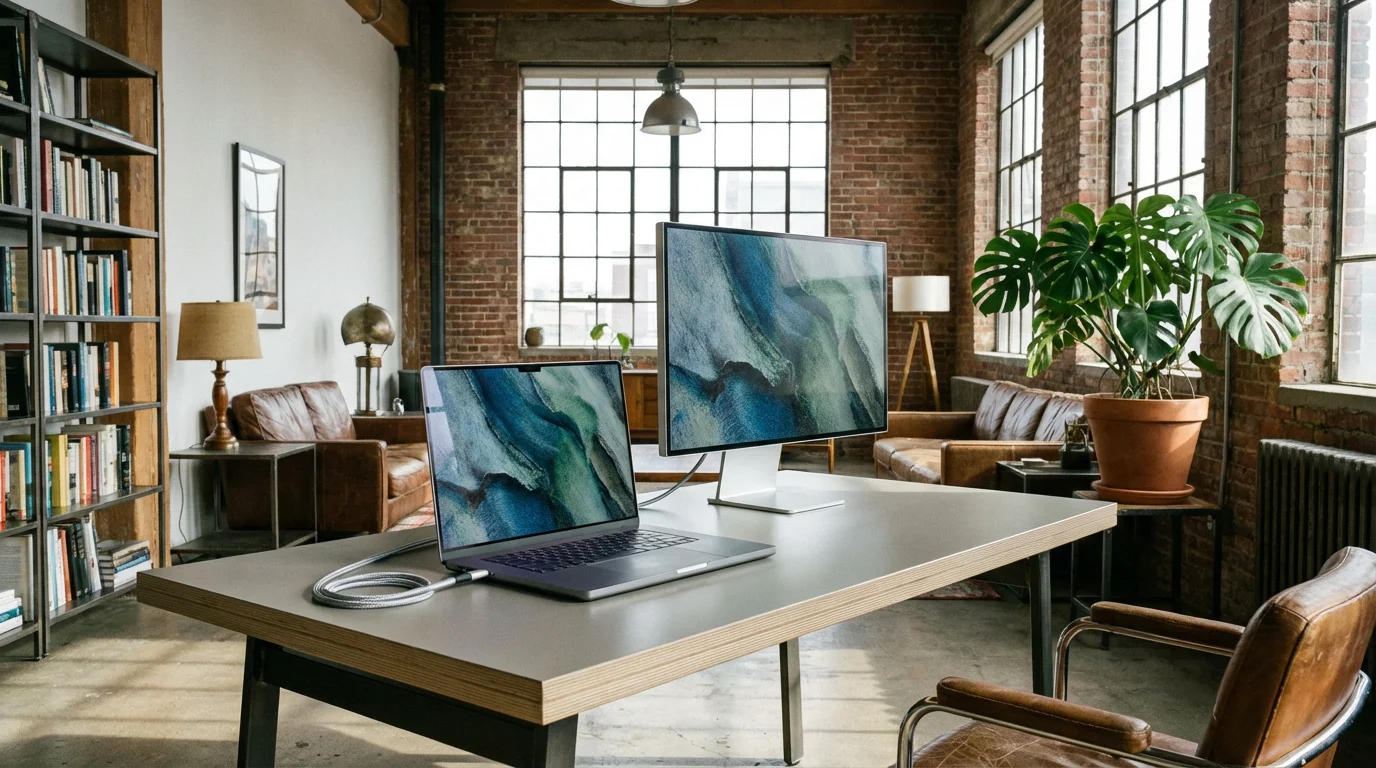
With the correct cable in hand, you are ready for the simplest part of the dual monitors setup: physically connecting the monitor.
This is also a great time to ensure your files are safe by learning how to back up your computer to an external drive.
- Turn off your computer: While you can sometimes connect monitors while the computer is on, turning it off first is a good practice to prevent any issues.
- Plug in the monitor’s power cable: Connect one end of the power cable to the back of your new monitor and the other end into a wall outlet or a power strip.
- Connect the video cable:
- Locate the correct video port on your computer (HDMI, DisplayPort, USB-C, etc.).
- Locate the corresponding video port on the back of your new monitor.
- Carefully plug one end of your video cable into your computer’s port and the other end into your monitor’s port. The cables often only fit one way, so do not force them.
- Turn on your monitor: Press the power button on your new monitor. You might see a brand logo or a message like “No Signal” for a moment.
- Turn on your computer: Power on your computer as you normally would.
Your computer should now detect the new monitor automatically. What happens next depends on your operating system, but typically, your desktop will appear on both screens, or your main screen will extend onto the second monitor. If you see a duplicate image, that is a common starting point we will adjust in the next steps. This physical connection forms the foundation of your extended display.
Setting Up Your Display on Windows
Once you physically connect your second monitor to a Windows 10 or Windows 11 PC, you need to tell Windows how to use it. This involves adjusting display settings.
Using two screens at once makes it much more convenient to copy, cut, and paste text or images from one monitor to the other.
New Apple users may also find it helpful to review our beginner’s guide to the Mac desktop to navigate their expanded workspace more easily.
Once your screens are arranged, you might also want to learn how to make your computer screen easier to read to ensure everything looks clear on your new display.
- Access Display Settings:
- Move your mouse pointer to an empty area of your desktop (the main screen).
- Right-click, which means pressing the right mouse button once. A menu will appear.
- From this menu, click, or press the left mouse button once, on “Display settings.”
Alternatively, you can click the Start button (the Windows logo in the bottom-left corner), then click on “Settings” (it looks like a gear), and then click “System,” followed by “Display.”
- Identify Your Monitors:
- In the Display settings window, you will see a diagram showing numbered boxes, usually “1” and “2,” representing your monitors.
- Click the “Identify” button if you are unsure which number corresponds to which physical screen. A large number will briefly appear on each monitor.
- Arrange Your Monitors:
- Drag, which means holding down the left mouse button while moving the mouse, the numbered boxes in the diagram to match the physical arrangement of your monitors on your desk. For example, if your second monitor sits to the right of your main monitor, drag box “2” to the right of box “1.” This makes moving your mouse between screens feel natural.
- Click “Apply” to save the arrangement.
- Choose Your Display Mode:
- Scroll down to the “Multiple displays” section.
- Click the dropdown menu next to “Multiple displays.” You will see a few options:
- Duplicate these displays: This shows the exact same content on both monitors. Useful for presentations, but less common for an extended display for personal use.
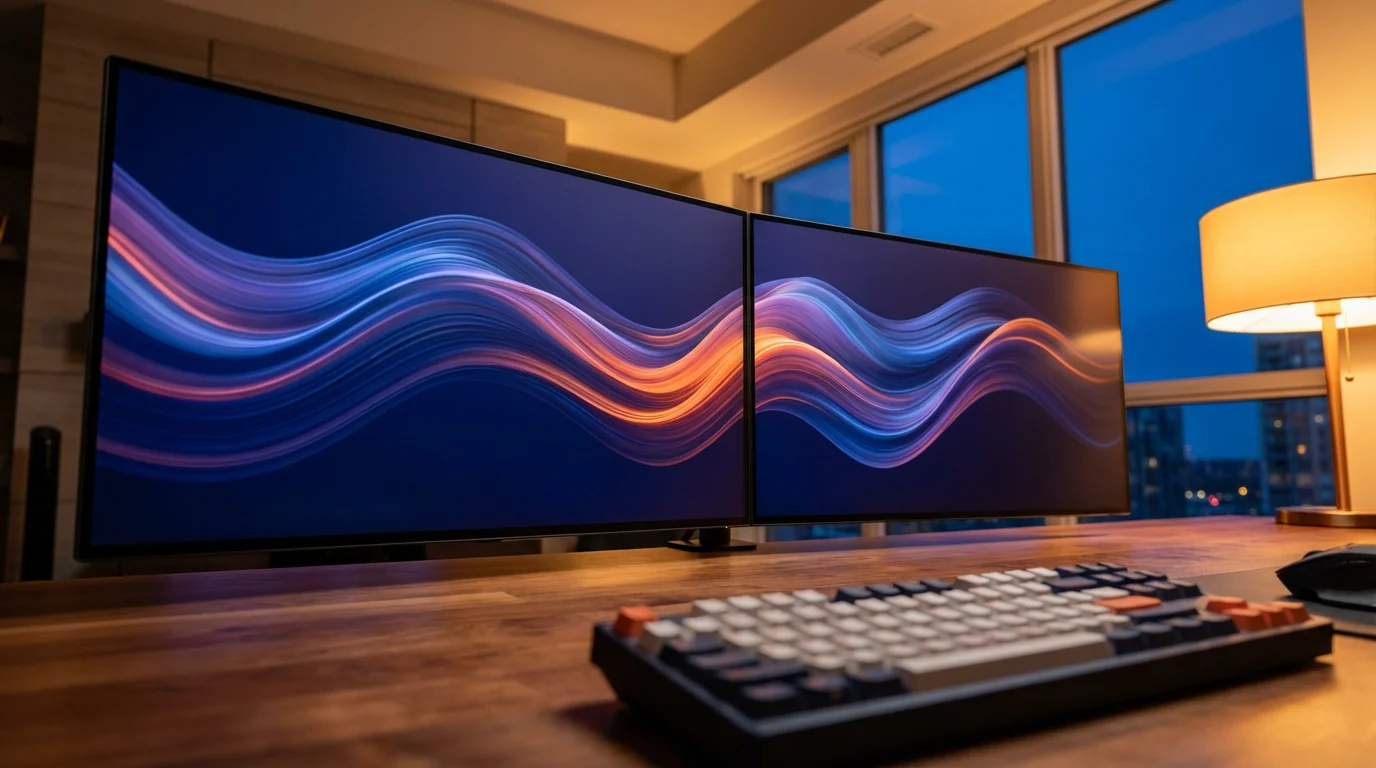
- Extend these displays: This is the most common and recommended option for a second monitor. It treats both screens as one continuous desktop, allowing you to move windows between them.
- Show only 1: Only your main monitor displays content.
- Show only 2: Only your second monitor displays content.
- Select “Extend these displays.”
- Click “Keep changes” if prompted.
- Set Your Main Display:
- To choose which monitor acts as your primary screen (where the Start button, taskbar, and new windows usually appear), select the desired monitor’s number in the diagram (click on box “1” or “2”).
- Scroll down and check the box that says “Make this my main display.”
- Adjust Resolution and Scaling (Optional):
- Still in Display settings, select each monitor (click on its numbered box) and adjust its “Display resolution” if needed. Aim for the “Recommended” resolution for the sharpest image.
- “Scale” changes the size of text and apps. If things look too small or too big, adjust this percentage.
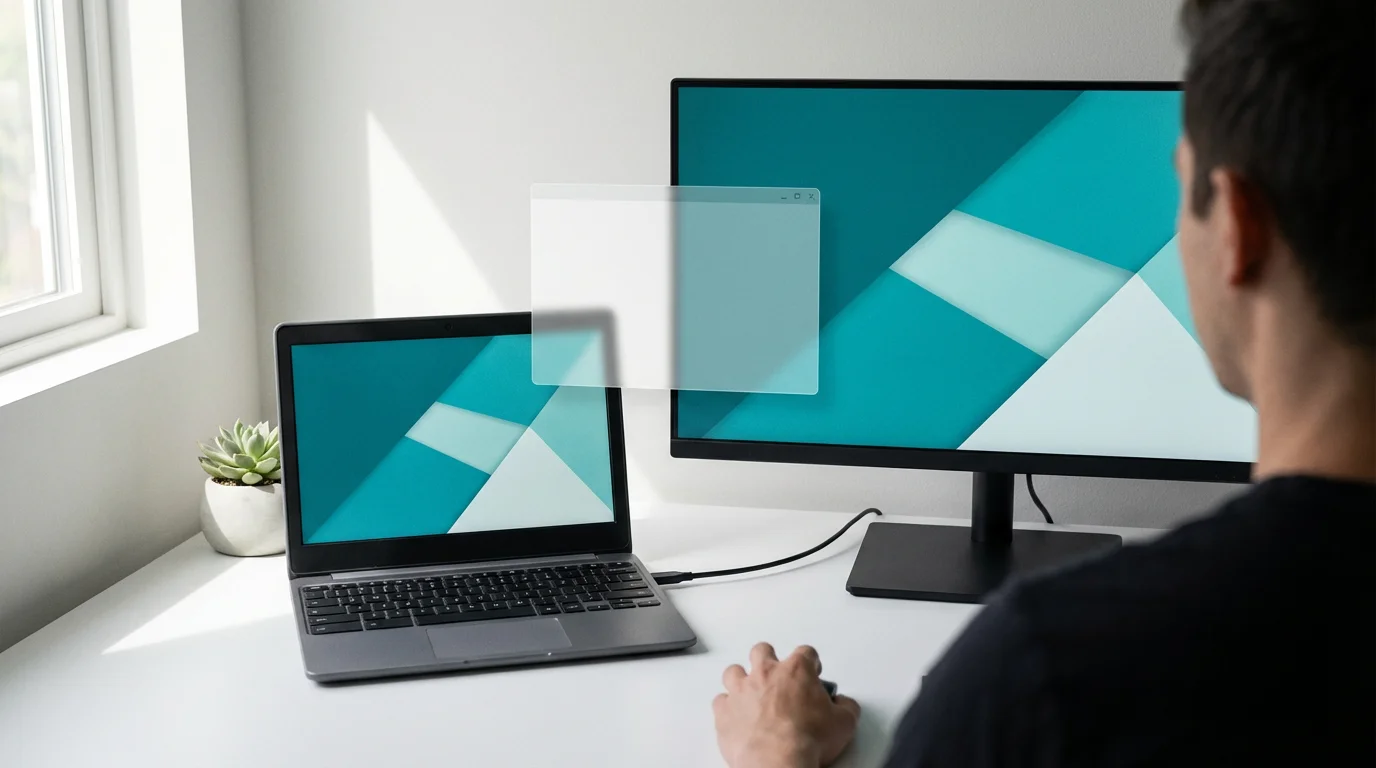
What You’ll See On Screen: After choosing “Extend these displays,” you will see your computer’s wallpaper stretched across both screens, or your main screen’s wallpaper on your primary monitor and a blank wallpaper on the secondary. You can then drag windows from one screen to the other simply by moving your mouse to the edge of the screen and continuing to move it. New programs might open on your main display, but you can easily drag them to your second monitor.
This completes your how to set up second monitor process on Windows, giving you that valuable extra screen space.
Setting Up Your Display on macOS
Mac computers, including iMacs and MacBooks, also offer an intuitive way to connect and manage an extended display. The steps are similar to Windows, but the menu names differ slightly.
If your second monitor has built-in speakers but they aren’t working yet, you may need to adjust your computer’s volume and sound settings to select the correct output.
- Access Display Settings:
- Click the Apple menu in the top-left corner of your screen.
- Click “System Settings” (on newer macOS versions) or “System Preferences” (on older versions).
- Click “Displays.”
- Identify and Arrange Your Monitors:
- In the Displays window, you will see representations of your connected monitors. They might automatically show “Extend display” as the default.
- Click the “Arrangement” tab or button. This shows a graphical representation of your monitors.
- Drag the monitor icons to match their physical arrangement on your desk. For example, if your second monitor is to the left of your MacBook, drag its icon to the left of the MacBook’s icon. This ensures smooth mouse movement between screens.
- Click “Done” or close the window to save the arrangement.
- Choose Your Display Mode:
- macOS usually defaults to “Extend display,” which is what you want. This means you have a continuous desktop across both screens.
- If your displays are mirroring (showing the same content), uncheck the “Mirror Displays” box in the “Arrangement” tab.
- Set Your Main Display (Menu Bar Location):
- In the “Arrangement” tab, you will see a small white bar at the top of one of the monitor icons. This white bar represents the menu bar, which indicates your primary display.
- To change your primary display, drag the white bar from one monitor icon to the other. The monitor with the white bar will show the Apple menu, the clock, and other system icons.
- Adjust Resolution and Scaling (Optional):
- In the main “Displays” window (not the Arrangement tab), select each monitor from the sidebar.
- Click on the “Resolution” dropdown or radio buttons to choose the best resolution for clarity. The “Default for display” option is usually the best choice for sharpness.
- You can also adjust “Scales” to make text and icons larger or smaller, if desired.
What You’ll See On Screen: With an extended display on macOS, your dock (the bar of icons at the bottom) and menu bar will appear on your primary display. Your secondary display will show a blank desktop or a continuation of your background image. You can open applications on either screen and easily drag windows between them by moving your mouse pointer to the edge of the screen.
Your Mac dual monitors setup is now complete, providing you with more workspace.
Setting Up Your Display on Chromebooks
Chromebooks are known for their simplicity, and connecting a second monitor is no exception. Chrome OS makes it very straightforward.
Once you have expanded your digital workspace, you might also find it helpful to learn how to connect your computer to a printer to keep your physical office organized.
- Access Display Settings:
- Click on the “shelf” (the area at the bottom right of your screen where the time and Wi-Fi icon appear). This opens the Quick Settings panel.
- Click the gear icon, which represents “Settings.”
- In the Settings window, navigate to “Device” on the left side, then click “Displays.”
Alternatively, after physically connecting your monitor, a small notification might pop up asking if you want to mirror or extend your display. Clicking this notification can take you directly to the display settings.
- Identify Your Monitors:
- In the Displays section, you will see graphical representations of your monitors. They are typically labeled “Internal Display” and “External Display.”
- A small “Identify” button might appear, which briefly highlights each screen with its name.
- Arrange Your Monitors:
- Make sure the “Mirror built-in display” box is unchecked. Checking this box will show the same content on both screens. You want it unchecked for an extended display.
- You can drag the display icons in the settings window to match their physical arrangement. For example, if your external monitor is to the right, drag its icon to the right of your internal display icon.
- Set Your Primary Display (Optional):
- On the display icons, you will see a star icon. This star indicates which display is your primary display. New windows and your shelf (taskbar) will appear on this screen.
- To change the primary display, click on the monitor you want as primary, then click the “Set as primary” button that appears below the display icons.
- Adjust Resolution and Orientation (Optional):
- Click on each display icon to adjust its settings individually.
- You can change the “Resolution” (aim for “Recommended”) and “Orientation” (if you want to rotate the external display vertically, for example).
- “Display size” adjusts how large text and elements appear on screen.
What You’ll See On Screen: Once you have set your Chromebook to “Extend display,” your main shelf and open applications will reside on your primary screen. Your second monitor will provide an empty desktop space where you can drag applications and windows. You can open a new browser window on your Chromebook’s screen, then drag it to your second monitor to continue working on it there.
Your Chromebook multiple screens setup is now ready for use, enhancing your productivity.
Troubleshooting Common Monitor Problems
Even with careful planning, you might encounter a few hiccups when setting up your dual monitors. Here are common problems and practical solutions:
- Problem: The second monitor is blank or shows “No Signal.”
- Solution 1: Check all cable connections. Ensure the video cable (HDMI, DisplayPort, USB-C) is securely plugged into both your computer and your monitor. Also, confirm the monitor’s power cable is firmly connected and the monitor is turned on.
- Solution 2: Press the “Input” or “Source” button on your monitor. Many monitors have this button to cycle through available inputs (HDMI 1, DisplayPort, VGA). Make sure it is set to the input you are using.
- Solution 3: Restart your computer. A fresh start often resolves detection issues.
- Solution 4 (Windows): Press the Windows key + P on your keyboard. A sidebar will appear with display options. Select “Extend” to force Windows to detect and use the second screen.
- Solution 5: Try a different cable if you have one available. A faulty cable can prevent signal transmission.
- Problem: Both monitors show the same thing (duplicate display).
- Solution 1 (Windows 10/11): Right-click on your desktop, select “Display settings.” Under “Multiple displays,” choose “Extend these displays.”
- Solution 2 (macOS): Go to Apple menu > System Settings/Preferences > Displays. Click “Arrangement” and uncheck “Mirror Displays.”
- Solution 3 (Chrome OS): Go to Quick Settings > Settings > Device > Displays. Make sure “Mirror built-in display” is unchecked.
- Problem: The mouse moves in the wrong direction between screens.
- Solution: You need to arrange your monitors in the display settings to match their physical setup.
- Windows 10/11: Right-click on desktop > “Display settings.” Drag the numbered monitor boxes to match your physical arrangement.
- macOS: Apple menu > System Settings/Preferences > Displays > “Arrangement.” Drag the monitor icons.
- Chrome OS: Quick Settings > Settings > Device > Displays. Drag the monitor icons.
Click “Apply” or “Done” to save changes.
- Solution: You need to arrange your monitors in the display settings to match their physical setup.
- Problem: The display looks blurry or text is too small/large.
- Solution: Adjust the resolution and scaling in your display settings.
- Resolution: Always choose the “Recommended” resolution for the sharpest image. For example, if your monitor is 1080p, the resolution should be 1920×1080.
- Scaling: If text appears too small, increase the “Scale” percentage (Windows), “Display size” (Chrome OS), or “Scales” option (macOS) to make everything larger and more readable.
- Solution: Adjust the resolution and scaling in your display settings.
Most issues with multiple screens setups are resolved by checking cables, inputs, and display settings. Stay patient, and follow these steps methodically.
Frequently Asked Questions
Here are some common questions you might have about setting up and using a second monitor.
Q: Can I use any monitor as a second screen?
A: Generally, yes, as long as your computer has a compatible video output port and you have the correct cable or adapter. Monitors do not need to be the same brand or size. For the best experience, choose a monitor with a similar resolution to your main screen if possible, but it is not essential. For example, you can connect an older monitor with a VGA port to a newer computer using an adapter, though the picture quality might not be as sharp as a digital connection like HDMI.
Q: My second monitor is blank, what should I do first?
A: First, ensure both the monitor and your computer have power and are turned on. Second, check that the video cable is firmly plugged into both the monitor and the computer. Third, press the “Input” or “Source” button on your monitor to cycle through the video inputs, ensuring it is set to the correct one (e.g., HDMI 1, DisplayPort). If these steps do not work, restart your computer.
Q: How do I change which screen is the main one?
A: You can change the main display in your operating system’s display settings.
For Windows 10/11: Right-click on the desktop, click “Display settings.” Click the numbered box for the monitor you want as primary, then check “Make this my main display.”
For macOS: Go to Apple menu > System Settings/Preferences > Displays > “Arrangement.” Drag the white bar (representing the menu bar) to the monitor you want as your main screen.
For Chrome OS: Go to Quick Settings > Settings > Device > Displays. Click the monitor you want as primary, then click “Set as primary.”
Q: Does a second monitor slow down my computer?
A: For most modern computers and common tasks like email, browsing, or word processing, adding a second monitor will not noticeably slow down your computer. Your computer’s graphics hardware handles displaying content on multiple screens without significant performance impact. If you are doing very demanding tasks, such as professional video editing or advanced gaming, a powerful graphics card helps ensure smooth performance with multiple screens. For everyday use, you will likely experience only benefits.
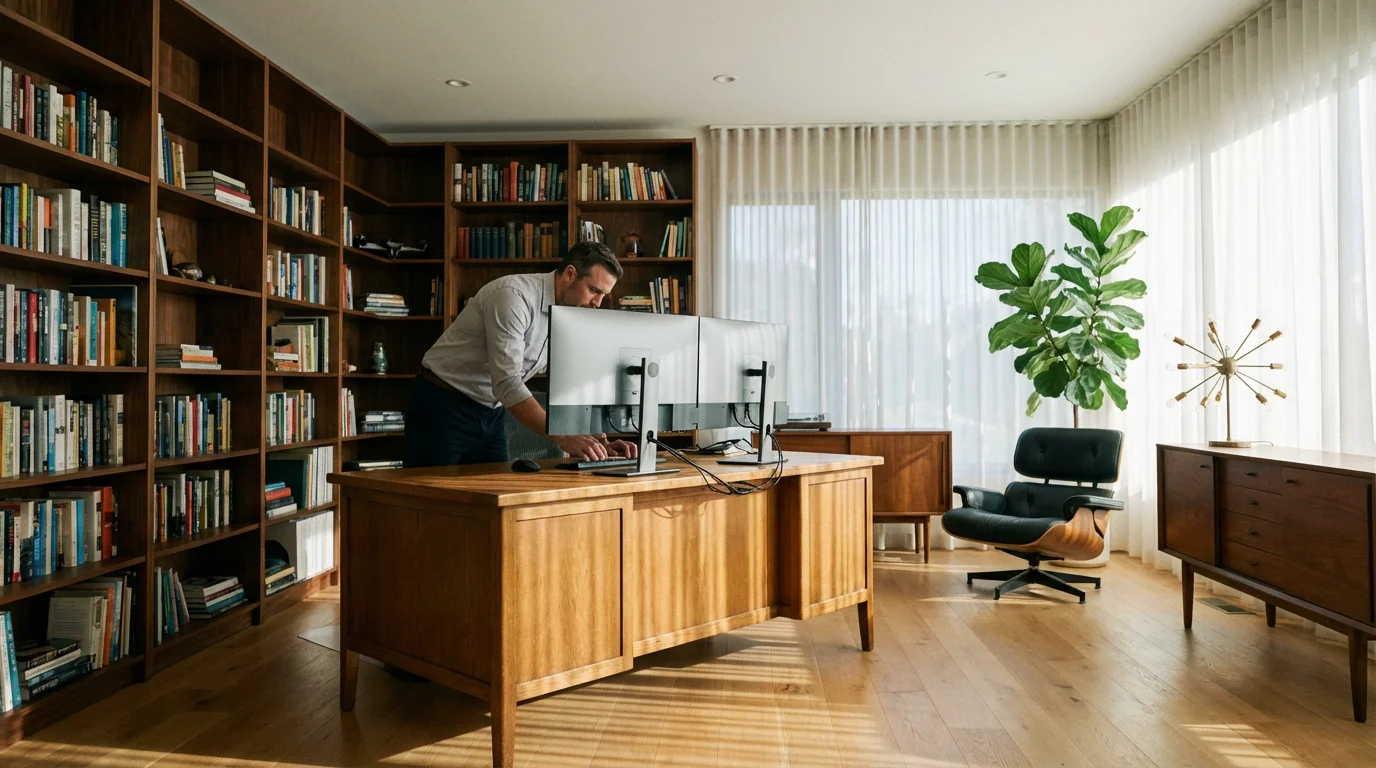
Taking the Next Step and Finding Support
You have successfully connected and configured your second monitor. Congratulations on expanding your digital workspace. This dual screen setup guide provides a powerful way to organize your tasks and enjoy your computer more.
If you encounter persistent issues, do not hesitate to seek additional help:
- Official Support Websites: Microsoft Support, Apple Support, and Google Support offer extensive, up-to-date documentation for your specific operating system.
- Online Tutorials: Websites like GCFGlobal’s Technology Tutorials provide free, easy-to-understand guides on a wide range of computer topics, including display settings.
- Tech-Savvy Family or Friends: Ask a trusted family member or friend who is comfortable with technology for assistance. They can often provide hands-on help.
- Local Computer Repair Shop: For more complex issues or if you feel overwhelmed, a local computer repair shop can diagnose and fix problems with your display setup or computer hardware.
Remember, technology exists to make your life easier. Do not let minor setbacks deter you. With a little patience, you will master your new extended display and enjoy all its benefits.
Disclaimer: This article is for informational purposes only. Your computer’s screens may look slightly different depending on your operating system version and settings. When in doubt, consult official support resources or ask someone you trust for help.


Leave a Reply