
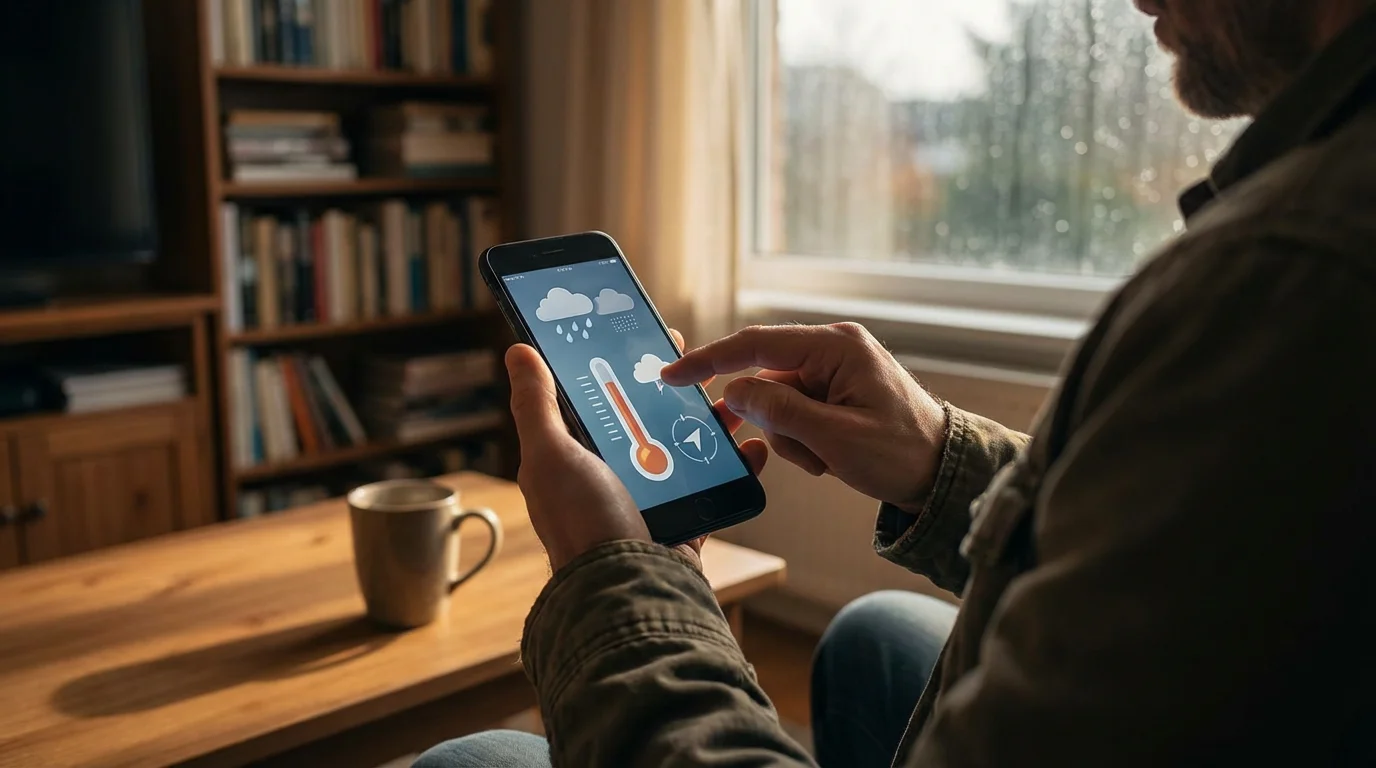
Staying informed about the weather helps you plan your day, dress appropriately, and ensure your safety. Whether you are wondering if you need an umbrella, if it’s warm enough for a walk, or if severe weather is approaching, your phone’s built-in weather app provides quick and reliable information. This guide provides a straightforward walk-through, helping you confidently use this essential tool to check the weather on your phone.
You may feel overwhelmed by technology, but we assure you, using your weather app is much simpler than you think. We break down each step, making sure you understand exactly how to find the forecast, read daily and hourly predictions, and even set up alerts. By the end of this guide, you will master your phone’s weather app, turning it into a trusted companion for all your daily planning needs. This practical weather app guide beginners will find incredibly helpful gives you the power to stay ahead of nature’s changes.
Table of Contents
- Why Use a Weather App? Your Personal Forecast Assistant
- Finding and Opening the Weather App on Your Device
- Understanding Your Weather App’s Main Screen
- Checking the Daily and Hourly Forecasts
- Exploring Advanced Features: Radar, Alerts, and Multiple Locations
- Customizing Your Weather App Settings
- Tips for Getting the Most Out of Your Weather App
- Frequently Asked Questions
Why Use a Weather App? Your Personal Forecast Assistant
A weather app is a program you can download and use on your phone, tablet, or computer. It gives you real-time information about current weather conditions, upcoming forecasts, and potential alerts for your location and other places you care about. Think of it as your personal meteorologist, right in your pocket. This app serves as more than just a convenience; it is a vital tool for daily living and safety.
To ensure your forecasts stay up-to-date throughout the day, make sure your smartphone is connected to Wi-Fi or a cellular network.
In addition to tracking storms, it’s also a good idea to set up Emergency SOS features on your phone for complete peace of mind.
Here are several practical benefits you gain by using a weather app:
- Daily Planning: The weather app helps you decide what to wear before you leave home. You know if you need a coat, an umbrella, or sunscreen, making sure you are always prepared for the day ahead.
- Activity Planning: Are you wondering if it’s a good day for gardening, a walk, or a trip to the park? A quick weather check gives you the answer. You can plan outdoor activities with confidence, knowing what to expect.
- Travel Preparations: If you are traveling, checking the forecast for your destination helps you pack the right clothes and prepare for local conditions. This applies whether you are driving to a nearby town or flying across the country.
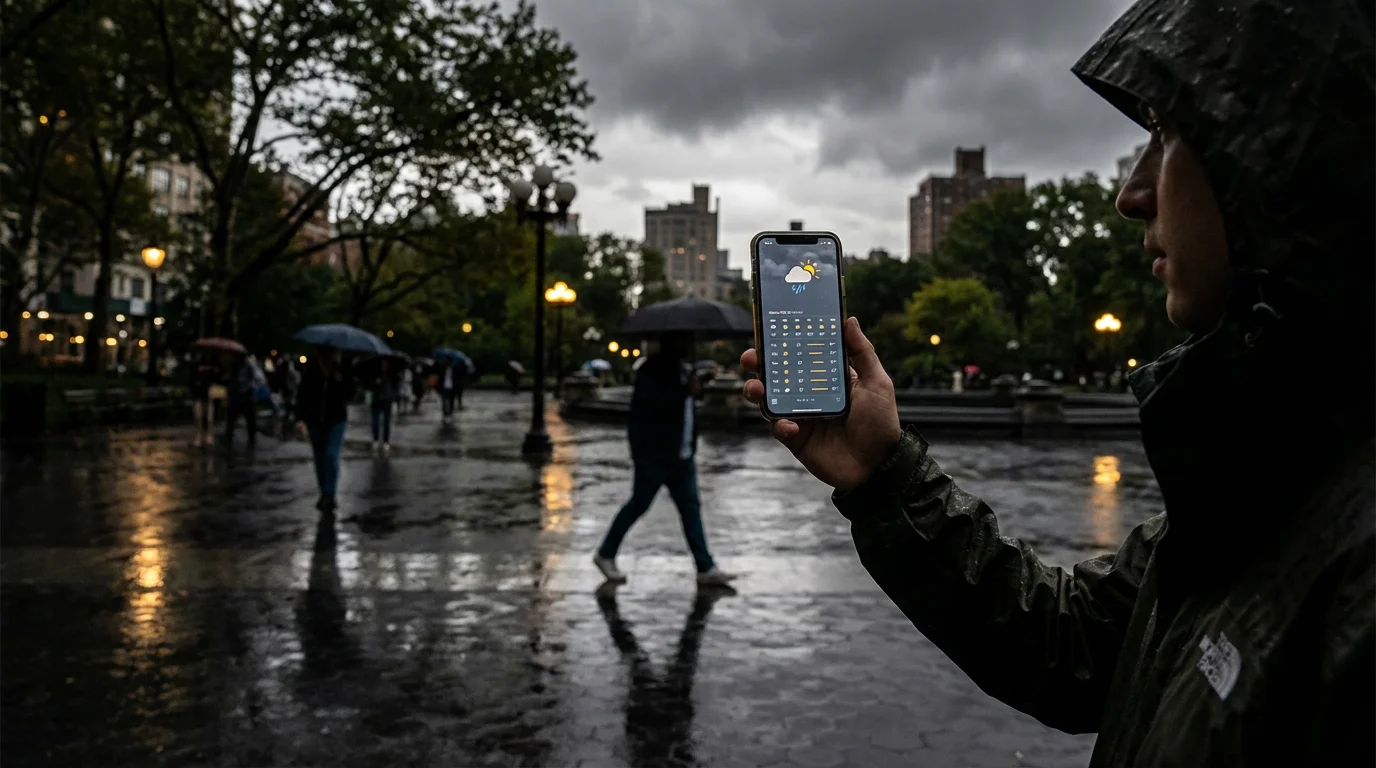
- Safety and Awareness: Perhaps the most crucial benefit, weather apps provide severe weather alerts, such as warnings for thunderstorms, heavy rain, or even hurricanes. Receiving a notification, an alert or message from an app, about bad weather gives you precious time to take protective measures, ensuring your safety and the safety of your loved ones.
- Health Management: Certain weather conditions, like high humidity or extreme temperatures, can affect health. Knowing the forecast allows you to adjust your activities or medication schedules as advised by your doctor.
You gain significant control over your daily plans and personal safety by using a weather app. It takes the guesswork out of preparing for the day, allowing you to live more comfortably and securely.

Finding and Opening the Weather App on Your Device
Most modern smartphones, whether Apple iPhones or Android devices, come with a pre-installed weather app. You do not need to download or install this app because your phone already has it set up and ready to use. Your main task involves finding it and opening it. Let’s walk through how to locate and open your weather app, both on phones and tablets, and briefly discuss computer access.
If you find the temperature readings difficult to see, you can increase the text size on your iPhone for easier reading.
If your pre-installed tools aren’t working as expected, it might be time to update your Android phone to the latest software version.
If you find it difficult to keep track of your icons, you can learn how to organize apps into folders to keep your most-used tools handy.
On Your Apple iPhone or iPad:
Apple devices typically feature a built-in “Weather” app. Here is how you find and open it:
- Look for the Icon: Swipe through your home screens to find an icon that looks like a sun, a cloud, or a combination of both. It often has the current temperature displayed on it. The icon usually appears with the word “Weather” beneath it.
- Use Search (Spotlight Search): If you cannot find the icon, swipe down from the middle of any home screen. A search bar appears at the top. Type “Weather” into the search bar. The “Weather” app appears in the search results.
- Tap to Open: Tap on the “Weather” app icon or its listing in the search results to open it.
Your Apple Watch also syncs with your iPhone’s weather app, meaning information on both devices matches automatically. You can check the forecast directly on your wrist.
On Your Android Phone or Tablet:
Android devices, such as those made by Samsung, Google Pixel, or LG, also come with a pre-installed weather app. The appearance and name can vary slightly, but the process is similar:
- Look for the Icon: Check your home screens or swipe up from the bottom of the screen to open your “app drawer,” which lists all your apps. Look for an icon featuring a sun, cloud, or a temperature reading. It might be labeled “Weather,” “Clock,” or “Google.” Sometimes, it appears as a “widget” directly on your home screen, showing the current temperature and conditions without needing to open a separate app.
- Use Search: On most Android devices, you can tap the search bar at the top of your app drawer or swipe down from the top of your home screen to access a search function. Type “Weather” into the search bar.
- Tap to Open: Tap the “Weather” app icon or its listing to open it.
Accessing Weather Information on Your Computer:
While dedicated weather apps are less common on computers, you can still easily access weather information:
- Websites: Open your internet browser (like Chrome, Safari, or Edge) and go to a weather website. Popular options include weather.com, accuweather.com, or directly searching “weather” on Google or Bing.
- Built-in Tools: Windows computers often have a “News and Interests” widget on the taskbar that includes weather. On Mac computers, you can use the “Widgets” feature to add a weather widget to your Notification Center.

What if you want a different weather app?
If you prefer a different weather app, perhaps one with more features or a different look, you can download and install a new app. “Download” means you get the app from the app store and put it on your device, and “install” means you set up the app so it’s ready to use. Here’s how:
- Open the App Store: On an iPhone or iPad, open the “App Store” app (a blue icon with a white ‘A’). On an Android device, open the “Google Play Store” app (a colorful triangle icon).
- Search for an App: Tap the “Search” tab or magnifying glass icon. Type “Weather” into the search bar. You will see many options like “The Weather Channel,” “AccuWeather,” or “Dark Sky” (for Apple devices).
- Download and Install: Tap on the app you want. Read the description and reviews. Tap the “Get” or “Install” button. You might need to confirm your identity with a fingerprint, face scan, or password. The app will then download and install automatically, appearing on one of your home screens or in your app drawer.
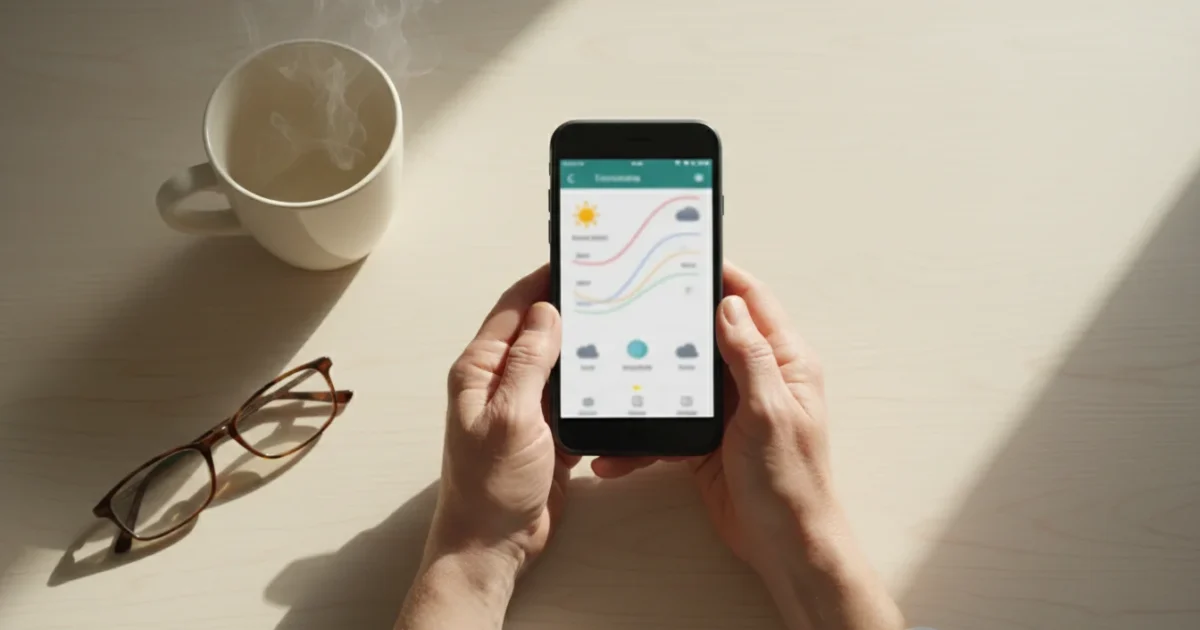
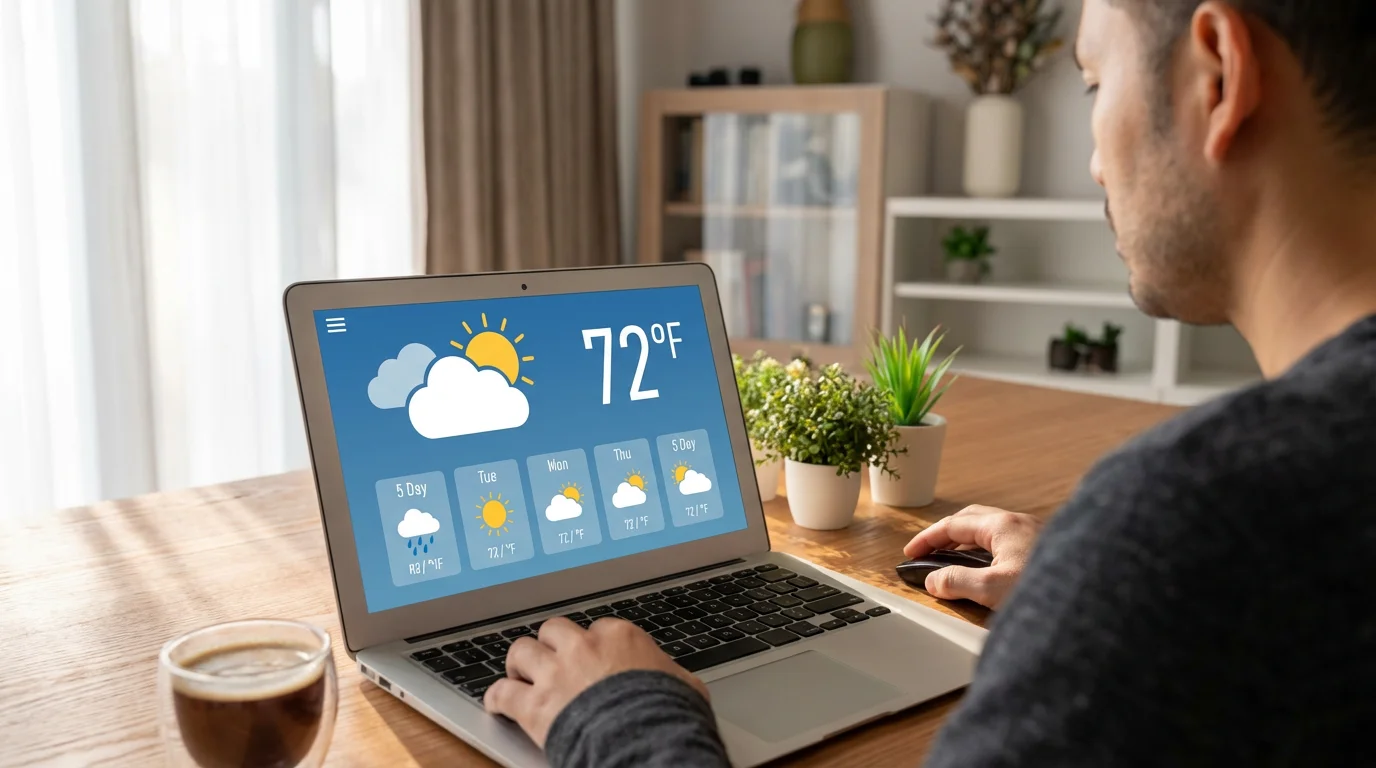
Understanding Your Weather App’s Main Screen
Once you open your weather app, you will see a main screen displaying key weather information for your current location. While exact layouts vary slightly between Apple and Android devices, the core elements remain consistent. Understanding these elements helps you quickly get the weather check you need.
If you are checking the forecast while outdoors, you may need to adjust your screen brightness to see the icons and numbers clearly in the sunlight.
Much like using Google Maps, your weather app relies on location services to show you the forecast for your exact area.
Here are the common features you will find on the main screen of your weather app:
- Current Location: At the very top, you usually see the name of your current city and state. This confirms the app is showing you the weather for where you are right now. If you have allowed the app to use your location, it updates automatically as you move.
- Current Temperature and Conditions: A large number typically displays the current temperature. Below this, you will see a brief description of the current weather, such as “Sunny,” “Partly Cloudy,” “Rain,” or “Snow.” An icon often accompanies this description, visually representing the conditions.
- High and Low for the Day: Near the current temperature, you often find the projected high and low temperatures for the current day. This gives you a quick overview of how warm or cool it will get.
- Hourly Forecast: Many weather apps feature a section, often a horizontal scrollable bar, showing the forecast for the next several hours. You can see temperature predictions and conditions for specific times, like “2 PM: 75°F, Sunny” or “6 PM: 68°F, Cloudy.” This helps you plan activities hour by hour.
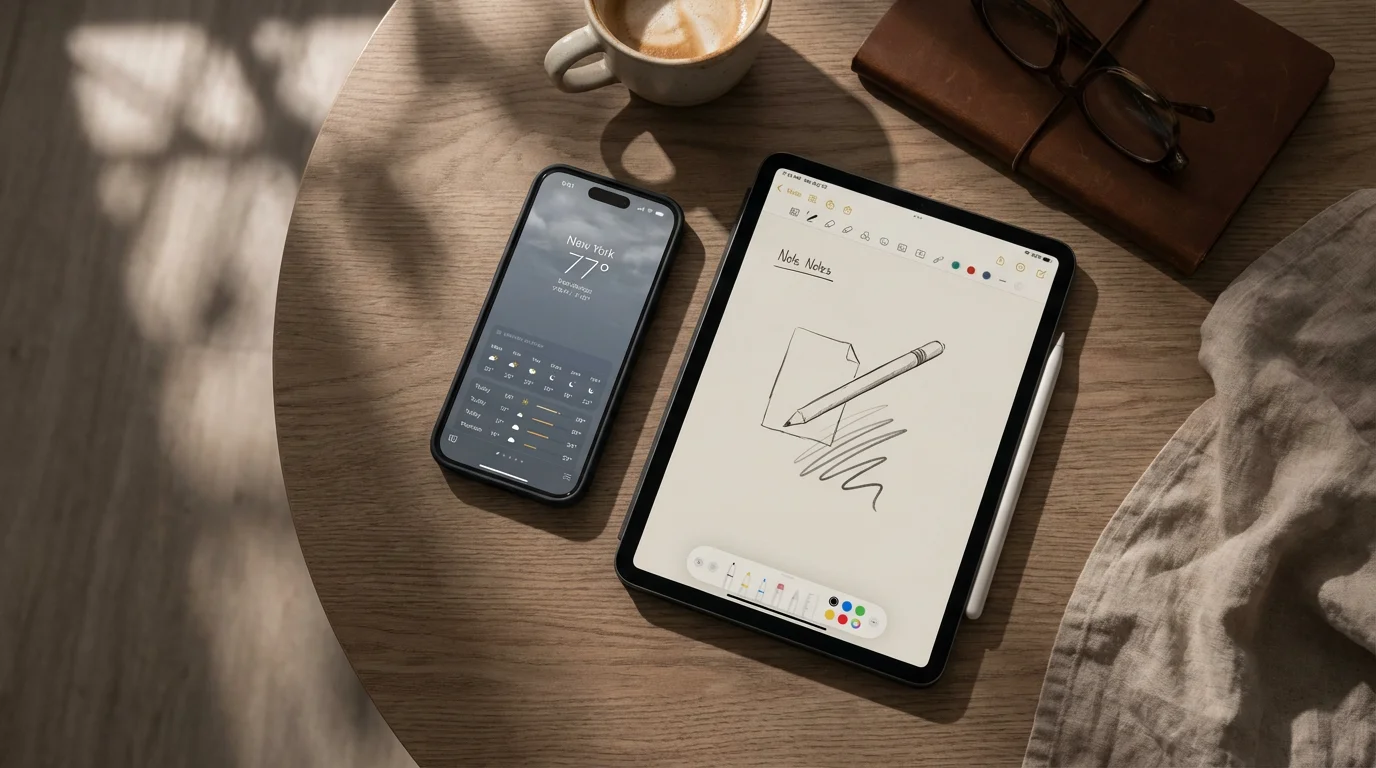
- Daily Forecast (Next Few Days): Below the hourly forecast, you usually find a summary for the next 5 to 10 days. Each day lists the expected conditions (with an icon) and the high and low temperatures. This helps with longer-term planning.
- Detailed Information: Scrolling down on the main screen often reveals more specific details. These can include:
- “Feels Like” Temperature: This accounts for wind and humidity, giving you a better sense of how the temperature actually feels.
- Humidity: The amount of moisture in the air. High humidity can make it feel warmer.
- Wind Speed and Direction: Important if you plan outdoor activities or if you live in an area prone to strong winds.
- UV Index: Measures the strength of the sun’s ultraviolet (UV) radiation. A higher UV index means a greater risk of sunburn, reminding you to use sunscreen.
- Sunrise and Sunset Times: Useful for planning outdoor activities around daylight hours.
- Precipitation Chance: The likelihood of rain or snow, often given as a percentage.
- Navigation Buttons: At the bottom or top of the screen, you might see buttons or icons to switch between different views, add new locations, or access settings. Common icons include a list icon for multiple cities, a map icon for radar, or a gear icon for settings.
Checking the Daily and Hourly Forecasts
Your weather app is excellent for checking the forecast with a quick glance. Knowing how to navigate between the current conditions, hourly outlook, and multi-day predictions makes you a pro at your weather check. We will guide you through accessing these crucial forecast details.
Checking the Hourly Forecast:
The hourly forecast provides a detailed breakdown of temperature, precipitation chance, and conditions for specific times throughout the current day and often into the next 24-48 hours. This feature is particularly useful for planning activities hour by hour.
- Open Your Weather App: If you closed the app, tap its icon on your home screen or find it through search.
- Locate the Hourly Section: On the main screen, look for a section that shows different times (e.g., “1 PM,” “2 PM,” “3 PM”) with corresponding temperatures and small weather icons. This section often appears below the current conditions.
- Scroll Horizontally: This hourly view typically allows you to swipe your finger left or right across it. Swiping allows you to see further into the day or the next day, giving you more detailed predictions for specific hours.
- Tap for More Detail (Optional): Some apps let you tap on a specific hour to reveal more information for that time, such as wind speed, humidity, or “feels like” temperature.
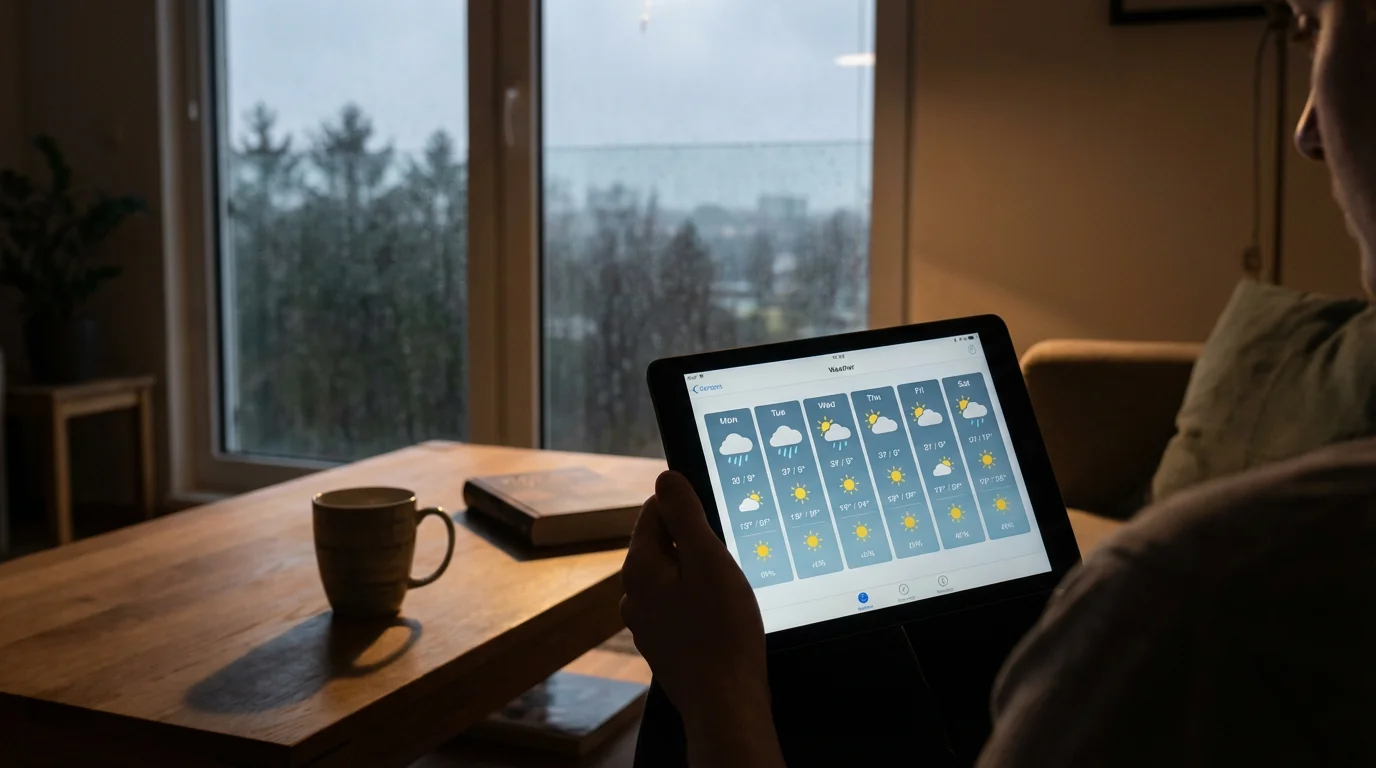
Checking the Daily (Multi-Day) Forecast:
The daily forecast, sometimes called the multi-day forecast, gives you a broader overview of the weather for the upcoming week. This helps you with planning ahead, like deciding if you need to bring a jacket to an event later in the week.
- Open Your Weather App: Start by opening your weather app, just as you do for the hourly forecast.
- Locate the Daily Section: Scroll down on the main screen past the current conditions and hourly forecast. You will see a list of upcoming days (e.g., “Monday,” “Tuesday,” “Wednesday”), each with an icon and the projected high and low temperatures.
- Scroll Vertically: If your app shows only a few days initially, you can often scroll down the screen to see more days of the forecast, usually covering up to 7 to 10 days.
- Tap for More Detail (Optional): Tapping on a specific day in the list often expands that day’s forecast. This reveals more details like a textual summary, chances of precipitation, wind, and humidity for that particular day.
Learning to quickly check both the hourly and daily forecasts gives you comprehensive insight into upcoming weather. You can now plan for the next few hours or the entire week with confidence.

Exploring Advanced Features: Radar, Alerts, and Multiple Locations
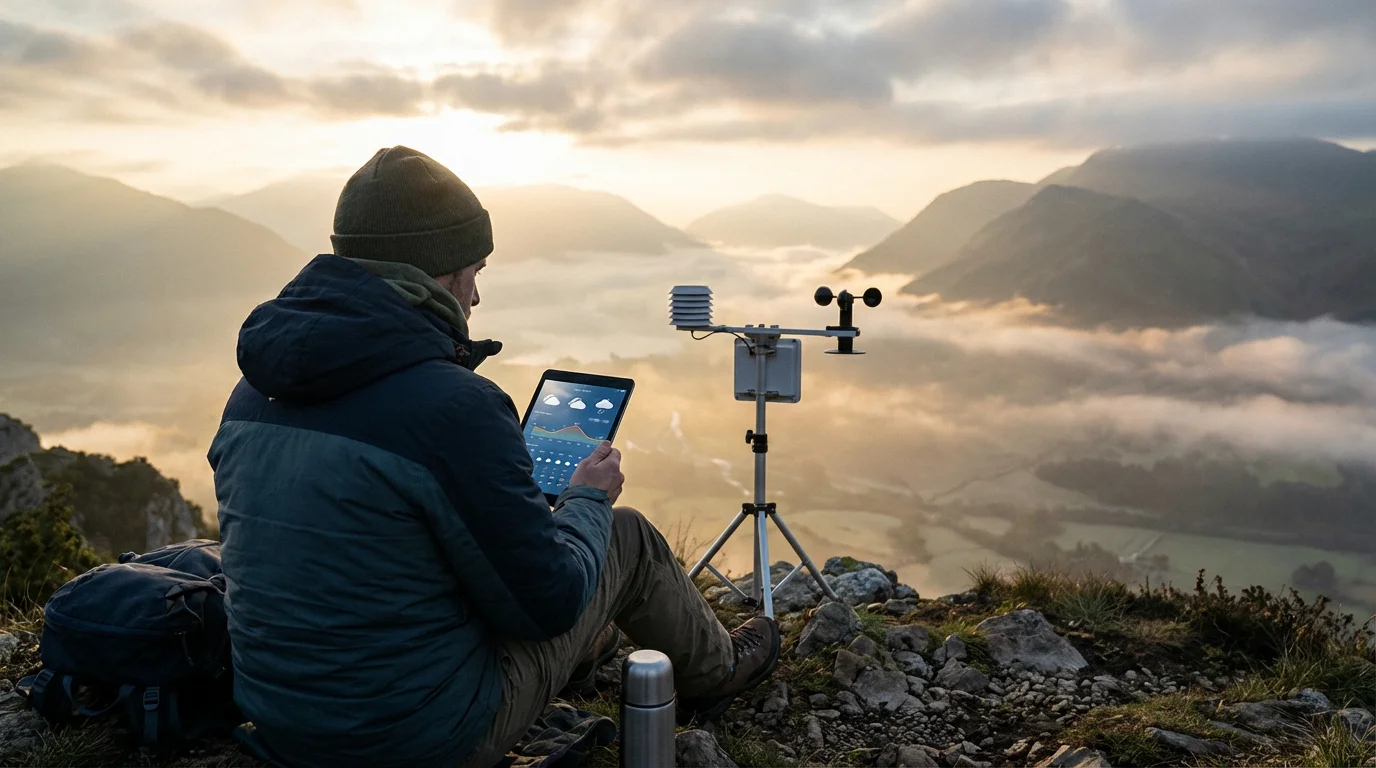
Beyond basic forecasts, your weather app often offers powerful features that enhance your ability to monitor weather patterns and stay safe. These features include weather radar, severe weather notifications, and the ability to track weather in multiple locations. Using these helps you get the most out of your weather app.

Understanding Weather Radar:
Weather radar displays a visual map showing precipitation (rain, snow, sleet) in real-time. This helps you see where storms are moving and when they might reach your area.
- Find the Radar Option: On your main weather app screen, look for a button or tab labeled “Radar,” “Map,” or an icon that looks like a radar dish or a map with weather patterns. This might be in the bottom navigation bar or accessible by scrolling down.
- View the Map: Tapping this option opens a map of your area. You will see colored blobs or shapes moving across the map. These colors usually represent different intensities of precipitation, with brighter colors often indicating heavier rain or snow.
- Play Animation: Most radar maps include a “Play” button (often a triangle icon, like on a video player). Tapping this animates the radar, showing you the recent movement of weather systems and predicting their path for the next hour or so. This helps you gauge if a storm is coming your way.
- Zoom and Pan: You can typically pinch your fingers together or spread them apart on the screen to zoom in or out of the map. You can also drag your finger across the screen to pan (move the map around) to see weather in nearby regions.
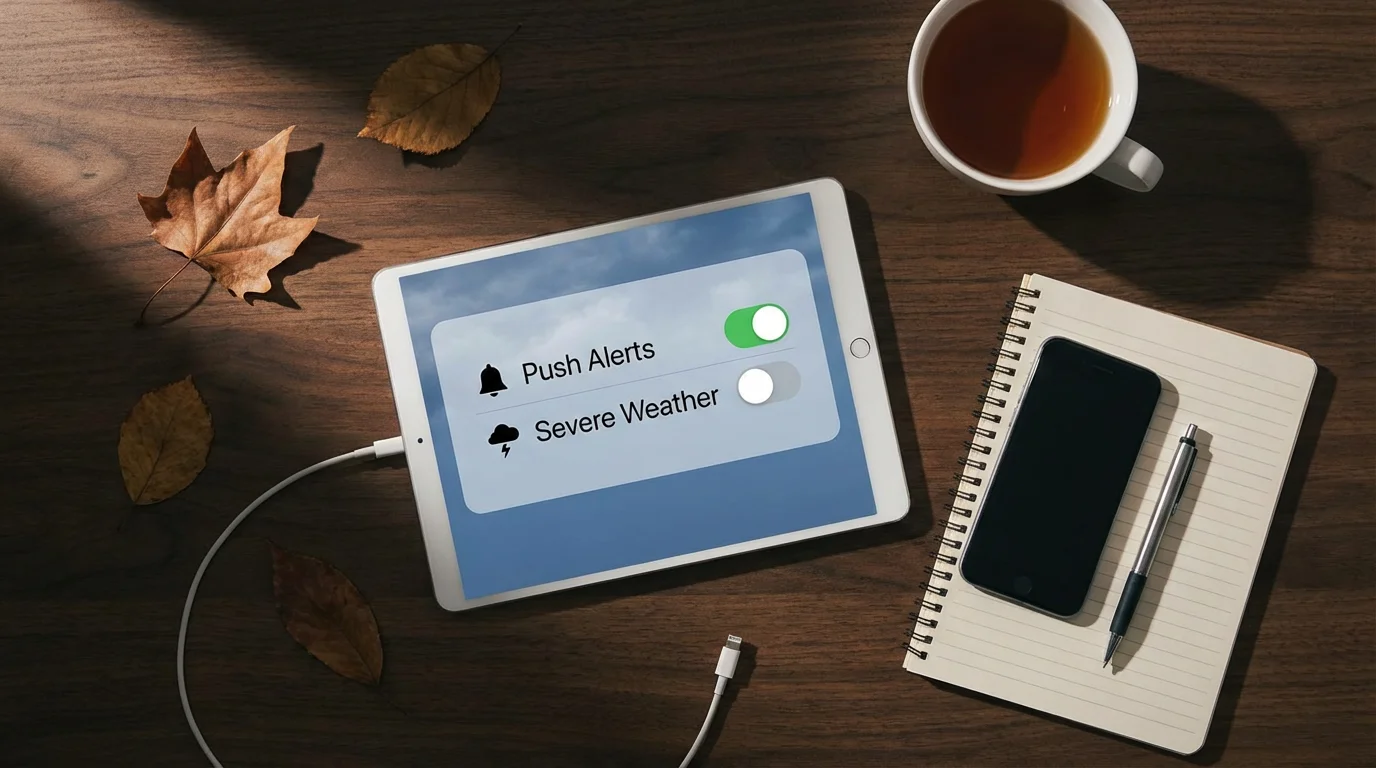
Setting Up Severe Weather Notifications:
Severe weather notifications, an alert or message from an app, are crucial for your safety. They inform you immediately about dangerous weather conditions, like tornado warnings, flash flood alerts, or severe thunderstorm watches, directly on your phone.
- Access Settings: Look for a “Settings” gear icon or a menu (often three horizontal lines) within your weather app.
- Find Notification Options: Within Settings, look for a section related to “Notifications,” “Alerts,” or “Severe Weather Alerts.”
- Enable Alerts: Toggle the switch or tap the option to turn on severe weather alerts. Your phone might ask you to grant the weather app permission to send you notifications. Always allow this for critical safety alerts.
- Customize (If Available): Some apps allow you to customize the types of alerts you receive or the sound they make. You might also choose to receive alerts for specific locations.
Receiving these notifications gives you time to seek shelter or take other necessary precautions. AARP’s Technology Resources offer additional guidance on using technology for safety and preparedness.

Managing Multiple Locations:
Do you have family in another city, or do you travel frequently? Your weather app lets you add and track the weather for multiple locations, keeping you informed about conditions beyond your immediate area.
- Find the Location Management Option: On your main weather app screen, look for an icon that represents a list, a globe, or a small city icon. This often appears at the bottom or top of the screen. Tapping it usually shows a list of your current and saved locations.
- Add a New Location: Look for a “+” symbol or a button labeled “Add Location” or “Manage Locations.” Tap this button.
- Search for a City: A search bar appears. Type the name of the city, town, or zip code you want to add. As you type, suggestions appear. Tap on the correct location from the list.
- View Added Locations: The new location now appears in your list. You can usually tap on any city in your list to view its full weather forecast. Some apps allow you to reorder your list or swipe left/right on a city to delete it.
Customizing Your Weather App Settings
Personalizing your weather app makes it even more useful and comfortable to use. You can adjust units of measurement, manage notifications, and control location access. These settings allow you to tailor the app to your preferences and needs, ensuring you get the most relevant information.

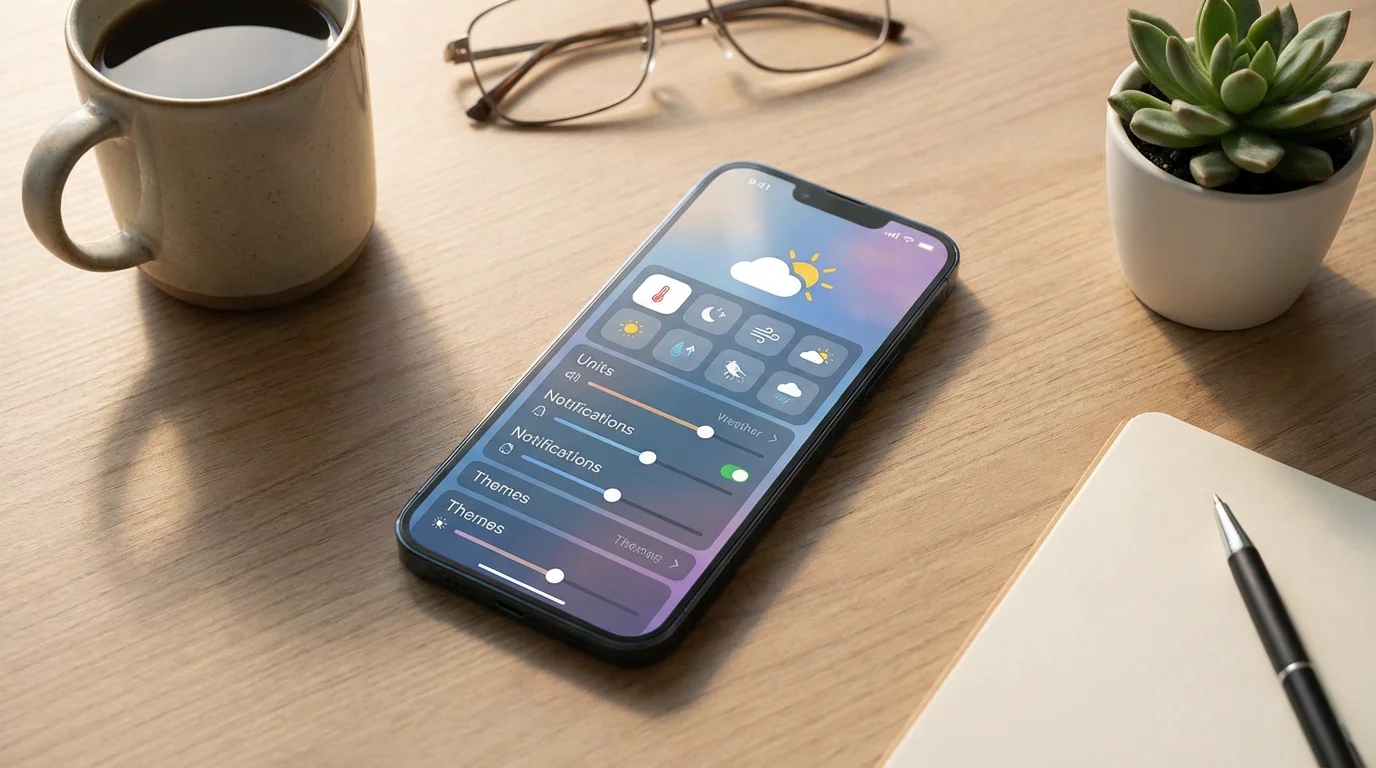
Changing Units of Measurement:
Most weather apps default to Fahrenheit (°F) for temperature and miles per hour (mph) for wind speed in the USA. If you prefer Celsius (°C) or kilometers per hour (km/h), you can usually change these settings.
- Access Settings: Open your weather app and look for the “Settings” icon, which often looks like a gear or cog. This is usually found at the bottom of the screen, in the top corner, or within a menu accessed by three horizontal lines.
- Find “Units” or “Temperature Units”: Within the settings menu, look for an option like “Units,” “Temperature Units,” “Measurement,” or similar.
- Select Your Preference: You typically see options to switch between Fahrenheit and Celsius for temperature. You might also find options for wind speed (mph, km/h, knots) or pressure (inches, millibars). Tap on your desired unit to select it. The app immediately applies the change.

Managing Notifications:
While we covered severe weather notifications earlier, you can also manage general notifications, such as daily forecasts or morning weather summaries. This helps you receive useful updates without feeling overwhelmed by too many alerts.
- Access Settings: Go back to the main “Settings” menu within your weather app.
- Find “Notifications”: Look for a section specifically labeled “Notifications” or “Alerts.”
- Customize Alerts: Here, you might find options to:
- Turn on/off daily summary notifications.
- Enable/disable precipitation alerts (e.g., “rain starting soon”).
- Choose the time of day for certain alerts.
- Select which types of severe weather alerts you wish to receive.
- Adjust Device Notifications (if needed): Sometimes, you also need to adjust your phone’s general notification settings for the weather app. Go to your phone’s main “Settings” app, then find “Apps” or “Notifications,” select your weather app, and adjust permissions there. Google Support and Apple Support provide comprehensive guides for managing app notifications on your specific device.
- Access Phone’s Main Settings: Go to your phone’s main “Settings” app (not the weather app’s settings).
- Find “Location” or “Privacy”: Look for a section named “Location Services,” “Location,” or “Privacy.”
- Manage App Permissions: Tap on “App Permissions” or “Location Access” and find your weather app in the list.
- Choose Access Level: You typically have options like:
- “Allow While Using App”: The app accesses your location only when you have it open on your screen.
- “Always Allow”: The app can access your location even when it is closed. This is useful for automatic weather updates and severe weather alerts.
- “Ask Next Time” or “Never Allow”: The app asks for permission each time or never accesses your location. If you choose “Never Allow,” you must manually enter your city to see the forecast.
- Check Regularly, Especially Before Leaving Home: Make it a habit to do a quick weather check each morning before you step out. This simple routine helps you dress appropriately and carry necessary items like an umbrella or sunglasses, preventing discomfort or unexpected surprises.
- Trust Severe Weather Alerts: When your phone issues a notification for severe weather, take it seriously. These alerts come directly from official meteorological services. If an alert comes through, pause what you are doing, read the notification, and take appropriate action. Your safety is paramount.
- Use Widgets for Quick Glances: Many phones allow you to add a weather widget to your home screen. A widget is a small, interactive display that shows information without needing to open the full app. This provides an instant weather update every time you look at your phone.
- On iPhone/iPad: Swipe right from your first home screen to open the “Today View.” Scroll down and tap “Edit,” then “+” to add a Weather widget.
- On Android: Press and hold on an empty space on your home screen, then select “Widgets.” Find your weather app’s widget and drag it to your home screen.
- Manage Battery Usage: Some weather apps, especially those that constantly use location services or push many notifications, can affect your phone’s battery life. If you notice your battery draining faster, check your phone’s battery usage settings. You might need to adjust location permissions to “Allow While Using App” or reduce the frequency of automatic updates.
- Keep Your App Updated: An update means getting the newest version of an app, usually free. App developers frequently release updates to improve accuracy, add new features, fix issues, and enhance security. Make sure your weather app stays updated to benefit from these improvements. Most apps update automatically, but you can check manually in your device’s App Store or Google Play Store.
- Compare with Other Sources (Optional): While weather apps are generally reliable, no forecast is 100% accurate, especially for long-range predictions. If you have critical outdoor plans, you might compare your app’s forecast with a local TV news report or another reputable online source like GCFGlobal’s technology tutorials on weather apps. This offers a broader perspective.
- Understand Local Microclimates: Weather can vary significantly even within a few miles, particularly in mountainous or coastal regions. Your app gives a general forecast for your city, but local conditions might differ. Pay attention to your immediate surroundings.

Controlling Location Access:
For your weather app to show you the current weather for your exact location, it needs permission to access your device’s location services. You have control over when and how it accesses this information.

Tips for Getting the Most Out of Your Weather App
You have learned how to find, use, and customize your weather app. Now, let’s explore some helpful tips to ensure you get the best possible experience and transform this tool into an indispensable part of your daily routine. These actionable insights help you maximize the benefits of your weather app.
For a more convenient hands-free experience, you can also set up Google Assistant to ask for the weather with just your voice.
Frequently Asked Questions
Is the weather app safe to use?
Yes, your phone’s built-in weather app is very safe to use. It comes directly from your phone’s manufacturer (Apple or Google) and does not contain viruses or malicious software. If you download a third-party weather app, ensure you download it only from the official Apple App Store or Google Play Store. These stores review apps for security and privacy, making them much safer than downloading from unknown websites. Always be cautious about granting excessive permissions to any app.
If you are a visual learner, you can use YouTube to learn more about specific weather app features through helpful video tutorials.
Do I have to pay to use a weather app?
No, your phone’s built-in weather app is completely free to use. You do not need to pay for any features. Many third-party weather apps available in the App Store or Google Play Store also offer free versions with robust features. Some third-party apps may offer “premium” versions for a fee, which often include advanced features like ad removal, more detailed radar, or highly specific forecast models. You do not need these paid versions for basic, accurate weather information.
How accurate is my weather app?
Your weather app generally provides highly accurate forecasts, especially for the immediate future (the next 24-48 hours). It pulls data from professional meteorological services, utilizing advanced models and real-time observations. Accuracy tends to decrease slightly for forecasts extending further into the future, such as 7-day or 10-day predictions. Remember that weather is complex and always subject to change, so occasional discrepancies are normal. Reputable apps strive for the highest possible accuracy.
Why does my weather app not show my current location?
If your weather app is not showing your current location, it most likely means it does not have permission to access your device’s location services. You can fix this by going into your phone’s main “Settings,” finding “Location” or “Privacy,” and then ensuring your weather app has permission to “Allow While Using App” or “Always Allow” location access. Without this permission, you must manually enter your city or zip code to view the forecast.
Can I get weather updates on my computer?
Yes, you can absolutely get weather updates on your computer. While dedicated weather apps are less common than on phones or tablets, you can use popular weather websites like weather.com or accuweather.com through any web browser. Many operating systems, like Windows and macOS, also include built-in widgets or news feeds that display current weather conditions. You can simply search for “weather” in your web browser, and most search engines will display the local forecast directly.
Disclaimer: This article is for informational purposes only. App interfaces change frequently with updates, so screens may look slightly different from what’s described. Always download apps from official app stores (Apple App Store or Google Play Store) to ensure safety.


Leave a Reply