
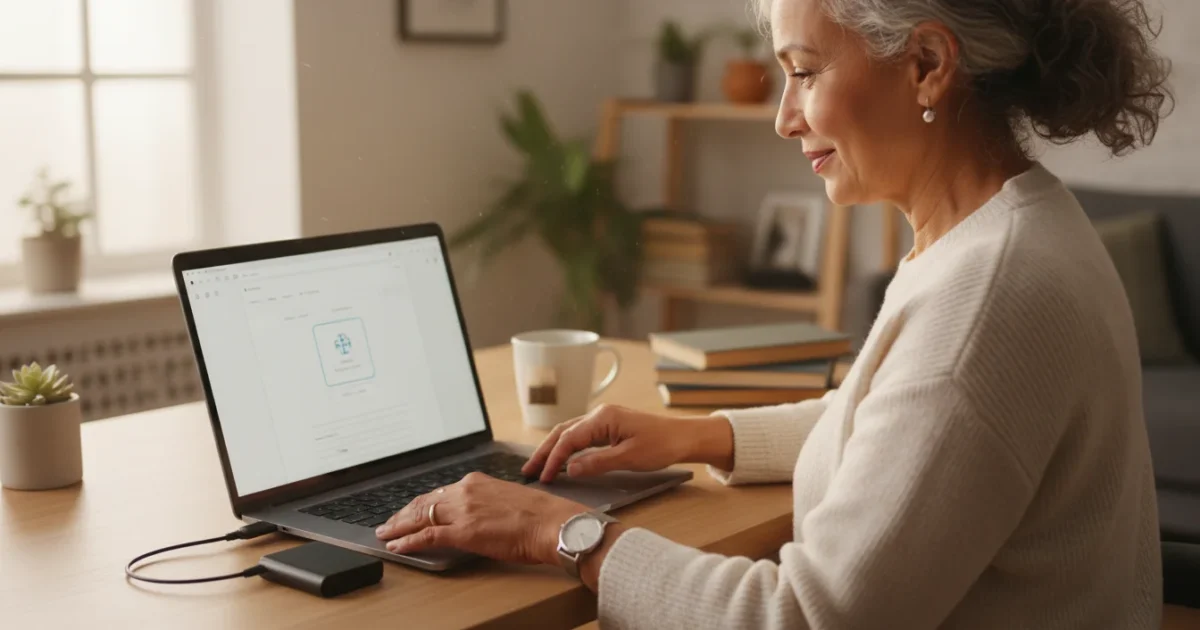
You use your computer for many important tasks. You send emails to family, browse the internet for information, organize treasured photos, and create documents. Imagine losing all of these valuable items. A computer hard drive can fail unexpectedly, a virus can strike, or even an accidental deletion can erase years of digital life. This is where backing up your computer files becomes essential. It provides a safety net, ensuring your important data remains secure and accessible, even if something goes wrong with your computer.
Before you begin the backup process, it is helpful to master the basics of how to save and find files on your computer for efficient organization.
This comprehensive guide helps you understand how to protect your computer files by backing them up to an external hard drive. We break down the process step-by-step for Windows 10/11, macOS, and Chrome OS, using clear language and practical examples. You will learn what you need, how to set up your external drive, and how to create a reliable data backup strategy.
Table of Contents
- Why Data Backup Matters: Protecting Your Precious Memories and Documents
- Understanding Your External Hard Drive: A Key Tool for Data Protection
- Preparing Your External Hard Drive for Backup
- How to Back Up Your Files on Windows 10 or 11
- How to Back Up Your Files on macOS
- Backing Up Important Files on a Chromebook
- Common Backup Problems and Practical Solutions
- Developing a Smart Backup Routine
- Frequently Asked Questions
- When to Ask for Help
Why Data Backup Matters: Protecting Your Precious Memories and Documents
Your computer holds a treasure trove of personal information: family photos from vacations, important tax documents, cherished emails from loved ones, and creative writing projects. Losing these items feels devastating. Data loss happens more often than you might think. Research indicates that a significant percentage of computer users experience data loss at some point, whether due to hardware failure, software issues, or accidental deletion. You do not want to be caught unprepared.
In addition to physical backups, keeping your computer secure with a strong password is another essential step in protecting your digital life.
Regularly backing up your data is a vital part of basic computer maintenance to keep your digital life running smoothly.
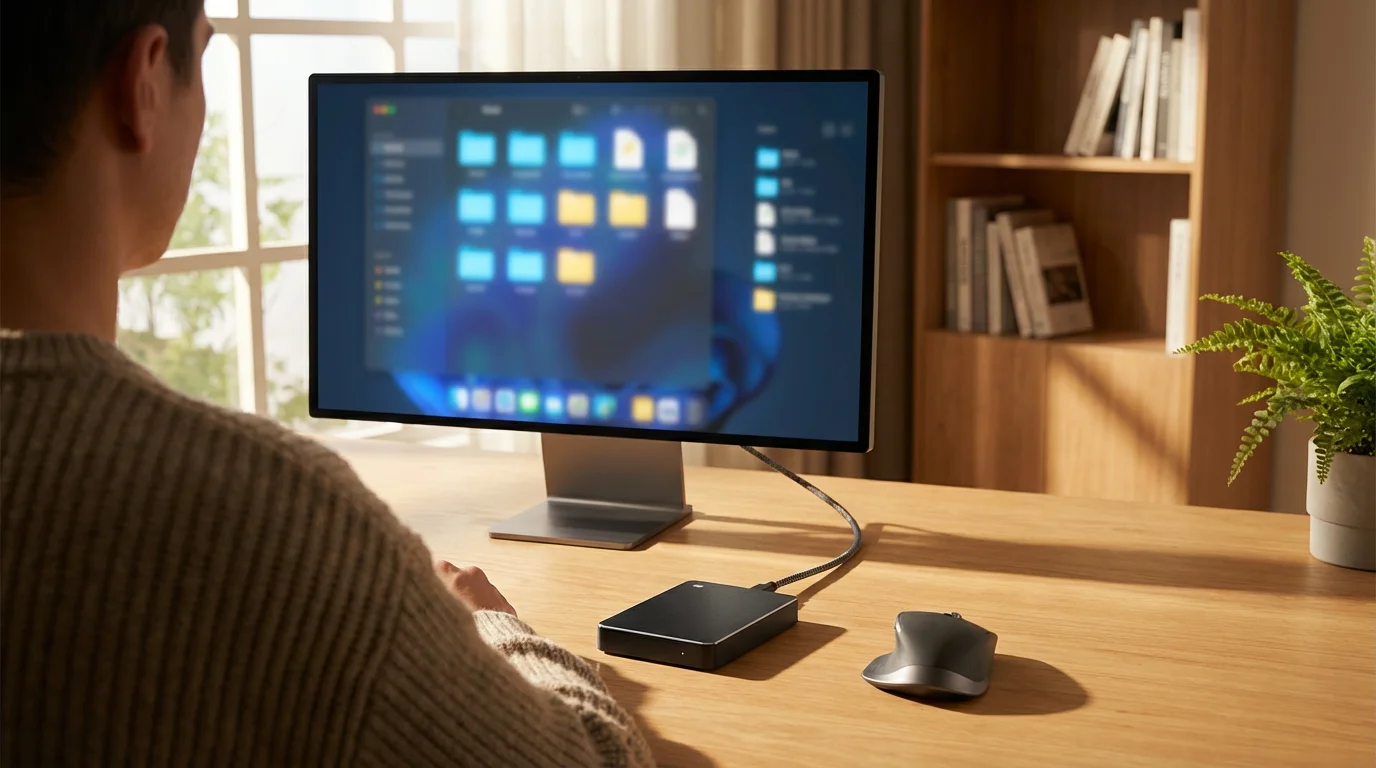
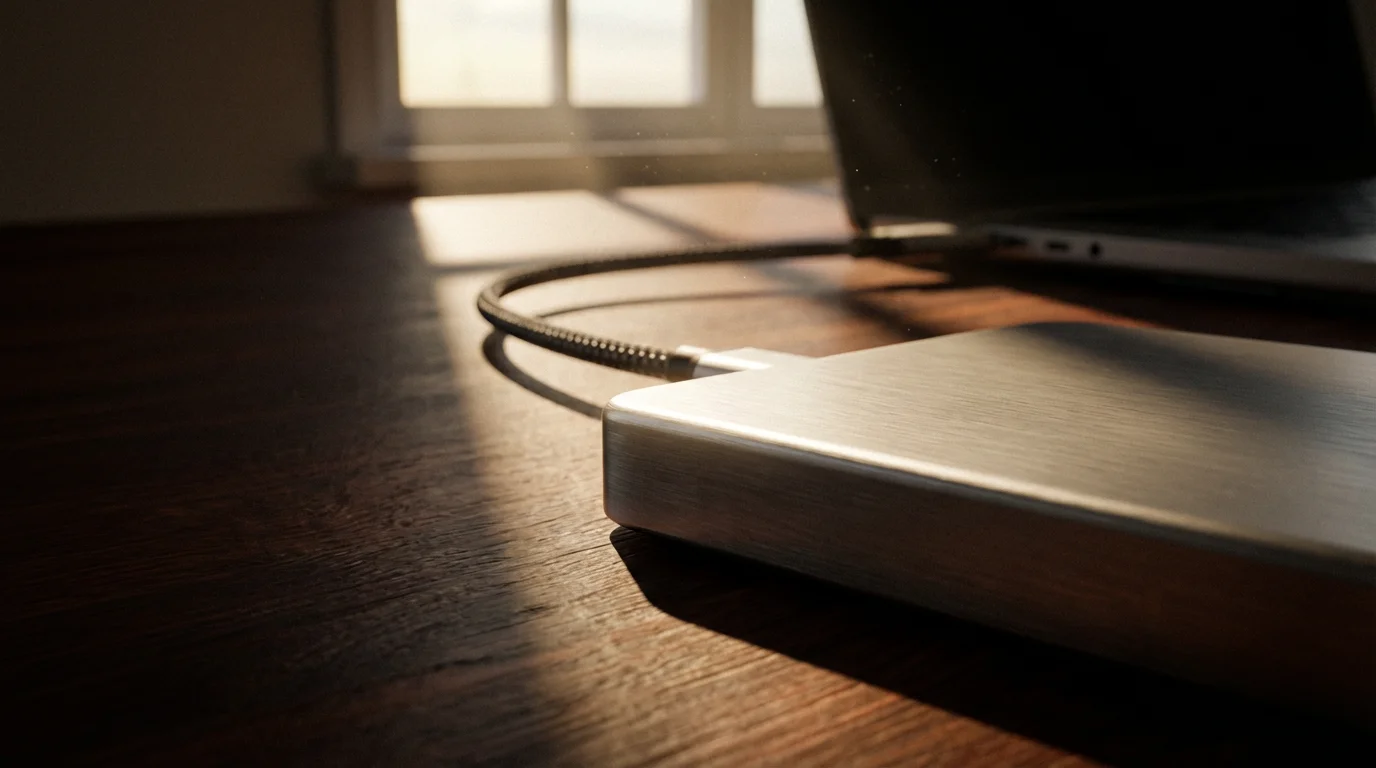
An external hard drive provides a physical copy of your important files, separate from your computer’s internal storage. This separation is key to protecting your computer files. If your computer stops working, gets lost, or suffers damage, your backup remains safe on the external device. This simple step gives you peace of mind, knowing your digital life is secure.
Think of your external hard drive as a sturdy safe for your most valuable digital possessions. Just as you would keep important physical documents in a safe deposit box, you should store your digital files securely on a backup drive.

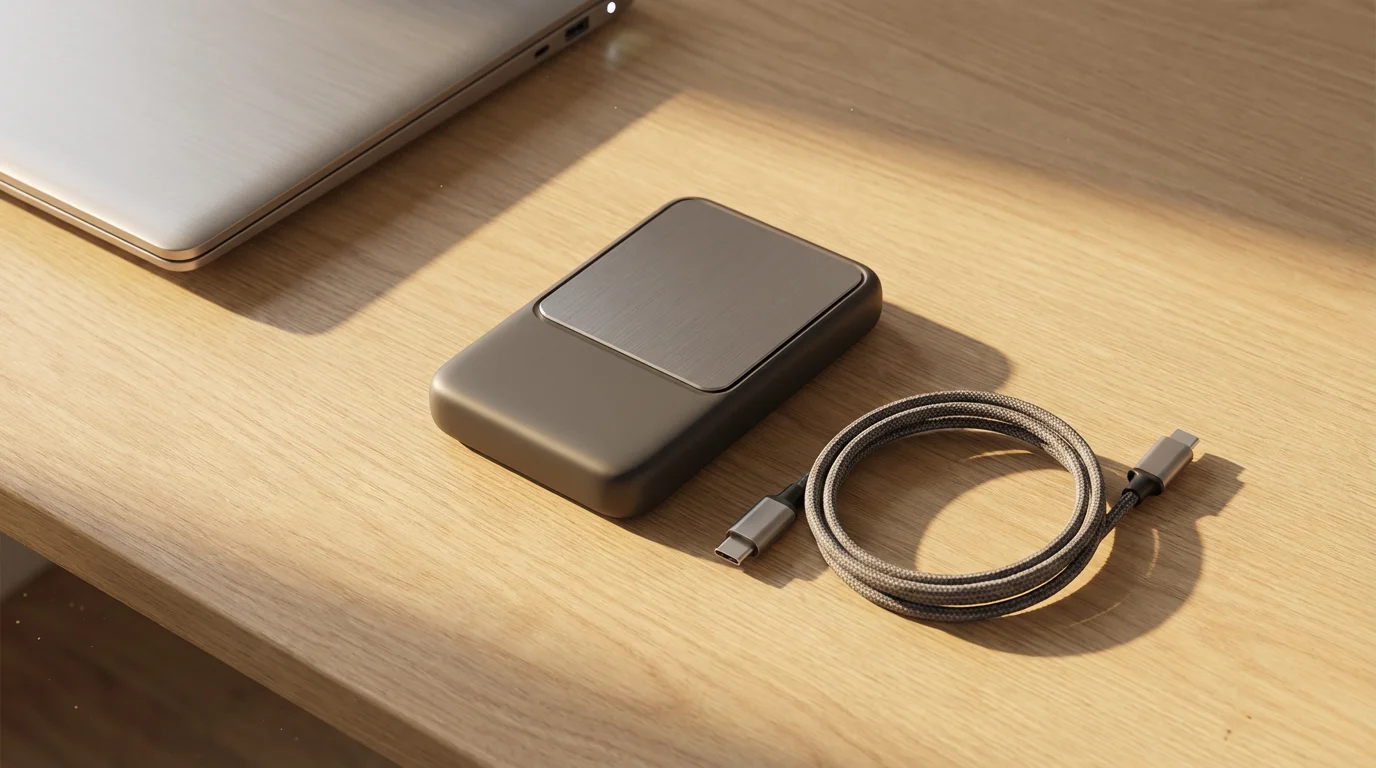
Understanding Your External Hard Drive: A Key Tool for Data Protection
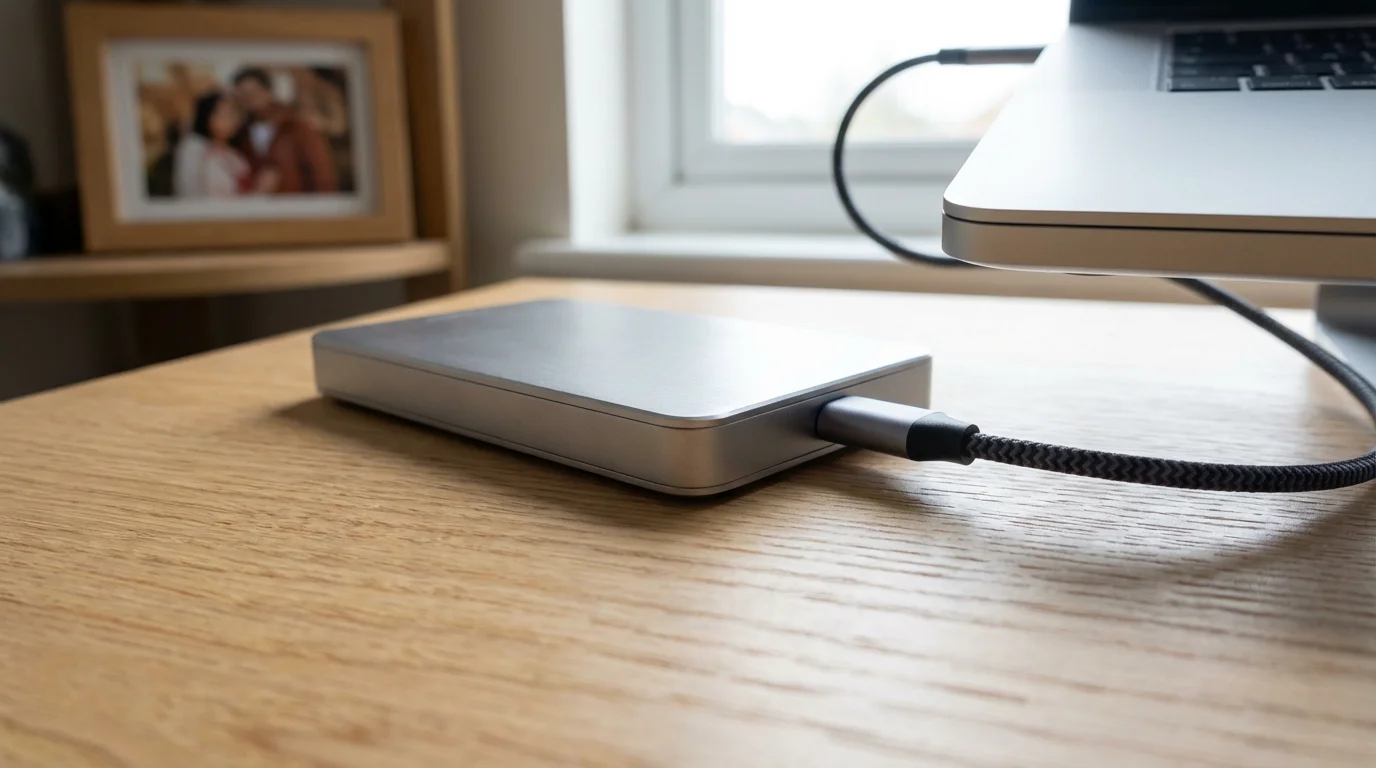
An external hard drive is a storage device that connects to your computer, typically through a USB cable. It works like an extra drive, giving you more space to save files. These drives come in various sizes and capacities, measured in gigabytes (GB) or terabytes (TB). One terabyte equals 1,000 gigabytes.
While this guide focuses on computers, you may also want to learn how to manage storage space on your smartphone to keep all your devices running smoothly.
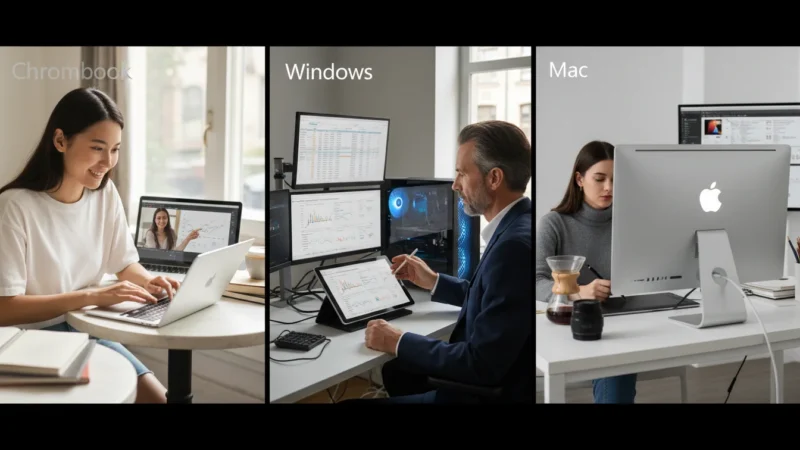
The amount of storage space you need can vary based on your device; you can read more in our guide on Chromebook vs Windows vs Mac.
Choosing the Right External Hard Drive
- Storage Capacity: For most users, a 1TB or 2TB external hard drive provides ample space to back up all personal documents and photos, with plenty of room for future growth. If you have many large video files, consider a larger drive, such as 4TB.
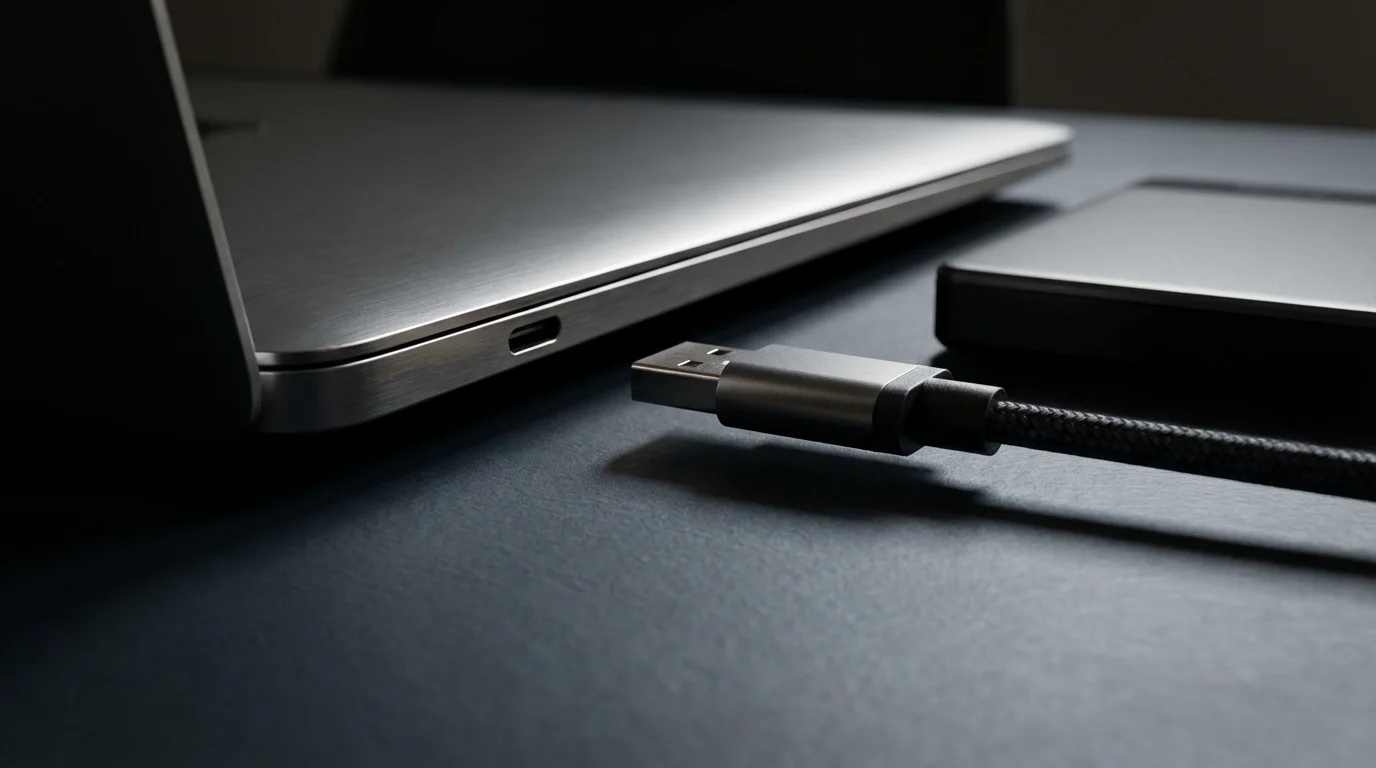
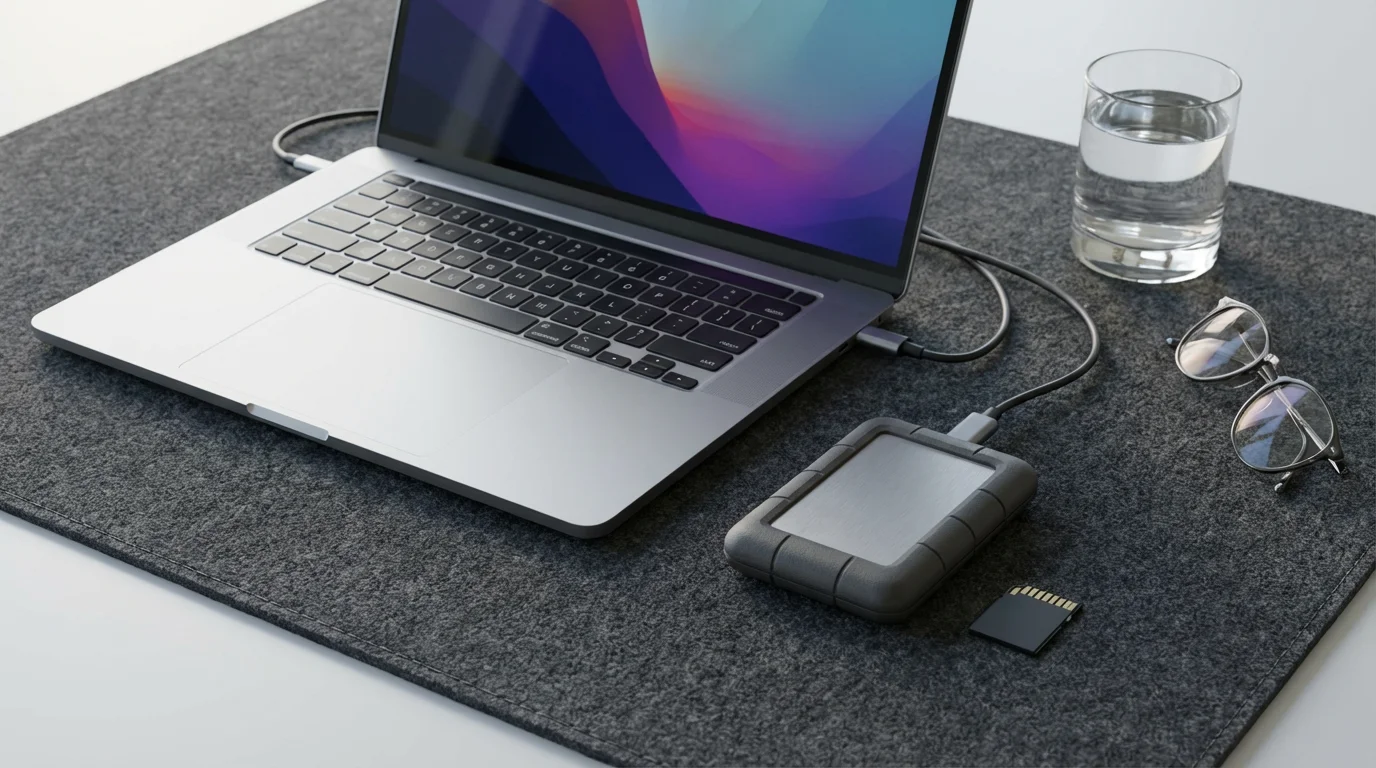
- Connection Type: Most modern external drives connect via USB-A or USB-C. Ensure the drive you purchase has a cable compatible with your computer’s ports. Many drives include cables that work with both.
- Reliability: Stick with reputable brands known for quality. Look for reviews or ask a trusted tech-savvy friend for recommendations.
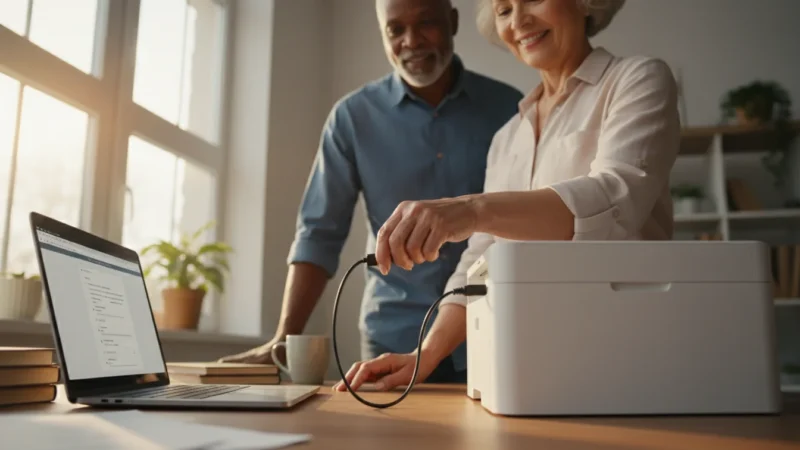
Connecting Your External Hard Drive
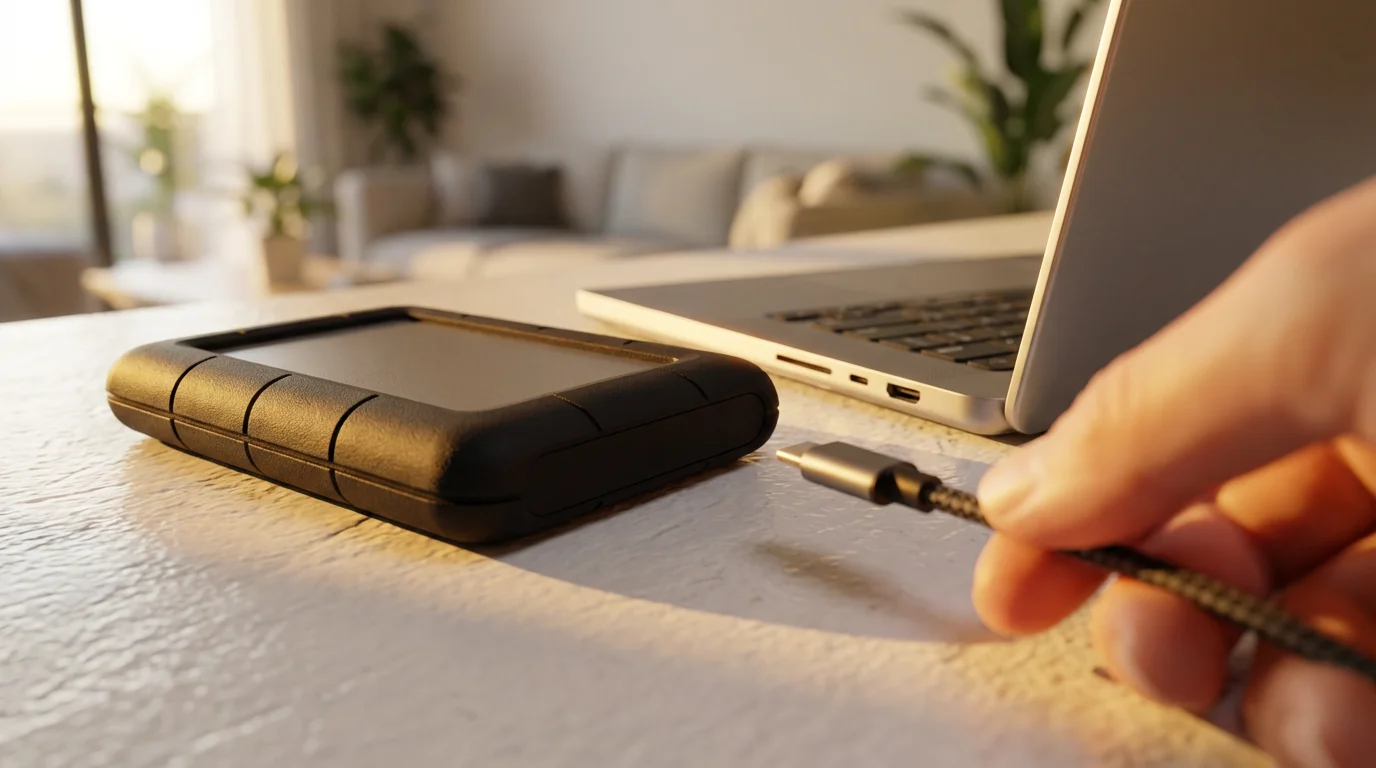
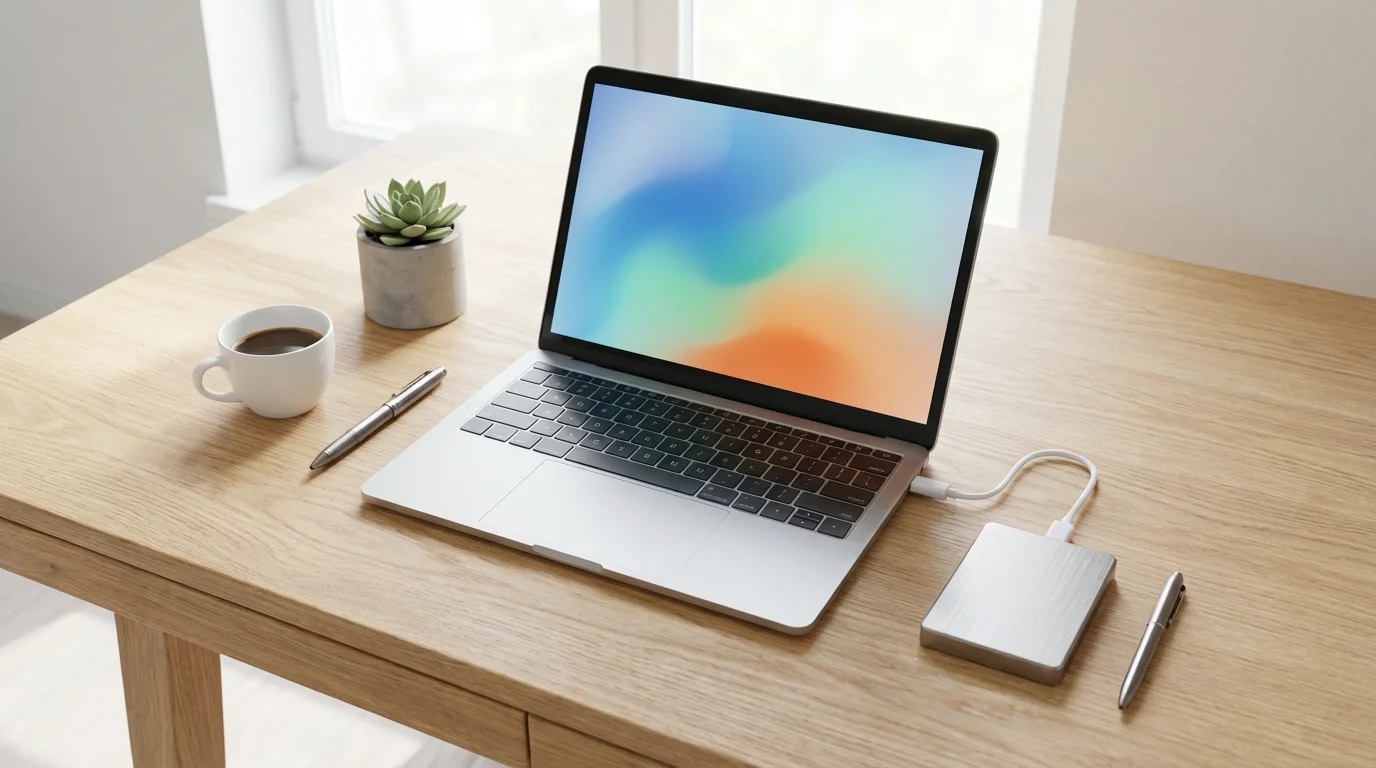
Connecting an external hard drive is straightforward. Locate an available USB port on your computer. These ports are usually rectangular for USB-A or smaller and oval for USB-C. Gently push the cable from the external drive into the USB port until it clicks into place. Your computer usually recognizes the drive automatically.
What You’ll See On Screen:
* Windows: A small notification might pop up in the bottom right corner, indicating “USB device connected” or “Drive (D:) is ready.” The drive often appears as a new icon in “This PC” or “File Explorer.”
* macOS: The drive usually appears as an icon on your desktop, much like other drives or folders. It might also appear in the “Finder” sidebar under “Locations.”
* Chrome OS: A notification appears, stating “External storage device detected.” The drive is accessible through the “Files” app.
Preparing Your External Hard Drive for Backup
Before you start backing up, ensure your external hard drive is ready. New drives often come formatted, meaning they are set up to store files, but sometimes they need specific formatting for your operating system. Formatting erases all data on the drive, so only do this if it is a new drive or if you are absolutely certain you want to wipe its contents.
Properly managing your folders ahead of time will make the backup process much more organized and efficient.
For Windows Users: Checking and Formatting
Most external drives work fine with Windows out of the box. If you encounter issues, or if you want to ensure the drive is formatted for Windows, follow these steps:
- Connect your external hard drive to your computer.
- Press the Windows key on your keyboard (it looks like a four-pane window) and the letter
Eat the same time to open File Explorer. - In the left-hand column, click on This PC. You will see a list of drives, including your external drive, usually labeled something like “New Volume (D:)” or by its brand name.
- Right-click (press the right mouse button once) on your external hard drive.
- From the menu that appears, click on Format…
- In the “Format” window, ensure “File system” is set to NTFS (this is ideal for Windows).
- You can change the “Volume label” to something descriptive, like “My Backup Drive.”
- Ensure “Quick Format” is checked.
- Click Start, then click OK to confirm. Remember, this erases all data on the drive.
For macOS Users: Checking and Formatting
External drives often need to be formatted specifically for macOS if they were previously used with a Windows computer, or sometimes even if new. macOS uses a file system called APFS or Mac OS Extended (Journaled).
- Connect your external hard drive to your Mac.
- Click the Finder icon in your Dock (the bar of icons at the bottom of your screen).
- Click on Applications in the Finder sidebar, then click on the Utilities folder.
- Double-click Disk Utility to open it.
- In the Disk Utility window, you will see a list of drives on the left. Click on your external hard drive (usually identifiable by its name and size). Be careful to select the correct drive.
- Click the Erase button at the top of the Disk Utility window.
- A dialog box appears. For “Name,” type a descriptive name, like “Mac Backup.”
- For “Format,” choose APFS (for newer macOS versions) or Mac OS Extended (Journaled).
- For “Scheme,” choose GUID Partition Map.
- Click Erase, then confirm by clicking Erase again. This process erases all data on the drive.

How to Back Up Your Files on Windows 10 or 11
Windows offers built-in tools to help you back up your files. The most common and recommended method uses File History, which creates automatic backups of your important personal folders.
After completing your backup, it is a good habit to properly shut down your computer to ensure all processes are closed correctly.
For smaller groups of files, you might prefer the simplicity of using copy and paste to move them manually to your external drive.
To navigate through your system folders more quickly while selecting files for backup, you can use these helpful keyboard shortcuts.

Method 1: Using File History (Automated Backup)
File History regularly saves copies of your files in the Documents, Music, Pictures, Videos, and Desktop folders, along with offline OneDrive files. You can also add other important folders.
- Connect your external hard drive to your Windows computer.
- Click the Start button (the Windows icon in the bottom-left corner of your screen).
- Click on Settings (the gear icon).
- In the Settings window:
- Windows 11: Click on System in the left sidebar, then scroll down and click Storage. Under “Storage management,” click Advanced storage settings, then Backup options.
- Windows 10: Click on Update & Security, then click Backup in the left sidebar.
- Under the “Back up using File History” section, click Add a drive.
- Select your connected external hard drive from the list.
- Once selected, File History automatically turns on and begins backing up your files. It saves versions of your files every hour by default.
- To customize which folders are backed up:
- In the Backup settings, click More options.
- Scroll down to “Back up these folders” to see the default list.
- Click Add a folder to include other folders you want to protect.
- Click Remove next to any folder you do not want to back up.
- You can also adjust the backup frequency (how often it saves copies) and how long it keeps those copies.
What You’ll See On Screen:
After enabling File History, you will see it listed as “On” for your chosen drive. The “More options” screen displays a list of folders included in the backup, the frequency of backups, and how long File History keeps old file versions. You will also see a button to “Back up now” to start a manual backup whenever you wish.

Method 2: Manually Copying Files (Simple Copy and Paste)
This method offers direct control over which files you back up. It is useful for backing up specific documents or photos quickly.
- Connect your external hard drive.
- Open File Explorer (press Windows key +
E). - In the left-hand column, navigate to the folder containing the files you want to back up (e.g., “Documents,” “Pictures”).
- Click once on a file or folder to select it. To select multiple items, hold down the
Ctrlkey on your keyboard and click on each item. To select all items in a folder, pressCtrl + A. - Once selected, right-click on one of the selected items.
- From the menu, click Copy.
- In the left-hand column of File Explorer, click on your external hard drive.
- Right-click anywhere in the empty space within your external hard drive folder.
- From the menu, click Paste.
- The files will now copy to your external hard drive. A progress bar might appear.
- Repeat this process for all important folders you want to back up. Consider creating new folders on your external drive, for example, “Backup Photos 2024” or “Important Docs,” to keep your backups organized.
How to Back Up Your Files on macOS
macOS features a powerful built-in backup utility called Time Machine. Time Machine creates regular, automatic backups of all your files, allowing you to restore your entire system or individual files from a specific point in time.
Method 1: Using Time Machine (Automated Backup)
Time Machine offers a comprehensive data backup solution. It saves hourly backups for the past 24 hours, daily backups for the past month, and weekly backups for all previous months, until your external drive is full.
- Connect your external hard drive to your Mac.
- If the external drive is new or unformatted, macOS might ask if you want to use it with Time Machine. Click Use as Backup Disk. If not, proceed to the next step.
- Click the Apple menu in the top-left corner of your screen.
- Click on System Settings (on macOS Ventura or later) or System Preferences (on older macOS versions).
- In System Settings/Preferences:
- macOS Ventura or later: Click on General in the left sidebar, then click Time Machine.
- Older macOS: Click on the Time Machine icon.
- Click Add Backup Disk (or “Select Disk” on older versions).
- Select your connected external hard drive from the list.
- Click Set Up Disk (or “Use Disk”). Time Machine will then begin its first full backup. This initial backup can take a long time, sometimes several hours, depending on how many files you have. Subsequent backups are much faster.
- Ensure “Back Up Automatically” is checked to allow Time Machine to perform backups in the background.
What You’ll See On Screen:
The Time Machine settings show your chosen backup disk and display the date of the “Latest backup” and the “Next backup.” You will also see a checkbox for “Back Up Automatically.” When Time Machine is actively backing up, you might see a small arrow icon in the Time Machine menu bar icon.

Method 2: Manually Copying Files (Simple Drag and Drop)
Manually copying files offers a quick way to back up specific documents or photos. It works similarly to how you move files between folders on your Mac.
- Connect your external hard drive. The drive’s icon should appear on your desktop.
- Open Finder (the smiling face icon in your Dock).
- Navigate to the folder containing the files you want to back up (e.g., “Documents,” “Pictures”).
- To select files:
- Click once on a file or folder to select it.
- To select multiple items, hold down the
Commandkey on your keyboard and click on each item. - To select all items in a folder, press
Command + A.
- Once selected, drag the chosen files or folders from the Finder window to the icon of your external hard drive on the desktop. Alternatively, you can drag them to the external drive listed in the Finder sidebar under “Locations.”
- Release the mouse button. A progress bar appears as the files copy.
- Consider creating new folders on your external drive, for example, “Mac Backup Photos” or “Important Work,” to keep your backups organized.
Backing Up Important Files on a Chromebook
Chromebooks primarily rely on cloud storage, especially Google Drive, for storing your files. This means your files are automatically backed up online. However, you might have files in your Chromebook’s “Downloads” folder or on an SD card that you want to back up to an external drive.
Chromebooks do not have a built-in automated backup system like Windows File History or macOS Time Machine for external drives. Therefore, you will use a manual copy method.

Manually Copying Files to an External Drive on a Chromebook
- Connect your external hard drive (or USB flash drive) to your Chromebook’s USB port.
- A notification appears, stating “External storage device detected.” Click Show in files or open the Files app (the blue folder icon in your shelf, which is the bar at the bottom of the screen).
- In the Files app, you will see “My files” and your connected external drive listed in the left-hand column.
- Under “My files,” click on the folder that contains the items you wish to back up, such as “Downloads.”
- To select files:
- Click once on a file or folder to select it.
- To select multiple items, hold down the
Ctrlkey on your keyboard and click on each item. - To select all items in a folder, press
Ctrl + A.
- Once selected, right-click (press the right mouse button once) on one of the selected items.
- From the menu, click Copy.
- In the left-hand column, click on your external hard drive.
- Right-click anywhere in the empty space within your external hard drive’s folder.
- From the menu, click Paste.
- The files will now copy to your external hard drive.
- Remember to safely remove your external drive. In the Files app, click the Eject icon (a small upward-pointing arrow) next to your external drive’s name in the left column before disconnecting it.
What You’ll See On Screen:
The Files app displays your Chromebook’s storage and any connected external devices. Copying files shows a progress bar or a notification indicating file transfer completion. Ejecting the drive makes its icon disappear from the Files app and the shelf.

Common Backup Problems and Practical Solutions
Even with clear instructions, you might encounter a few hurdles. Do not worry, these are often simple to resolve.
- Problem: External Drive Not Showing Up.
- Solution: Ensure the USB cable is firmly connected to both the drive and the computer. Try a different USB port on your computer. If possible, try the drive on another computer to determine if the drive or your computer’s port is the issue. Sometimes a simple restart of your computer can resolve detection problems.
- Problem: “Not enough space” error.
- Solution: Your external hard drive might be full. You can delete old, unnecessary files from the external drive (if they are also saved elsewhere) or purchase a larger external hard drive. If this is a first backup, you might be trying to back up too much data for the drive’s capacity. Consider backing up only your most essential files.
- Problem: Backup process is very slow or seems stuck.
- Solution: Large initial backups, especially with Time Machine or File History, can take many hours. Ensure your computer remains on and awake during the process. Disconnect other non-essential USB devices. If it seems truly stuck, try restarting your computer and the backup process.
- Problem: Files are copied, but I cannot open them on the external drive.
- Solution: First, ensure the files are indeed copied and not just shortcuts. Double-click the file on the external drive to try opening it. If it does not open, the file itself might be corrupted on your main computer, or the copying process was interrupted. Try copying the file again.
- Problem: My external drive makes strange clicking noises.
- Solution: This indicates a potential hardware failure. Stop using the drive immediately. If you have important data on it, consult a professional data recovery service or a computer repair shop. Do not attempt to fix it yourself, as this can worsen the problem.
Developing a Smart Backup Routine
A good backup is not a one-time event. It is an ongoing practice. Create a routine that works for you.
- Regularity is Key:
- For automated backups (File History, Time Machine), ensure your external drive is connected regularly, perhaps once a week, so the automatic backups can run.
- For manual backups, aim to copy your most important new or changed files weekly or bi-weekly. Put a reminder on your calendar or set an alarm.
- Test Your Backups: Periodically, try to open a file from your external drive. This confirms your backups are working and files are accessible. You might open a photo or a document you backed up a few weeks ago.
- Consider Off-Site Storage: For ultimate protection, consider keeping an older backup drive at a different location, like a family member’s house, in case of fire or theft at your home. You can alternate between two external drives.
- Cloud Backup as an Addition: While this guide focuses on external drives, cloud services like Google Drive, Microsoft OneDrive, or Apple iCloud offer another layer of protection. They back up your files online. Many people use both an external drive and a cloud service for a robust “3-2-1” backup strategy: 3 copies of your data, on 2 different types of media, with 1 copy off-site. For more information on using cloud services, you can visit GCFGlobal’s technology tutorials.
Frequently Asked Questions
Here are answers to some common questions about backing up your computer files.
- How often should I back up my computer?
For most personal users, backing up weekly is a good practice. If you create or change many important files daily, consider backing up more frequently, perhaps daily. Automated backup tools like Time Machine or File History simplify this by backing up whenever your drive is connected.
- Can I use one external hard drive for both a Windows PC and a Mac?
Yes, you can, but it requires specific formatting. If you format the drive as ExFAT, both Windows and macOS can read and write to it. However, neither Windows’ File History nor Mac’s Time Machine works with ExFAT format. You would need to perform manual drag-and-drop backups for both systems. For automated backups, it is best to use separate drives or partition one drive for each operating system, though this can be complex.
- What is the difference between backup and syncing?
Backup creates a separate copy of your files at a specific point in time, essentially a snapshot. If you accidentally delete a file from your computer, it remains in your backup. Syncing, however, keeps files identical across multiple devices or locations. If you delete a synced file from one device, it typically deletes from all other synced locations. Backup focuses on recovery, while syncing focuses on access and consistency.
- Do I need to keep the external hard drive connected all the time?
No, you do not. For automated backups to run, you need to connect the drive. For manual backups, connect it only when you perform the copy. Many users connect their external drive once a week, let the automated backup run, and then safely eject and store it. This also protects the drive from power surges or other computer-related issues.

When to Ask for Help
You now have a clear understanding of how to protect computer files by backing them up to an external hard drive. While this guide provides detailed steps, some situations might require additional assistance.
Do not hesitate to ask for help if:
- You cannot get your external hard drive to appear on your computer.
- You are unsure which drive to select when formatting or setting up a backup.
- The backup process repeatedly fails or gives you error messages you do not understand.
- You accidentally delete important files from your computer and need help restoring them from a backup.
Reach out to a trusted tech-savvy family member or friend. Many local computer repair shops offer services to help set up backups for you. You can also consult official support resources like Microsoft Support or Apple Support for specific operating system guidance. Protecting your data is crucial, and getting assistance ensures your valuable memories and documents remain safe.
Disclaimer: This article is for informational purposes only. Your computer’s screens may look slightly different depending on your operating system version and settings. When in doubt, consult official support resources or ask someone you trust for help.


Leave a Reply