
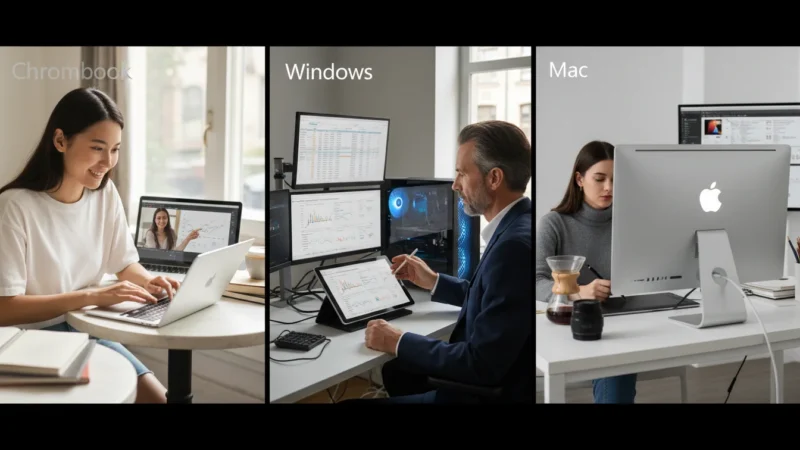
Do you find your computer’s built-in sound is not quite loud enough, or perhaps it lacks the clarity you want for enjoying music, movies, or video calls? Connecting external computer speakers can significantly enhance your listening experience, making everything sound richer and clearer. While newer computers sometimes have great built-in speakers, dedicated external speakers almost always offer superior audio quality and volume. This guide walks you through the process, whether you use a Windows PC, a Mac, or a Chromebook, ensuring you get the best sound from your system.
Higher-quality sound is also a great way to listen to audiobooks with more clarity and depth.
Once your speakers are connected, you might enjoy using Spotify or Apple Music to test out your new sound quality.
Modern computers offer several ways to connect external speakers, including simple cables and wireless Bluetooth technology. This article breaks down each method step-by-step, helping you navigate your computer’s settings with confidence. By the end, you will enjoy improved sound, making your computer use more enjoyable and accessible.
Table of Contents
- Understanding Speaker Types and Connections
- Gathering Your Tools and Preparing Your Computer
- Connecting Wired Speakers
- Connecting Wireless (Bluetooth) Speakers
- Configuring Sound Settings After Connection
- Testing Your New Speakers
- Common Problems and Solutions
- Maintaining Your Audio Setup
- Frequently Asked Questions
Understanding Speaker Types and Connections
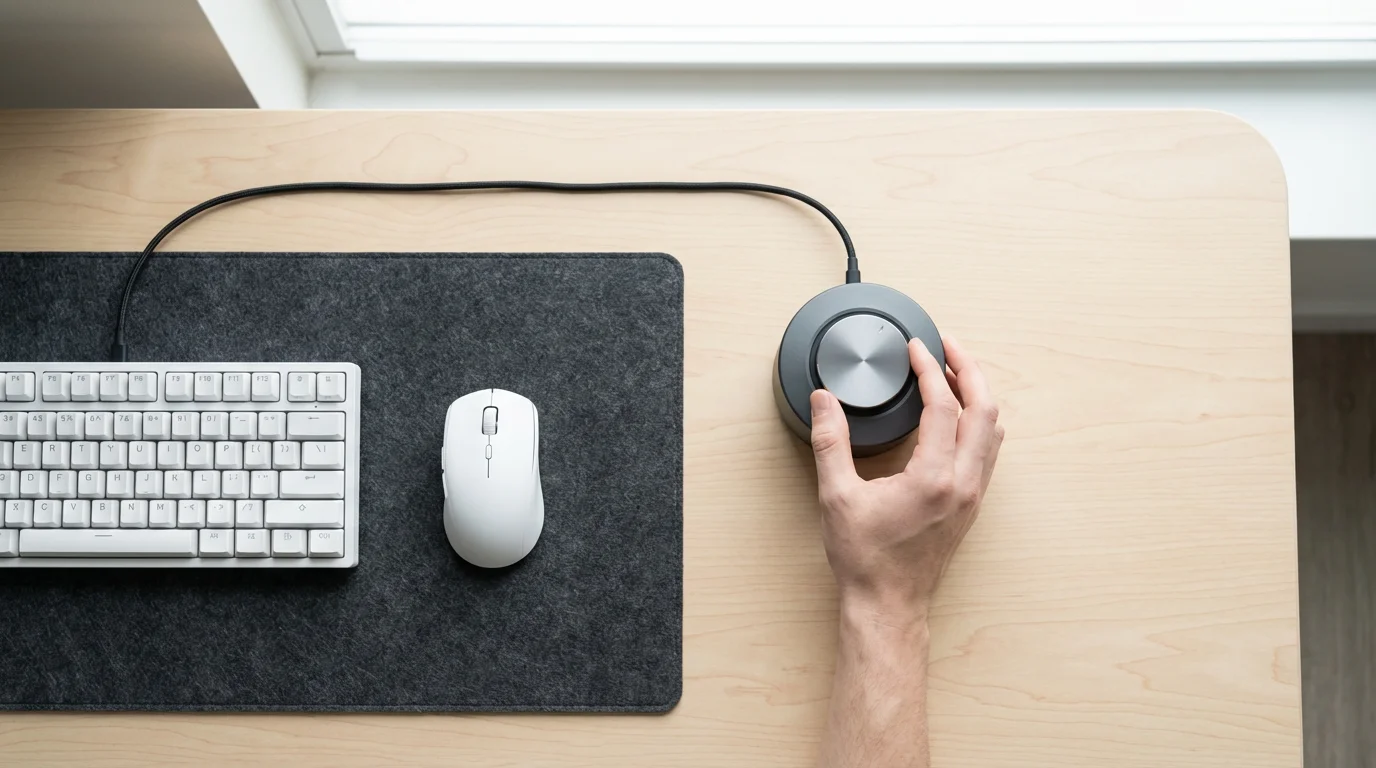
Before you begin, it helps to know the main types of external speakers and how they connect to your computer. Most speakers connect either with a physical cable, known as wired speakers, or wirelessly using Bluetooth technology.
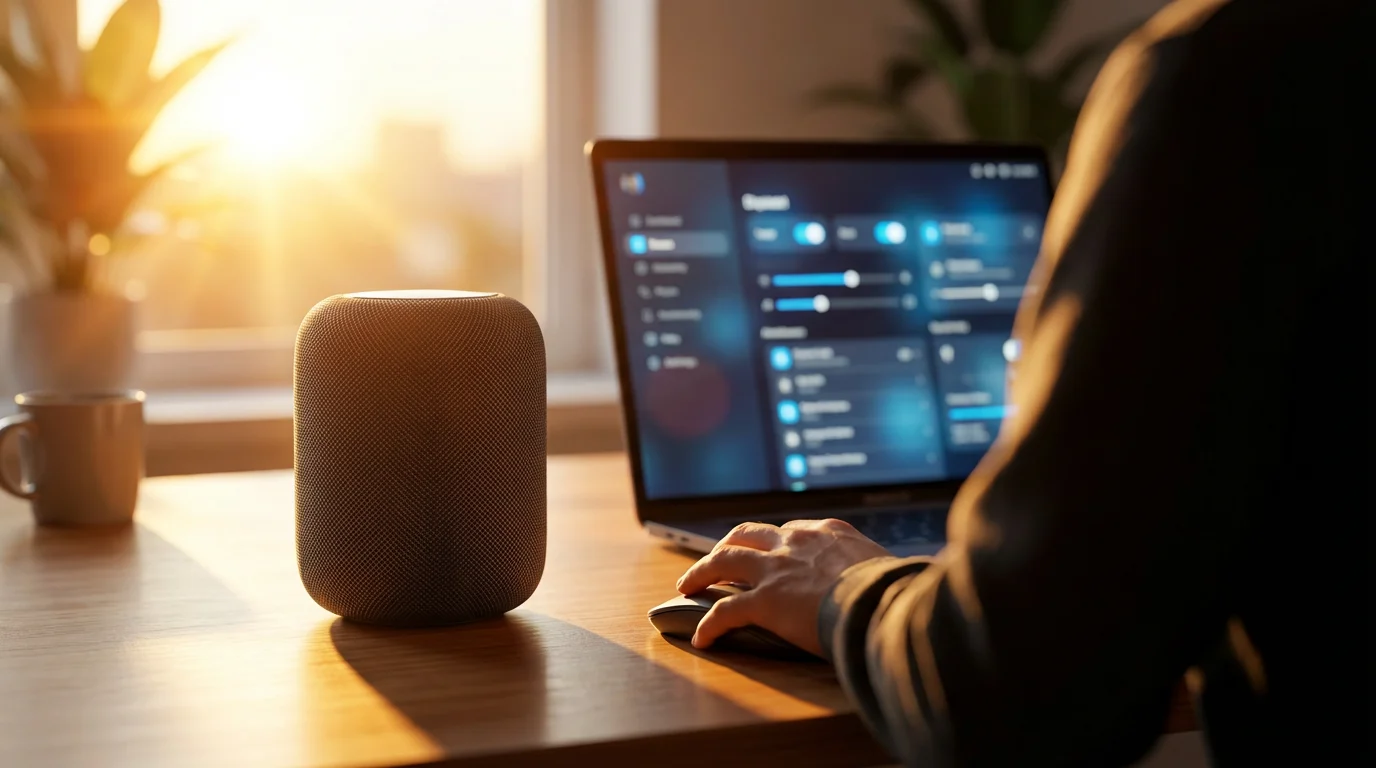
If you decide a standalone device is better for your home, you might want to learn how to set up an Amazon Echo for voice-controlled music and more.
If you are looking for a more standalone audio device for your home, you might also consider if a smart speaker is right for you.

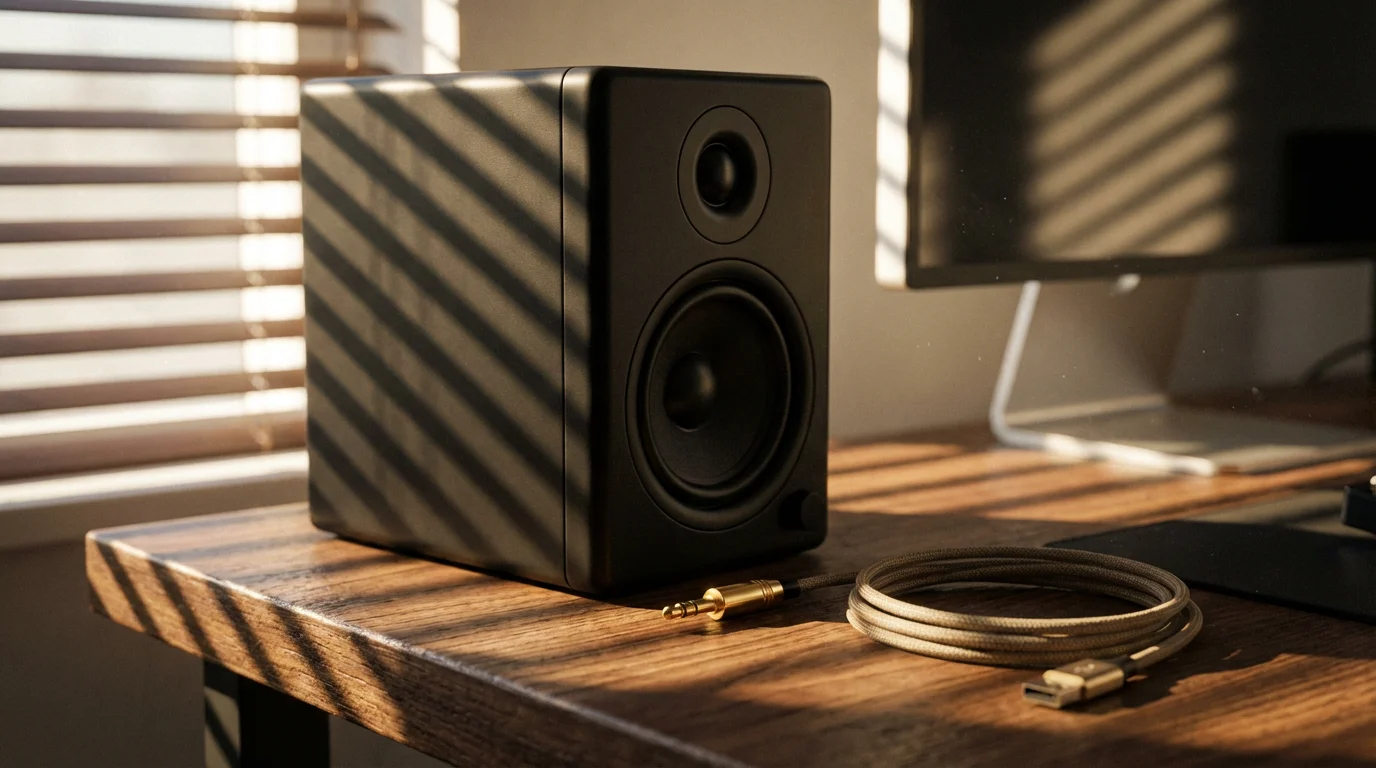
Wired Speakers
Wired speakers plug directly into your computer using a cable. They typically offer a stable connection and generally do not require batteries, drawing power either from your computer via USB or from a wall outlet.
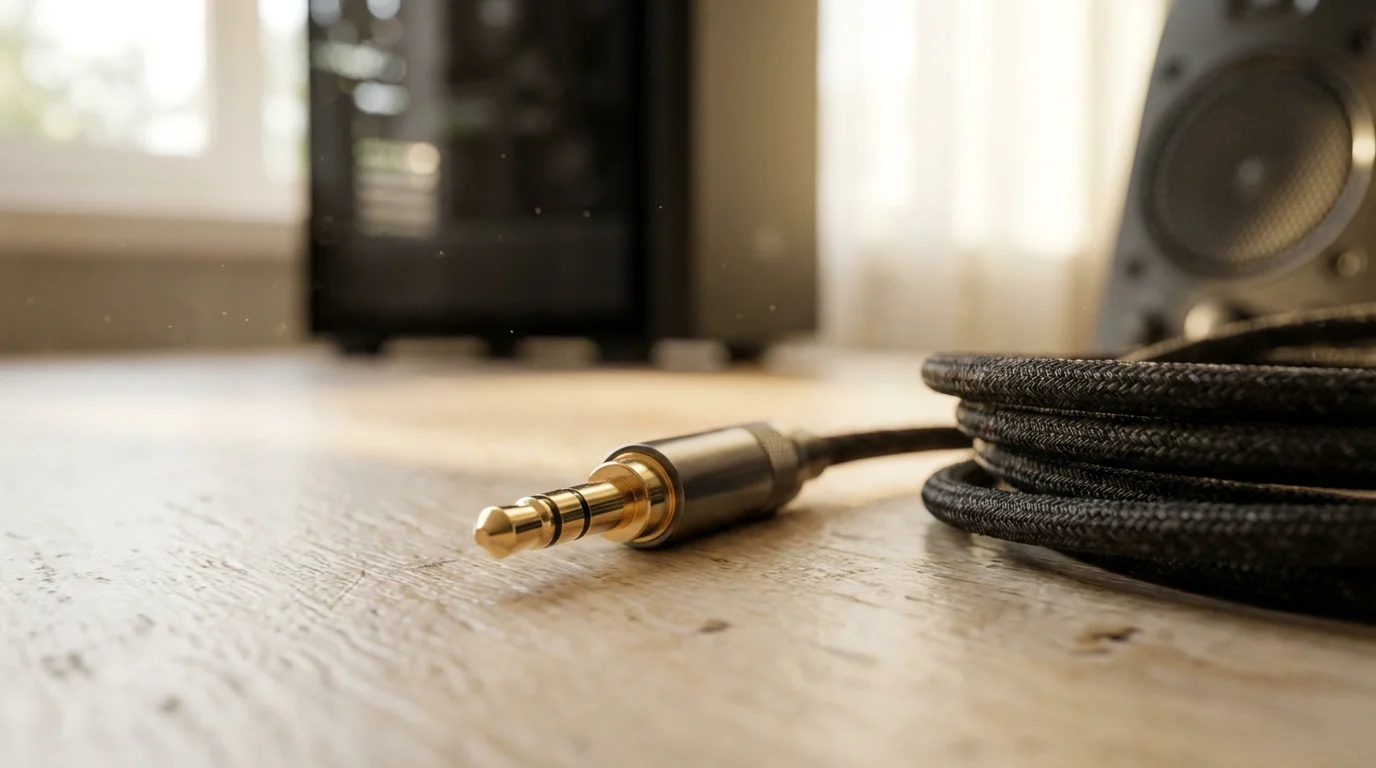
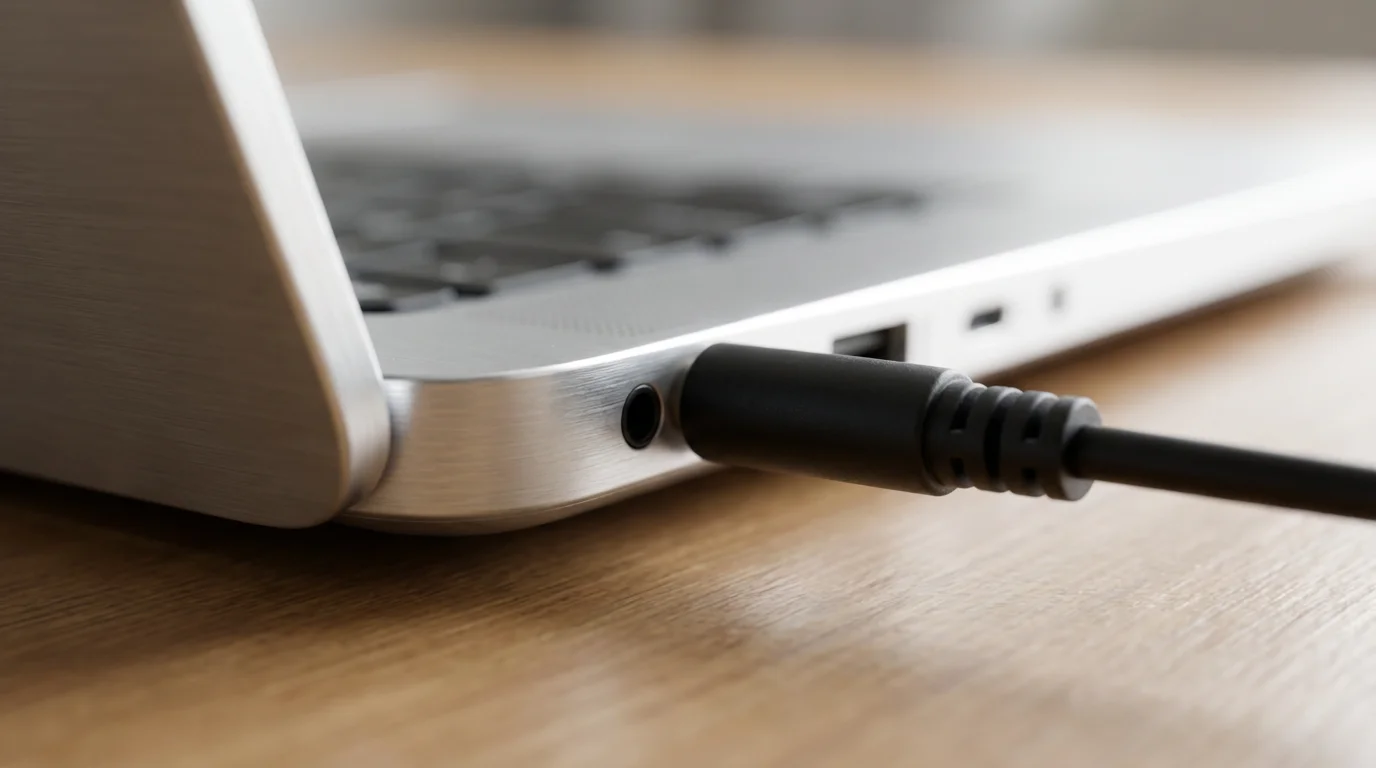
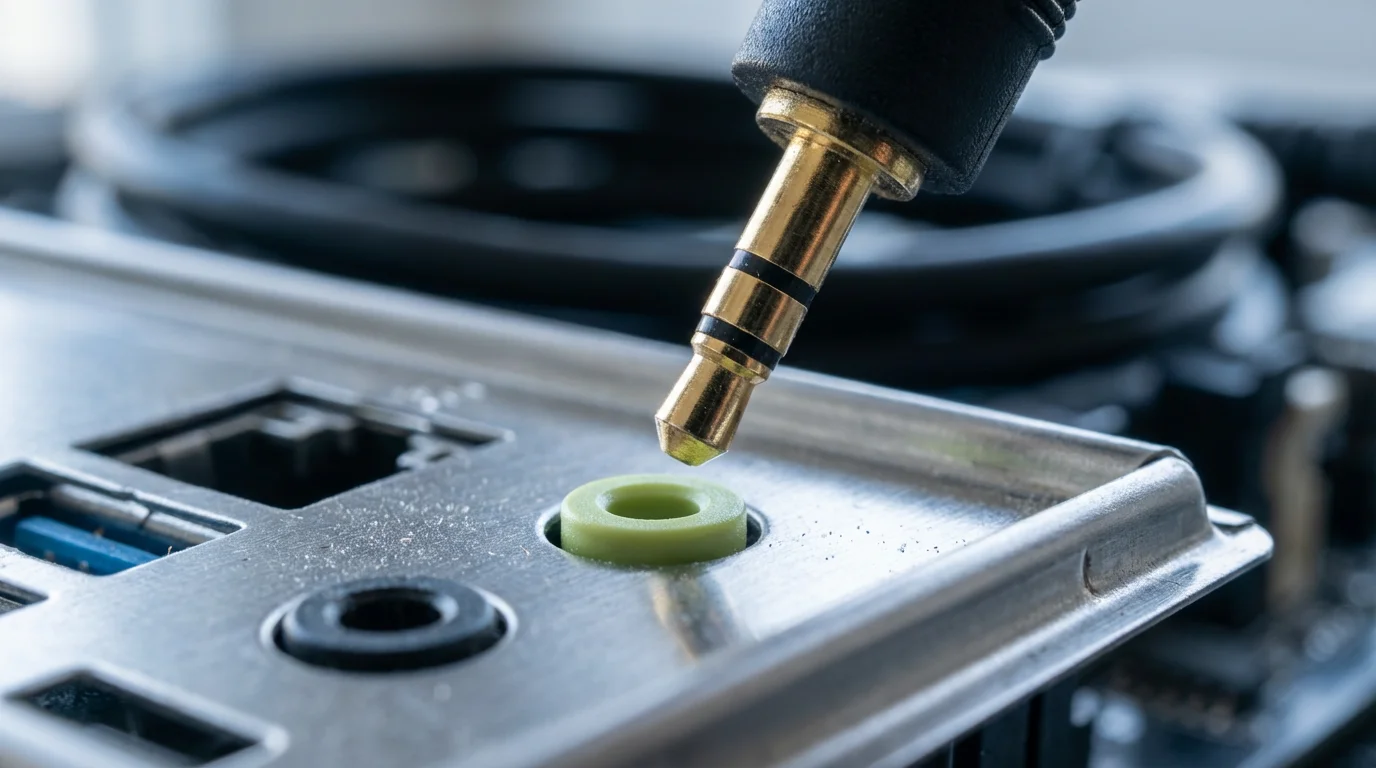
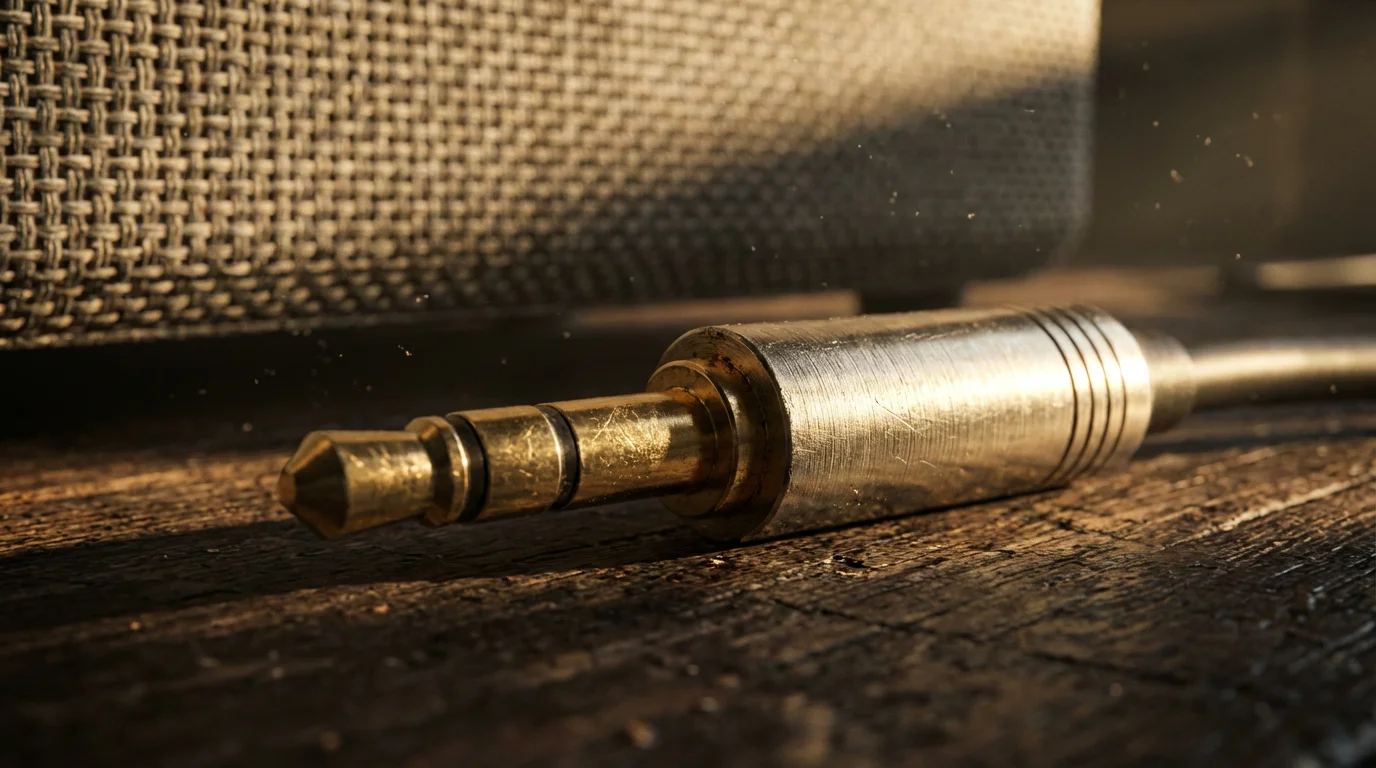
- 3.5mm Audio Jack (Auxiliary Cable): This is the most common connection type, resembling a small headphone plug. You will often see a green port on your computer for this. This jack sends the sound signal from your computer to the speakers.
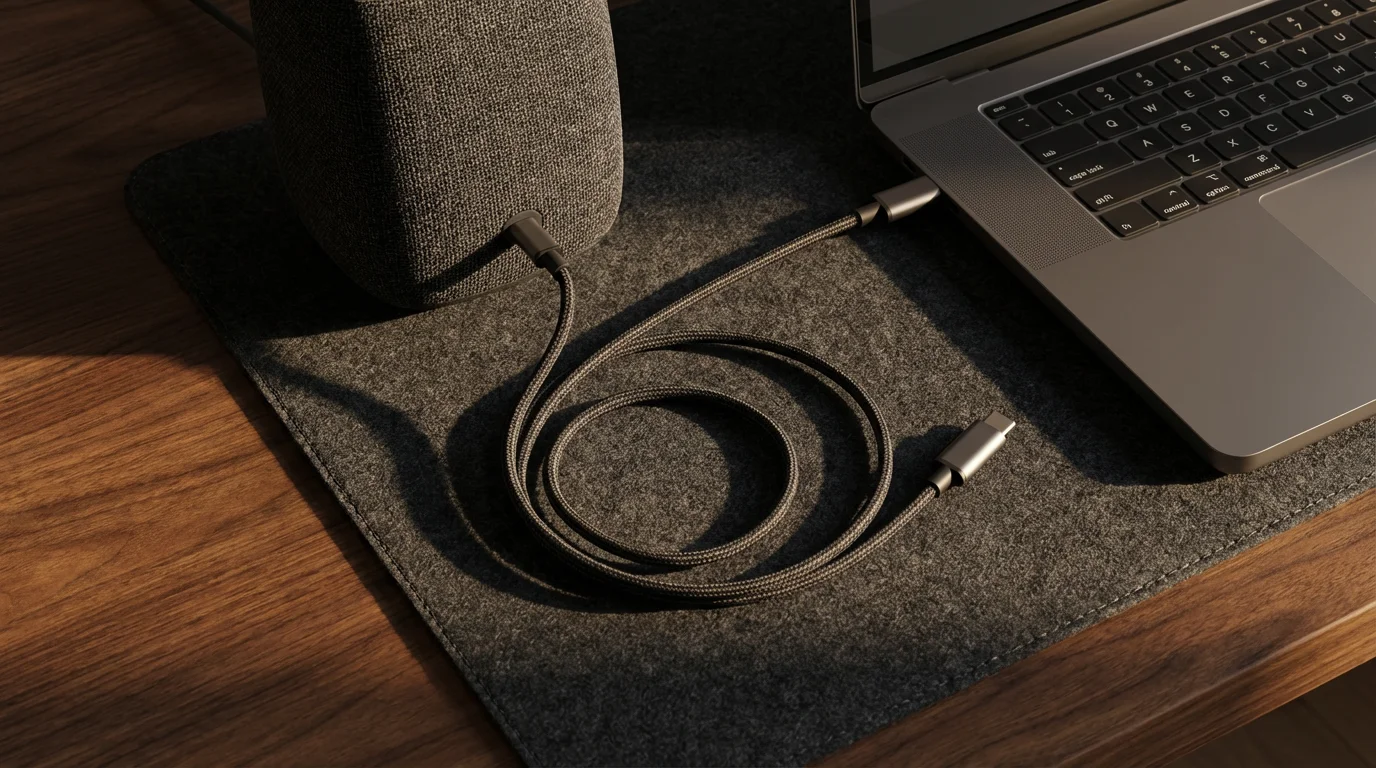
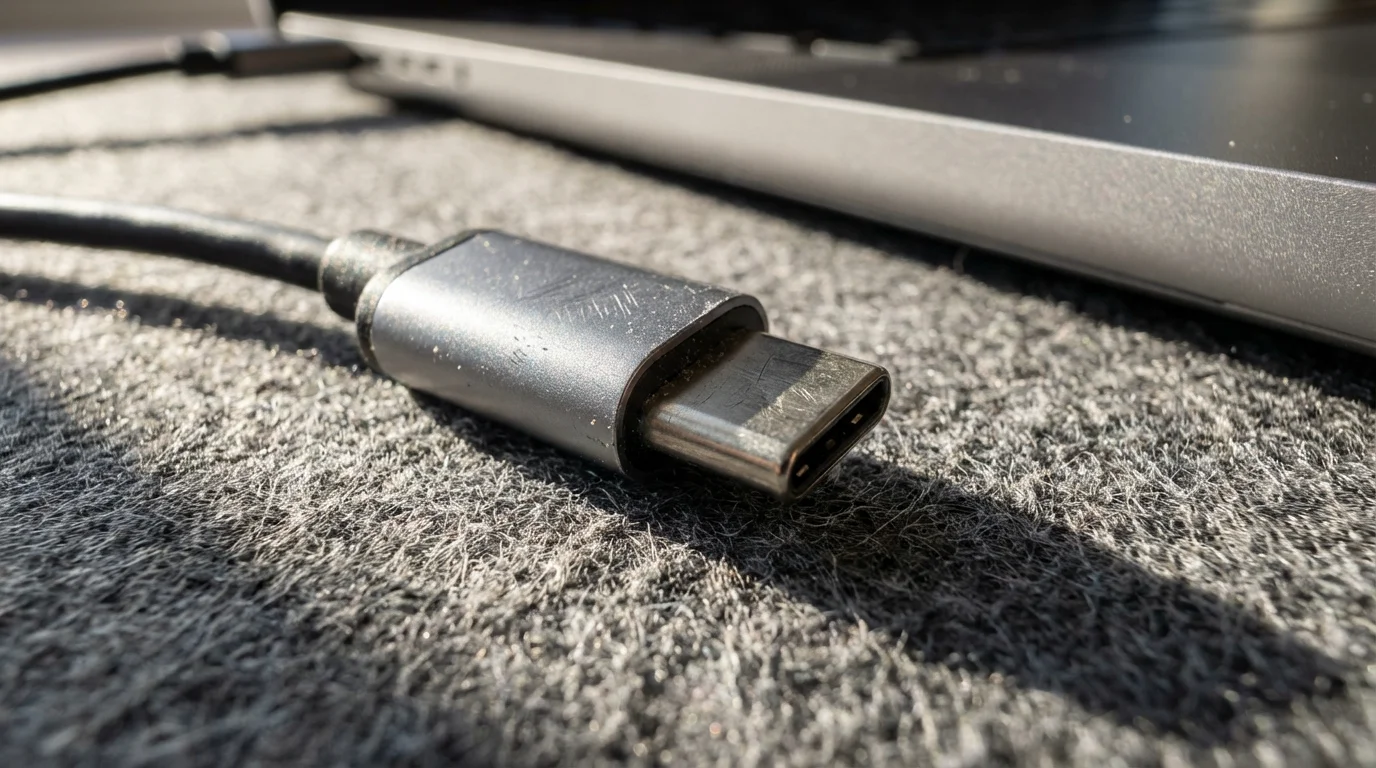
- USB Connection: Some speakers connect using a USB cable. These speakers often draw both power and audio information through the single USB port, simplifying the setup. Your computer has several rectangular USB ports.
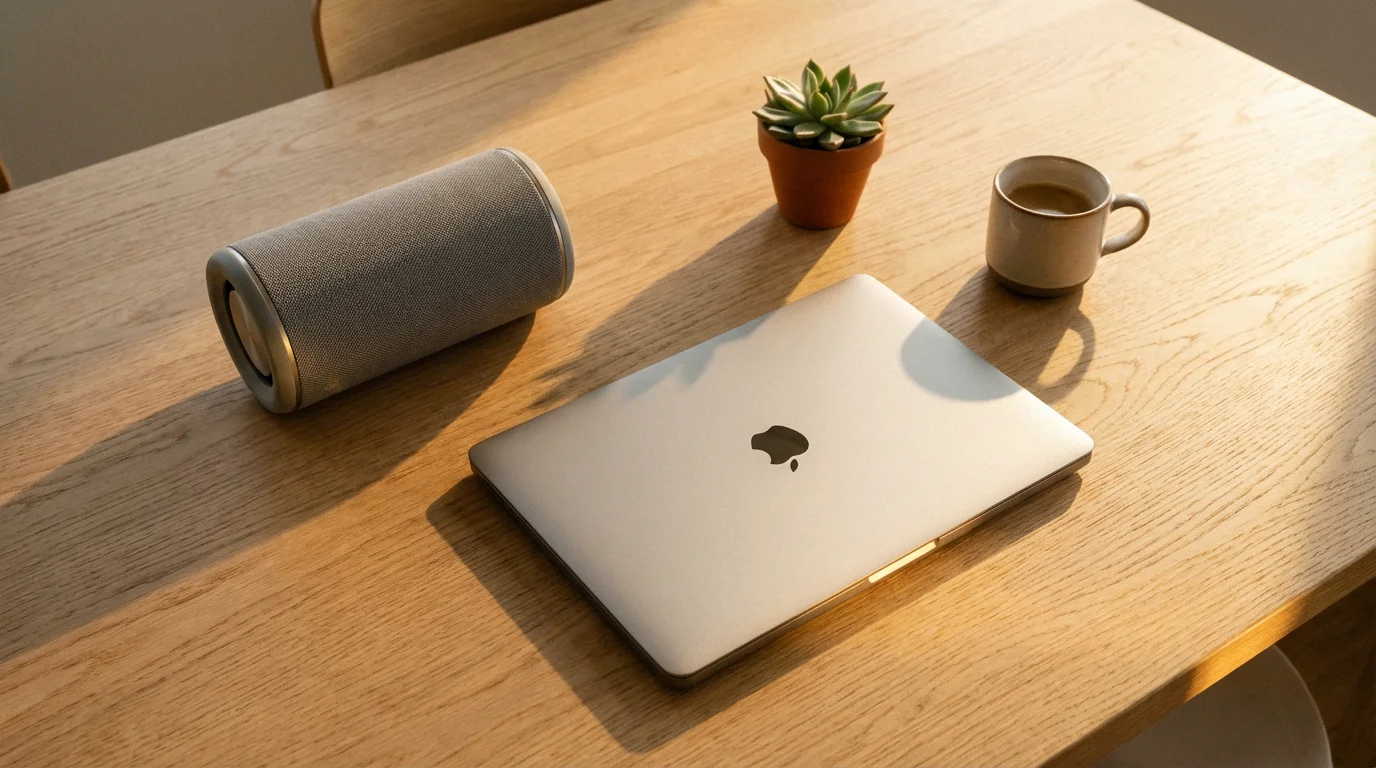
Wireless Speakers (Bluetooth)
Bluetooth speakers connect to your computer without any cables, using a radio signal. This offers flexibility, allowing you to place speakers further from your computer. Bluetooth speakers require their own power source, usually a built-in rechargeable battery or a power adapter that plugs into a wall outlet.
Choosing between wired and wireless depends on your needs. Wired speakers are often plug-and-play and reliable, while wireless speakers offer convenience and freedom from cables.
Gathering Your Tools and Preparing Your Computer
A little preparation makes the connection process smoother. Gather these items before you start:
While organizing your desk, you might also find it helpful to connect a second monitor to give yourself more room to work.
Organizing your desk and checking cables is a key part of basic computer maintenance for a trouble-free experience.
- Your External Speakers: Make sure you have all parts, including any power adapters or cables that came with them.
- Speaker Manual (Optional but Helpful): If your speakers came with a manual, quickly glance at it. It might show specific connection ports or pairing instructions.
- Power Outlet (for many speakers): Most external speakers require power, either from a wall outlet or a USB port on your computer. Ensure you have an available outlet if needed.
Before plugging anything in, consider these steps for your computer:
- Turn Down the Volume: Lower your computer’s volume to prevent any sudden loud noises when you first connect the speakers. You can typically find the volume control on the taskbar (the bar at the bottom of the screen) in Windows, the menu bar at the top of the screen in macOS, or the quick settings panel in Chrome OS (by clicking the time in the bottom right corner).
- Clear Your Workspace: Ensure you have enough room around your computer for the speakers and their cables.
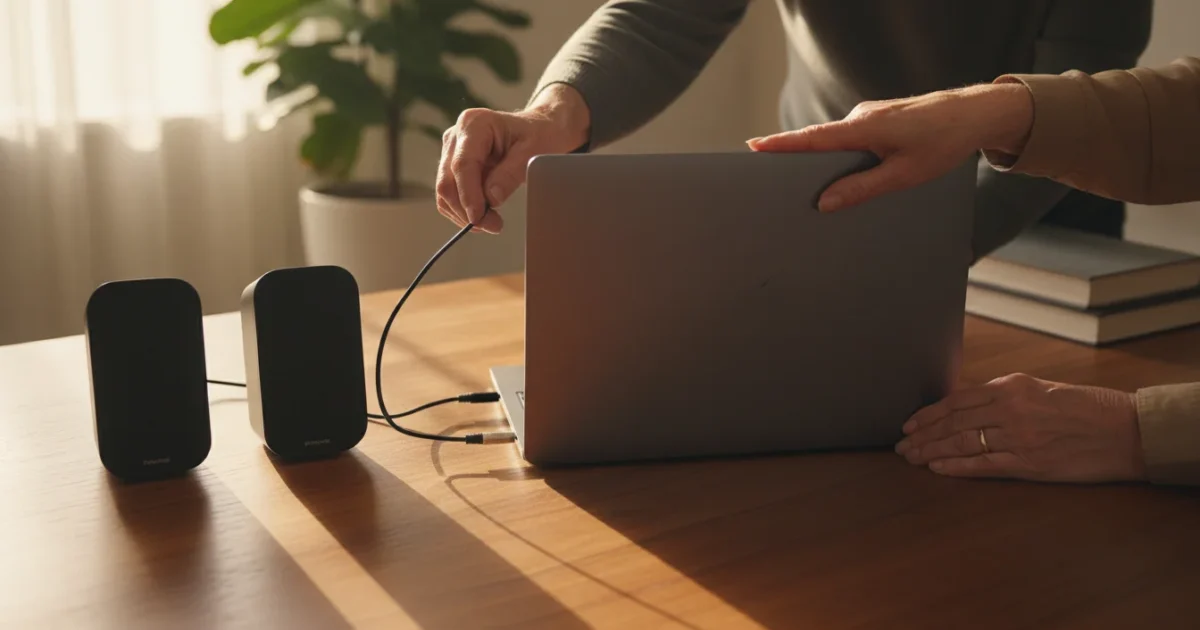
Connecting Wired Speakers
Connecting wired speakers involves plugging a cable into the correct port on your computer and the speakers, then providing power if necessary. This method works very similarly across Windows, Mac, and Chromebooks.
Many of these same USB ports are also what you would use to back up your computer files to an external drive for safekeeping.
Just like with audio equipment, knowing how to connect your computer to a printer is a basic skill that makes your home office more functional.
Before handling any hardware or cables, make sure you know how to turn on and shut down your computer safely.
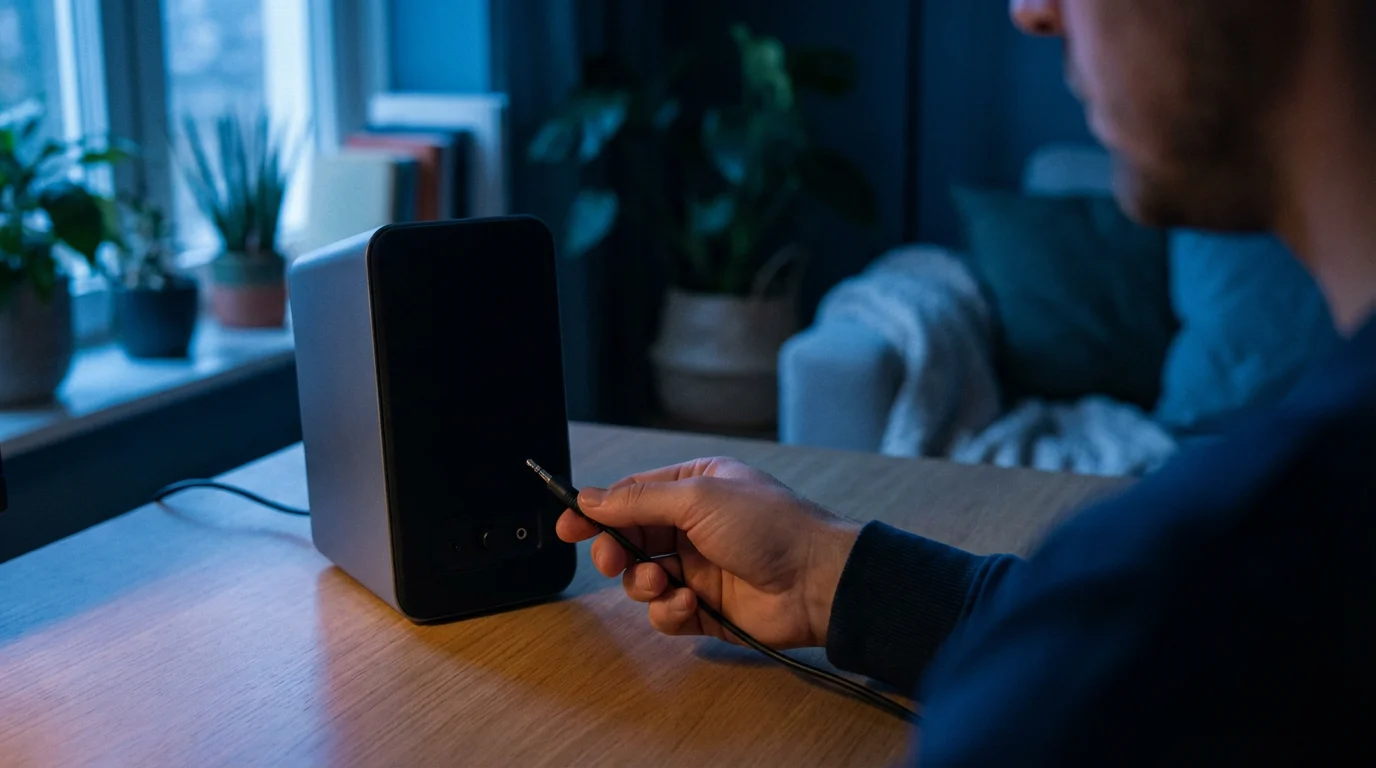
3.5mm Audio Jack Connection (Most Common)
This is the classic way to connect speakers, identical to how you might plug in headphones.
- Locate the Audio Output Port on Your Computer: Look for a small, round port, typically green in color, often marked with a headphone icon. On desktop PCs, it is usually on the back. On laptops, it is often on the side. This is your computer’s audio output port.
- Locate the Audio Input Port on Your Speakers: Find a matching port on your speakers, often labeled “Audio In” or with a similar headphone icon.
- Connect the Cable: Take the 3.5mm audio cable and firmly plug one end into your computer’s audio output port. Plug the other end into the audio input port on your speakers.
- Connect Speaker Power (if applicable): Many speakers require power from a wall outlet. Plug the speaker’s power adapter into an available electrical outlet and then into the speaker. Some smaller speakers might draw power from a USB port on your computer, in which case you will connect a USB cable from the speaker to your computer.
- Turn On Your Speakers: Locate the power button or switch on your speakers and turn them on. Many speakers have an indicator light that shows they are powered on.
Remember that the green port is almost always for sound output, meaning sound comes out of your computer through this port.
USB Connection
Some speakers use a USB cable for both power and audio.
- Locate an Available USB Port on Your Computer: These are rectangular ports. Your computer likely has several, often on the sides of a laptop or the front and back of a desktop.
- Connect the USB Cable: Plug the USB cable from your speakers into an available USB port on your computer.
- Connect Speaker Power (if applicable): If your USB speakers still require separate power, connect their power adapter to a wall outlet and the speakers. Many USB speakers are powered entirely by the USB connection itself.
- Turn On Your Speakers: If your speakers have a power button, turn them on.
Once connected, your computer often automatically detects the new speakers. You may see a small notification pop up on your screen. Now, you will adjust the sound settings, which we cover in a later section.
Connecting Wireless (Bluetooth) Speakers
Connecting Bluetooth speakers requires pairing them with your computer. This process differs slightly depending on your operating system.
Finding these menu options is much easier once you are comfortable using a computer mouse to navigate your screen.
For Windows 10/11 PCs
- Turn On Your Speakers and Put Them in Pairing Mode: Consult your speaker’s manual for exact instructions. Usually, this involves pressing and holding a dedicated “Bluetooth” or “Pairing” button until an indicator light flashes, signaling it is ready to connect.
- Open Windows Settings: Click the Start button (the Windows logo icon in the bottom left corner of your screen). Then, click on the Settings icon, which looks like a gear.
- Navigate to Bluetooth & Devices: In the Settings window, click on Bluetooth & devices (Windows 11) or Devices, then Bluetooth & other devices (Windows 10) in the left-hand menu.
- Turn On Bluetooth: Ensure the Bluetooth switch is set to On. If it is off, click it to turn it on.
- Add a New Device: Click the Add device button, usually found at the top of the Bluetooth & devices section.
- Select Bluetooth: In the “Add a device” pop-up window, click on Bluetooth. Your computer will then search for nearby Bluetooth devices.
- Select Your Speakers: You will see a list of available devices. Click on the name of your external speakers when they appear.
- Confirm Connection: Follow any on-screen prompts. Once connected, your speakers will appear in the “Audio” section under “Bluetooth & devices” with a “Connected” status.
What You’ll See On Screen (Windows 10/11): After clicking “Add device” and selecting “Bluetooth,” a list will appear. You might see “Pairing” next to your speaker’s name, then “Connected” once the connection is successful. For help, you can visit Microsoft Support.
For Apple macOS Computers
- Turn On Your Speakers and Put Them in Pairing Mode: As with Windows, press and hold the Bluetooth or Pairing button on your speakers until the indicator light flashes.
- Open System Settings (macOS Ventura or newer) or System Preferences (older macOS):
- For macOS Ventura or newer: Click the Apple menu (the apple icon in the top left corner of the screen), then click System Settings.
- For older macOS versions: Click the Apple menu, then click System Preferences.
- Navigate to Bluetooth: In System Settings or System Preferences, click on Bluetooth in the sidebar.
- Turn On Bluetooth: Ensure Bluetooth is turned On. If it is off, click the toggle to turn it on.
- Find and Connect Your Speakers: Your Mac will automatically search for nearby Bluetooth devices. When your speaker’s name appears in the list under “Devices,” click the Connect button next to it.
- Confirm Connection: Once connected, your speakers will appear with a “Connected” status.
What You’ll See On Screen (macOS): The Bluetooth window shows a list of devices. Your speaker’s name will appear, and once you click “Connect,” it will show “Connected” or “Paired.” For further guidance, refer to Apple Support.
For Chromebooks (Chrome OS)
- Turn On Your Speakers and Put Them in Pairing Mode: Activate the pairing mode on your Bluetooth speakers as instructed by their manual.
- Open Quick Settings: Click on the time display in the bottom right corner of your Chromebook screen. This opens the Quick Settings panel.
- Turn On Bluetooth: Click the Bluetooth icon. If it is gray, click it to turn it blue, indicating Bluetooth is enabled.
- Access Bluetooth Settings: In the Quick Settings panel, click the small arrow next to the Bluetooth icon, or click the Settings gear icon and then navigate to the Bluetooth section.
- Pair New Device: In the Bluetooth settings, you will usually see an option to “Pair new device” or simply a list of available devices. Click your speaker’s name when it appears.
- Confirm Connection: Follow any prompts. Once connected, your speakers will appear in the “Paired devices” list.
What You’ll See On Screen (Chrome OS): The Quick Settings panel will show a list of available Bluetooth devices. Once connected, your speaker’s name will move to the “Paired devices” section. For more details, consult Google Support.
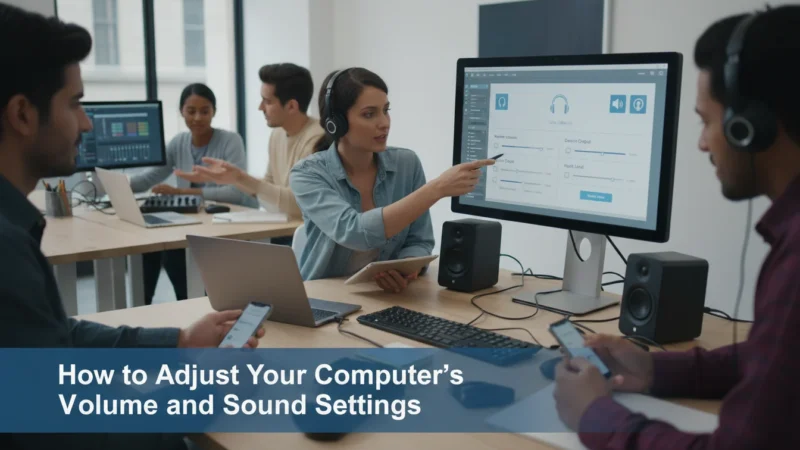
Configuring Sound Settings After Connection
After physically connecting your speakers, you need to tell your computer to use them as the primary sound output. This ensures all your computer’s audio, from system alerts to music, plays through your new speakers.
For Windows 10/11 PCs
- Access Sound Settings:
- Quick Method: Right-click (press the right mouse button once) the Speaker icon in the bottom right corner of your taskbar (the bar at the bottom of the screen). Then, click Sound settings or Open Sound settings.
- Longer Method: Click the Start button, then Settings (the gear icon), then System, and finally Sound.
- Choose Your Output Device: In the Sound settings window, look for a section called “Output” or “Choose your output device.” Click the dropdown menu in this section.
- Select Your Speakers: From the list, choose the name of your newly connected speakers. They might be listed by their brand name (e.g., “Bose Companion 20”) or as “Speakers (USB Audio Device)” or “Headphones (Bluetooth Device).”
- Test the Sound: Play some music or a video to confirm sound comes from your new speakers. You can adjust the volume using the slider in the Sound settings window or the volume controls on your speakers themselves.
What You’ll See On Screen (Windows 10/11): The Sound settings window displays a “Choose your output device” dropdown menu. Clicking it reveals a list of available audio devices, including your connected speakers. A volume slider for the selected output device also appears.
For Apple macOS Computers
- Access Sound Settings:
- Quick Method: If you see a Speaker icon in your menu bar (the bar at the top of your screen), click it, then choose your speakers from the list.
- Longer Method: Click the Apple menu (top left), then System Settings (macOS Ventura or newer) or System Preferences (older macOS). Click on Sound.
- Select the Output Tab: In the Sound window, click on the Output tab.
- Choose Your Speakers: In the list of sound output devices, click on the name of your external speakers.
- Test the Sound: Play some audio to confirm sound is coming from the speakers. Adjust the “Output volume” slider in the Sound settings window or use the volume controls on your keyboard or speakers.
What You’ll See On Screen (macOS): The Sound preferences window shows three tabs: Sound Effects, Output, and Input. Under the “Output” tab, a list of available sound output devices, including your external speakers, appears. An “Output volume” slider is also visible.
For Chromebooks (Chrome OS)
- Access Quick Settings: Click on the time display in the bottom right corner of your Chromebook screen. This opens the Quick Settings panel.
- Select Output Device: In the Quick Settings panel, look for the volume slider. Next to the speaker icon, there is often a small arrow or caret. Click this arrow.
- Choose Your Speakers: A list of available audio output devices will appear. Click on the name of your external speakers.
- Test the Sound: Play some audio from a website or app. Adjust the volume using the slider in the Quick Settings panel or the volume controls on your speakers.
What You’ll See On Screen (Chrome OS): The Quick Settings panel shows a volume slider. Clicking the arrow next to the speaker icon reveals a list of output devices, such as “Internal speakers,” “Headphones,” and your connected external speakers.
Testing Your New Speakers
After connecting and configuring your speakers, perform a quick test to ensure everything works correctly:
- Play Audio: Open a website like YouTube and play a song or video, or play a track from your music library. You could also open a document with spoken text if your computer has that feature enabled.
- Adjust Volume:
- First, adjust the volume on your physical speakers using their dedicated volume knob or buttons.
- Then, adjust the volume on your computer using the taskbar icon (Windows), menu bar icon (macOS), or quick settings (Chrome OS).
Finding a comfortable balance between your computer’s volume and the speaker’s volume control often gives the best sound.
- Listen for Clarity: Pay attention to the sound quality. Is it clear? Is it balanced? If the sound is distorted or too quiet, you might need to troubleshoot, as outlined in the next section.
Congratulations, you have now successfully connected and configured your external speakers! Enjoy the enhanced audio experience.
Common Problems and Solutions
Sometimes, things do not work perfectly the first time. Here are common issues and simple solutions for connecting external speakers:
No Sound from Speakers
- Check Power: Ensure your speakers are turned on and plugged into a working power outlet or connected via USB for power.
- Check Connections: For wired speakers, firmly push the 3.5mm audio cable or USB cable into both the computer and the speakers. Wiggle the cables slightly to ensure a good contact.
- Check Volume:
- Turn up the volume on your physical speakers.
- Turn up the volume on your computer using the sound icon on your taskbar (Windows), menu bar (Mac), or quick settings (Chromebook).
- Ensure your computer is not muted.
- Correct Output Device Selected: Double-check your computer’s sound settings (as described in the “Configuring Sound Settings” section) to confirm you selected your new speakers as the output device.
- Try Another Audio Source: Test with a different song, video, or website. Sometimes a specific application or webpage might have its own mute or volume controls.
Poor Sound Quality (Distorted, Crackling, or Too Quiet)
- Check Connections Again: Loose connections are a frequent cause of poor sound. Re-seat the cables.
- Speaker Placement: Ensure speakers are not too close to other electronics that might cause interference.
- Adjust Volume Balance: Sometimes, having the computer volume too high and the speaker volume too low, or vice versa, can cause distortion. Try adjusting both.
- Test with Different Audio: Play a high-quality audio file or video to rule out the source material as the problem.
- Wired vs. Wireless: If using Bluetooth, ensure your speakers are within a reasonable range (usually 30 feet) of your computer and that no major obstacles block the signal.

Bluetooth Speakers Not Connecting or Showing Up
- Speakers in Pairing Mode: Make sure your Bluetooth speakers are actively in pairing mode (often indicated by a blinking light). If they were paired with another device recently, you might need to make them “discoverable” again.
- Bluetooth On Computer: Confirm your computer’s Bluetooth is turned on (check Windows settings, Mac System Settings, or Chromebook quick settings).
- Restart Speakers: Turn your Bluetooth speakers off and then on again.
- Restart Computer: A simple restart can resolve many temporary connection issues.
- Remove and Re-pair: If your speakers previously connected but now do not, try removing them from your computer’s Bluetooth device list and then re-pairing them from scratch.
Speakers Not Detected at All
- Try a Different Port: If using USB speakers, try plugging them into a different USB port on your computer.
- Restart Computer: Restarting your computer can often help it detect new hardware.
- Driver Installation (Windows Specific): While most modern speakers are “plug-and-play,” very occasionally Windows might need a specific driver. If problems persist, check the speaker manufacturer’s website for driver downloads.
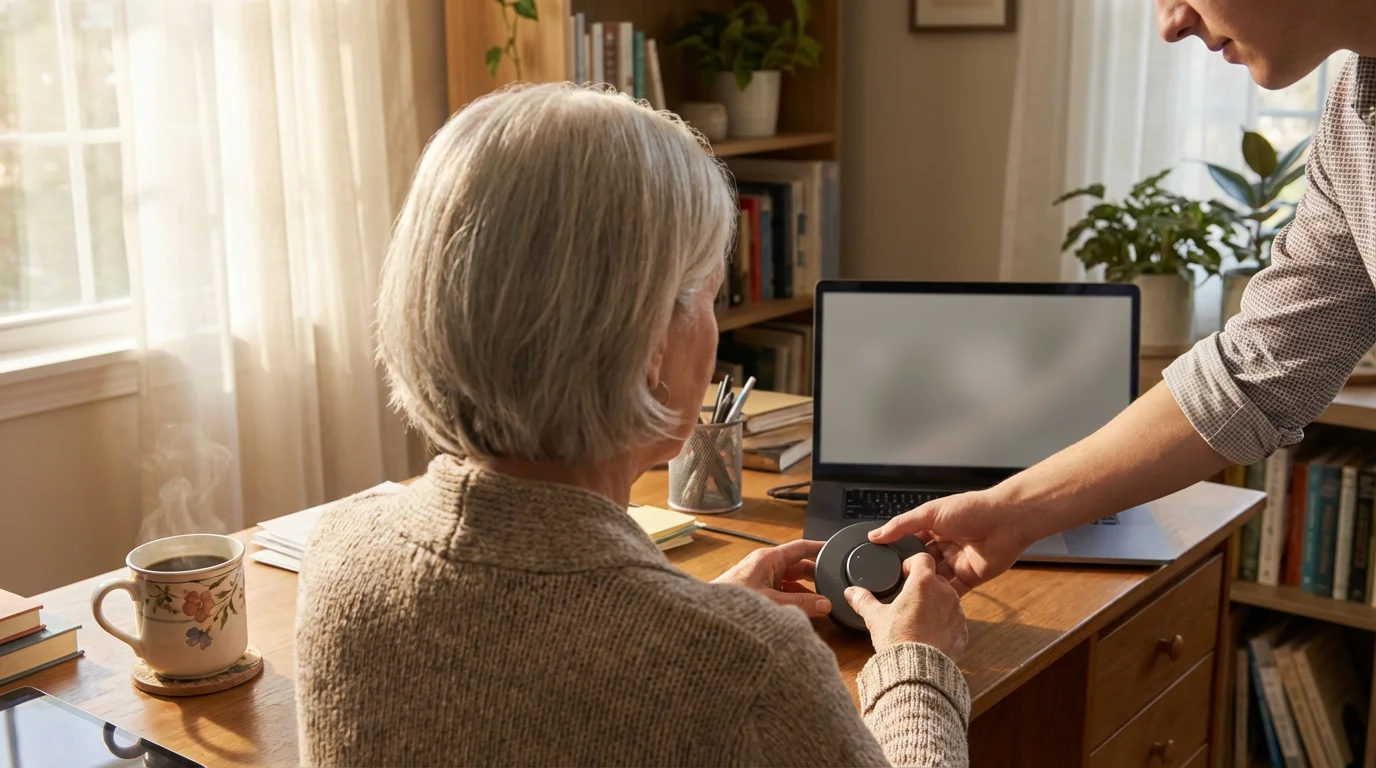
If you encounter persistent issues, consider reaching out to a trusted family member or friend who is comfortable with technology. Online resources like GCFGlobal — Technology Tutorials offer excellent, free guides on various tech topics. You can also consult AARP Technology Resources for additional support tailored to seniors.
Maintaining Your Audio Setup
Taking a few simple steps can help ensure your external speakers and computer audio continue to work well for years.
- Keep Speakers Clean: Dust can accumulate on speaker grilles and surfaces. Gently wipe them with a soft, dry cloth. Avoid using harsh chemicals or excessive moisture, which can damage the electronics.
- Protect Cables: Avoid bending or crimping audio and power cables sharply. Damaged cables can lead to intermittent sound or complete failure. If you unplug cables, grasp the plug itself, not the wire.
- Software Updates: Regularly update your computer’s operating system (Windows, macOS, Chrome OS). These updates often include improvements for audio drivers and Bluetooth connectivity, helping your computer work smoothly with your speakers.
- Safe Disconnection: When disconnecting wired speakers, simply unplug the cables. For Bluetooth speakers, you can usually just turn them off. If you want to permanently remove a Bluetooth speaker from your computer’s list, you can “forget” or “remove” the device in your computer’s Bluetooth settings.
Frequently Asked Questions
Here are answers to some common questions about connecting external speakers to your computer.
Q: Can I use headphones and external speakers at the same time?
A: Generally, no. Most computers allow you to select only one audio output device at a time. If you plug in headphones, the sound usually switches automatically to them. You would then need to manually switch back to your speakers in your computer’s sound settings when you want to use them again.
Q: Do I need special software or “drivers” for my speakers?
A: For most common wired (3.5mm or USB) and Bluetooth speakers, your computer’s operating system (Windows, macOS, Chrome OS) automatically installs the necessary software, called “drivers.” You typically do not need to install anything extra. Only very specific or advanced audio equipment might require custom drivers from the manufacturer’s website.
Q: Why is my speaker volume so low, even when turned all the way up?
A: Several factors can cause low volume. First, check both the physical volume knob on your speakers and your computer’s digital volume control. Ensure no individual application (like a web browser or media player) has its own volume turned down. Also, some audio sources or files might have inherently low volume. If all else fails, trying a different audio cable or USB port can sometimes help.
Q: How do I safely disconnect my speakers?
A: For wired speakers, simply unplugging the audio and power cables is safe. For Bluetooth speakers, you can just turn them off. If you wish to remove them from your computer’s paired device list, go into your computer’s Bluetooth settings and select the option to “Forget” or “Remove” the device.
Q: What is the difference between wired and wireless sound quality?
A: For most everyday listening, the difference in sound quality between a good wired connection and a good Bluetooth connection is minimal and often unnoticeable. High-quality wired connections can offer a slight edge in terms of signal stability and fidelity, especially for audiophiles. Bluetooth offers convenience and reduced cable clutter, which many users prefer.
Connecting external speakers significantly improves your computer’s audio, making your daily tasks and entertainment more enjoyable. You now have the knowledge to select, connect, and configure your speakers, whether they are wired or wireless. Do not hesitate to re-read sections or consult the resources mentioned if you need a refresher. Building your confidence with technology is a journey, and each step you take makes your digital life easier and more satisfying.
Disclaimer: This article is for informational purposes only. Your computer’s screens may look slightly different depending on your operating system version and settings. When in doubt, consult official support resources or ask someone you trust for help.


Leave a Reply